Does the lead photo make you feel a little crazy? Yea, me too… let’s see what it takes to shrink that group.
First off: It takes lots of time and energy to chase sub-moa groups. It’s the nature of the beast. Precision is going to cost you time and/or money. Perhaps you like the challenge, or perhaps you just want to see what your shiny new AR15 is capable of. If you are chasing group size for any reason, I have a few tips that will hopefully cut some time out of your journey. Let’s start with the foundation of accurate shooting… Stability.
Your shooting foundation:
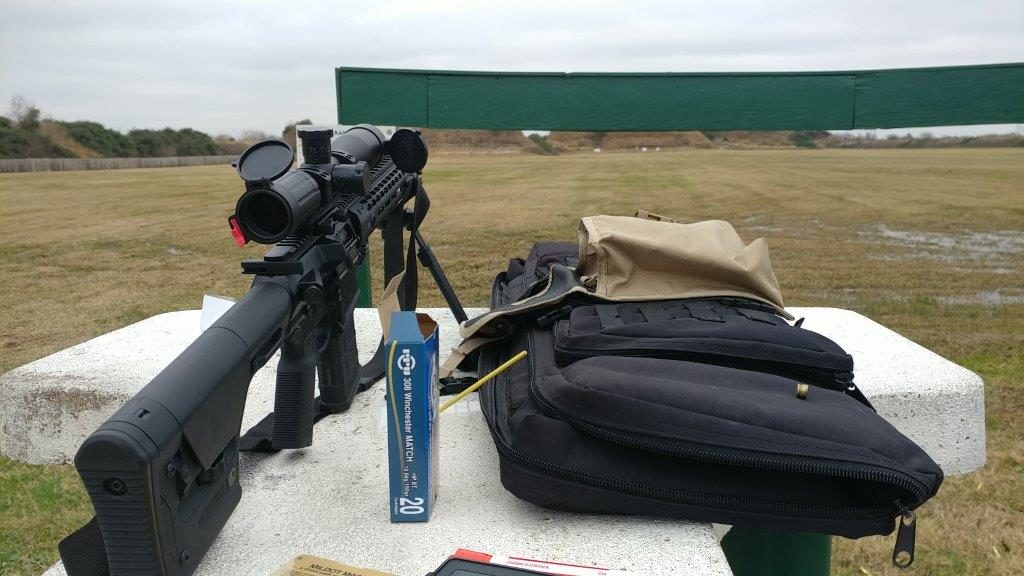
The only bench that’s any good is gonna be a THICC BOI.
It’s vitally important for you to start with a strong foundation. The firmer the foundation, the better. Portable benches and your truck bed are okay for zeroing and casual shooting, but they will betray you for precision shooting. The wind is a big factor when shooting from your truck bed as the wrong position will lead to the wind pushing your vehicle subtly. It’s enough to push your reticle off target.
The same goes for portable benches. I have a portable bench and I stopped using it when I noticed my heartbeat was causing movement as I tested loads. At 10x or more, every movement is noticeable. Unless the bench is made of concrete pillars and a slab, I shoot specifically prone on the ground. This removes the bench wobble factor from the equation and starts you off with a proper foundation.
Rifle Legs:
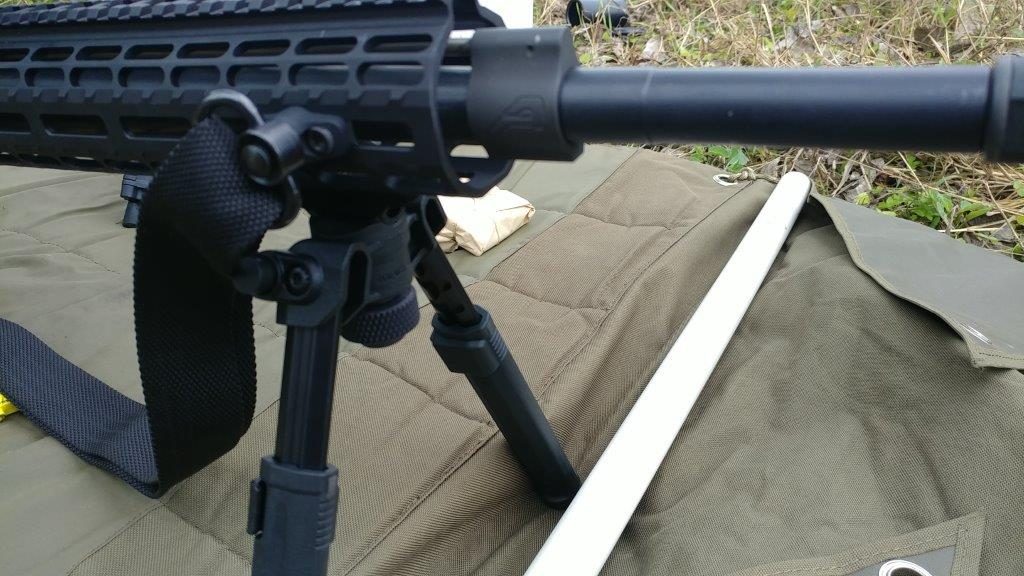
Pictured: A Magpul bipod on an Aero Precision M5E1.
Your foundation is steady, so let’s examine what your rifle is using to interface with the foundation. Your firearm must be steady too, but you don’t have to go so far as needing a lead sled or some other mechanism. A bipod and a rear bag, when used appropriately, can offer all the support a shooter needs to pull sub-MOA. I have used Magpul and Harris style bipods, and I much prefer the simplicity of the Magpul setup, however, they both do an adequate job of stabilizing the front of your rifle.
After the front of the rifle is taken care of, the rear needs attention. I suggest a rear squeeze bag. These bags are placed towards the toe of the stock and are used to tip the muzzle up or down by squeezing them with the support hand. I cannot emphasize enough how useful these are. If you are chasing groups or are just meticulous about your rifles zero, these need to be in your range bag considering how cheap they are.
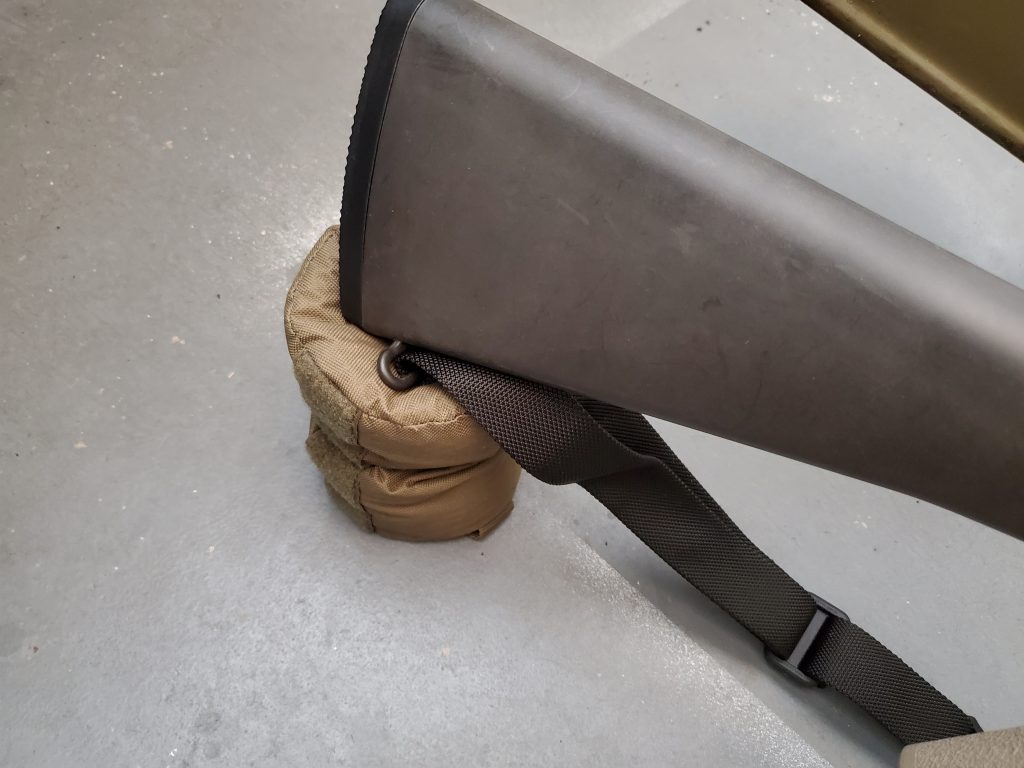
The rear bag is squeezed to raise or lower the muzzle with the support hand.
With the rifle supported from a firm foundation and supported at two points, it’s time to move to the shooter.
In line with the muzzle, rifle butt in the shoulder pocket, support arm squeezing the bag… At this point, I place my face on the stock and let my shoulder pocket and face apply full weight to the rear of the rifle. I then squeeze the rear bag to make my final elevation adjustments. The full weight of the shooter from the rear, while you squeeze the bag, compresses the squeeze bag media from the top, bottom, and sides. Depending on what’s in the bag, this can make everything in the bag settle into a firm rear foundation.
As the Rifleman is in position, rifle firmly centered on target… It’s time to flick off the safety. Trust me.
Trigger:
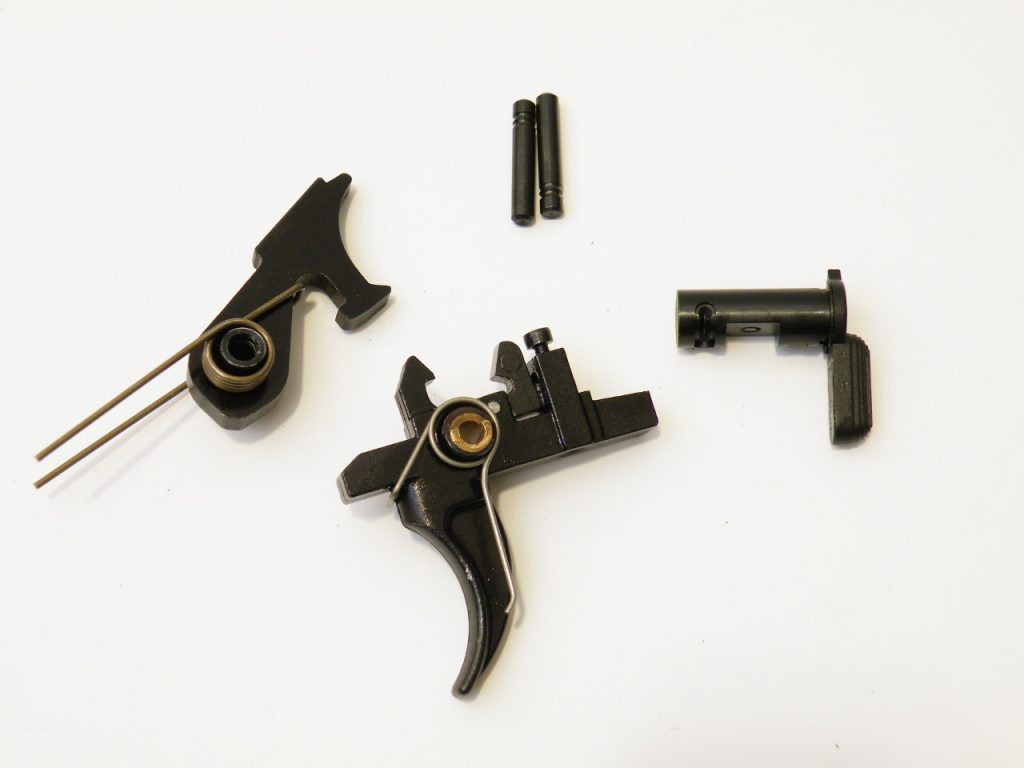
The Wisconsin Trigger Co MkIII is a trigger made for competition or precision shooting. Adjustments are everywhere. The MK series of triggers are the original 2 stage AR15 trigger.
The trigger is vitally important. When you’re in the zone, you only have a small window of opportunity to make a clean shot before something goes wrong. The sun, the wind picks up, your crotch has an itch, damn mosquitoes, etc. The last thing you need is a heavy trigger. A long heavy trigger pulls you out of focus as you are waiting for it to break and drop the hammer. A good shooter can overcome a crappy trigger, but it’s not ideal. Spend some money. At the bare minimum, get a Larue MBT or a Geissele G2S.
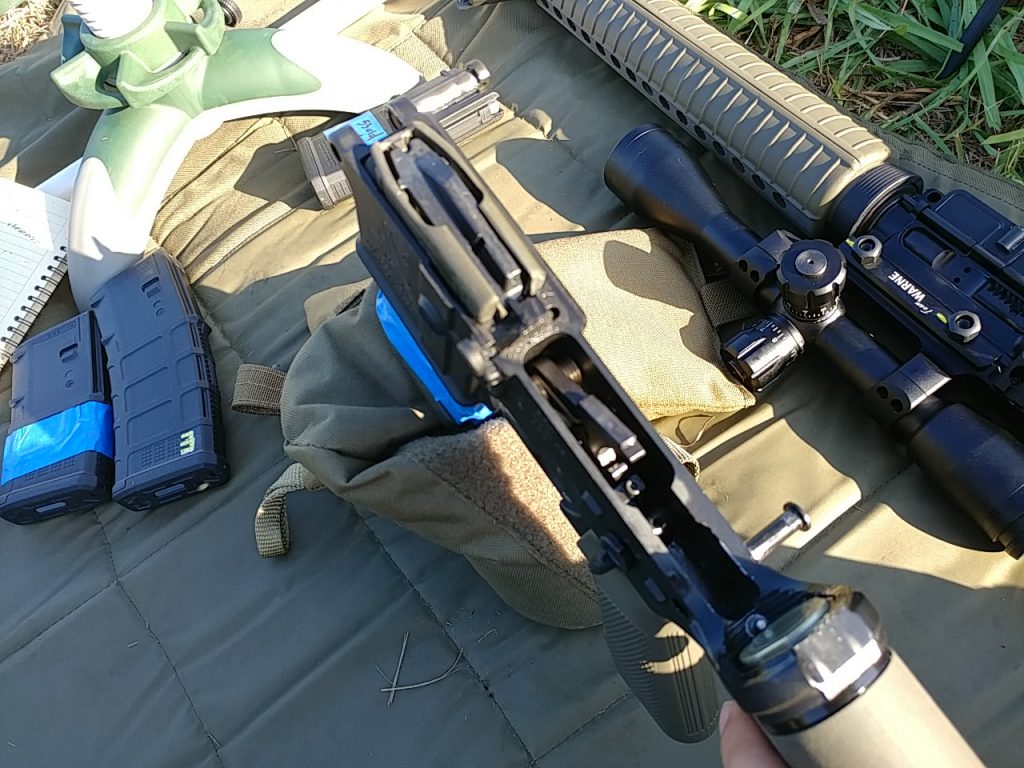
I prefer a two-stage with a 1.5-2 lb second stage. Pre-loading the trigger will aid you as the 2nd stage wall will feel very light and crisp. A lighter trigger will let you make the shot when everything is in alignment and will break precisely when you want it to. Perfect. Did you take the safety off?
Visual Patterns:
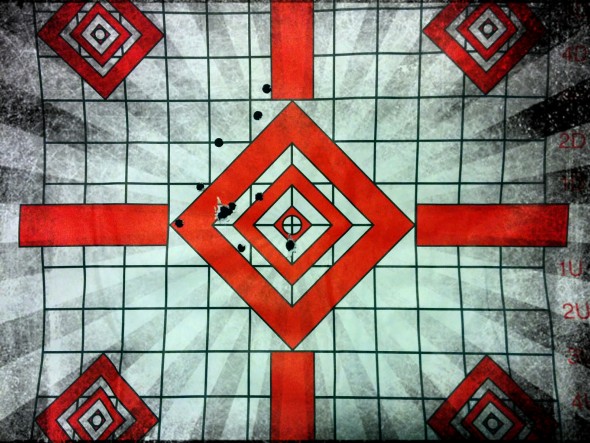
Let’s also examine the target. I have had the best success with diamond style targets. A red diamond offers visual contrast against a black crosshair and the pattern is easy to align due to the diamond angles being bisected by the crosshair. Choosing a target like that should help you visually align everything in a repeatable manner.
Groups Size:
I can’t talk about shooting small groups without touching on group size. So bear with me.
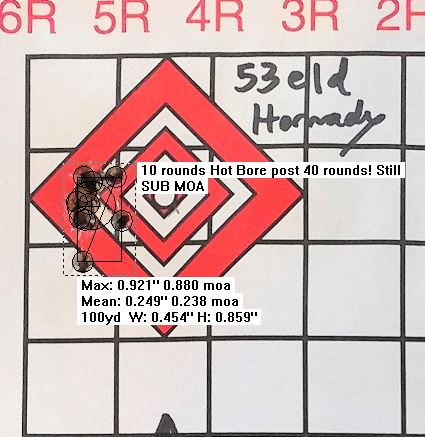
When its finally time to put rounds to paper, statistics don’t lie. 3 round groups are not statistically significant. Problem is that as we chase larger groups in our shooting session, things can go wrong. That mosquito bites your but and you pull a shot, the wind picks up, etc. So two five rounds groups averaged, or one good ten shot string will be enough to show us how effective the rifleman and rifle are with statistically significant results. You can see in the above target photo that using traditional group measurements I shot a .8 MOA ten shot group based on the two furthest points in the shot. Yet the mean radius measures .238 MOA meaning the average shot landed within .238 MOA of the group center. Regardless of what measure you use, the group above is fire and it is statistically significant.
Wrapping Up:
You will know immediately if your shooting position is rock solid based on the tips above. Paste a target at 25 yards and practice stable shooting positions in the backyard. It’s easy to tighten your groups when you have a few inexpensive pieces of gear and know-how to apply it. We didn’t touch on ammo selection and optics, but if your chasing groups your going to have to experiment with different loads, or buy factory ammo such as FGMM. I use a 10x optic and that’s plenty for an AR15 but having a little more magnification doesn’t hurt when chasing groups. With a little preparation, you can evaluate what you, your rifle, and ammo are capable of… the performance a snapshot in time. To repeat it each time you shoot, now there’s the rub.
Thanks for reading guys, please be sure to subscribe to our email list so you get updates when new articles hit. Next time we will move to the rifle itself and re-loads.
-Lothaen out!




My AR15 in 5.56 is built around the PSA Freedom 16″ 1:7 SS rifle kit, a lower from 80% 7075-T6 and an Anderson LPK with the SS hammer and trigger.MOE stock and the Nikon P-223 scope, bipod on a 15″ quad rail and a Form 1 suppressor. The most accurate load that give me less than 0.5″ 10 shot groups at 50 yards is the 75gr. Hornady Match .224″ FMJBT with 20.5gr. of H322 and OAL 2.250″ with LC 5.56 NATO brass, CCI400 SRP and Chrono at 2500FPS. Shooting from the bench, scope at 10X.
I used to have 100 yards until Hurricane Florence dropped a huge tree across the path to the target.
CORRECTION: Replace FMJBT with BTHP.
Have you tried any of the flat base 50-55 grain loadings? Those have shot better for me than any of the heavier bullets. Curious if you had any luck.
Great article, can you please elaborate on how you concluded “statistical significance” ?