After I finished the LaFrance M16k clone I wrote about previously, I wanted a retro A2 carry handle pistol-length barrel upper with a standard front sight base, but nobody makes regular handguards to fit a pistol-length gas system, so I rolled my own. Here is my tale:
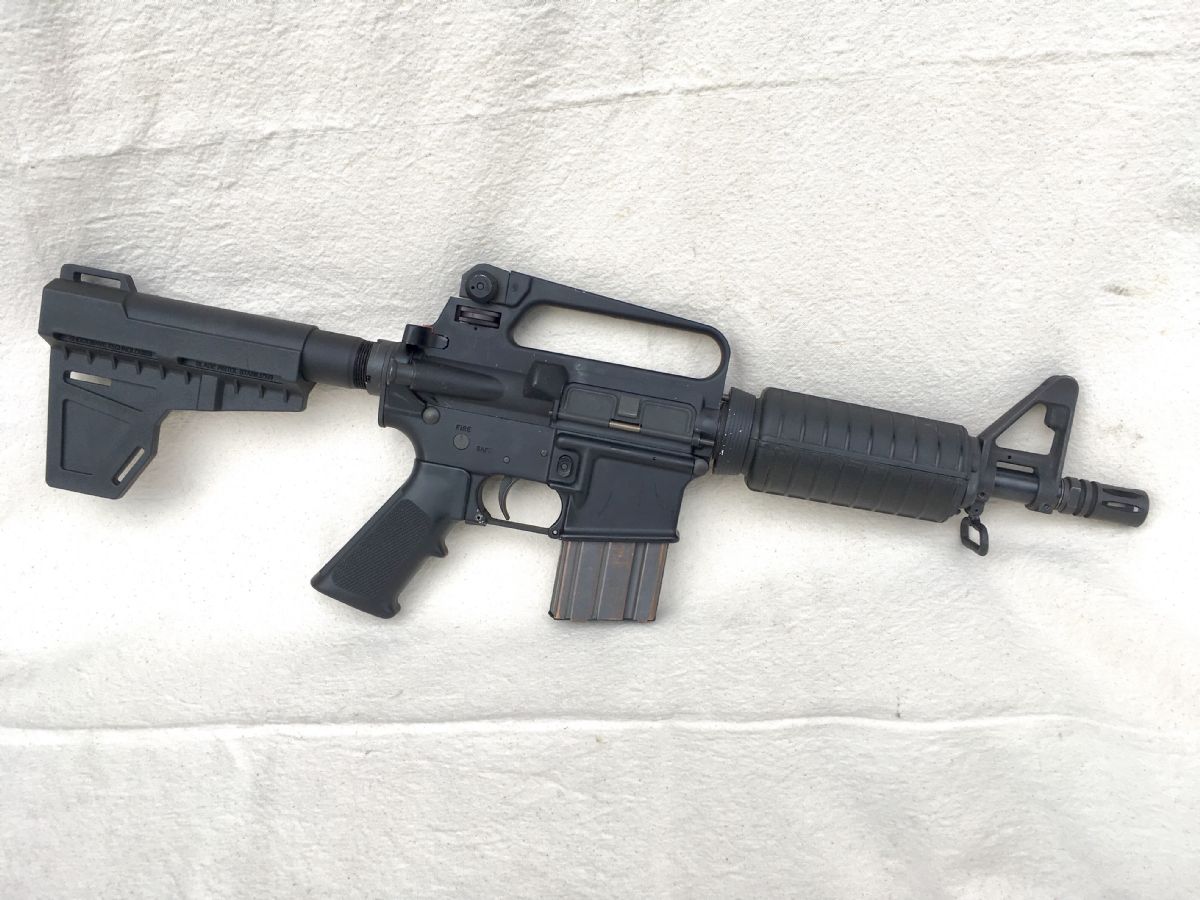
I decided to do a “dissipator” upper with a covered low profile gas block at the standard pistol-length gas location and a set screwed front sight base way out towards the muzzle because I’m getting old and need the front sight as far from my eye as possible. This means the handguards are a bit longer than what would fit standard pistol length, but you could make the handguards fit the standard pistol-length gas system if you wanted. The barrel I used is a PSA 8.5″ 556 pistol barrel. It is 0.750 from the gas block all the way to the muzzle threads which allows me to easily clamp the front sight base wherever I want it. The A2 upper receiver, handguards, and the front sight base were all purchased used off of various gunboard equipment exchanges. You could probably find good deals on used gear as well, or you could buy some of it new. I have included links at the end of the article for various parts that I can find online at the time of this writing. Quality parts can be found at Palmetto State Armory, Fulton Armory, and Brownells.
Materials:
Rifle Length A2 handguards
Hacksaw
JB weld, both quick cure and standard
Files, sandpaper, etc
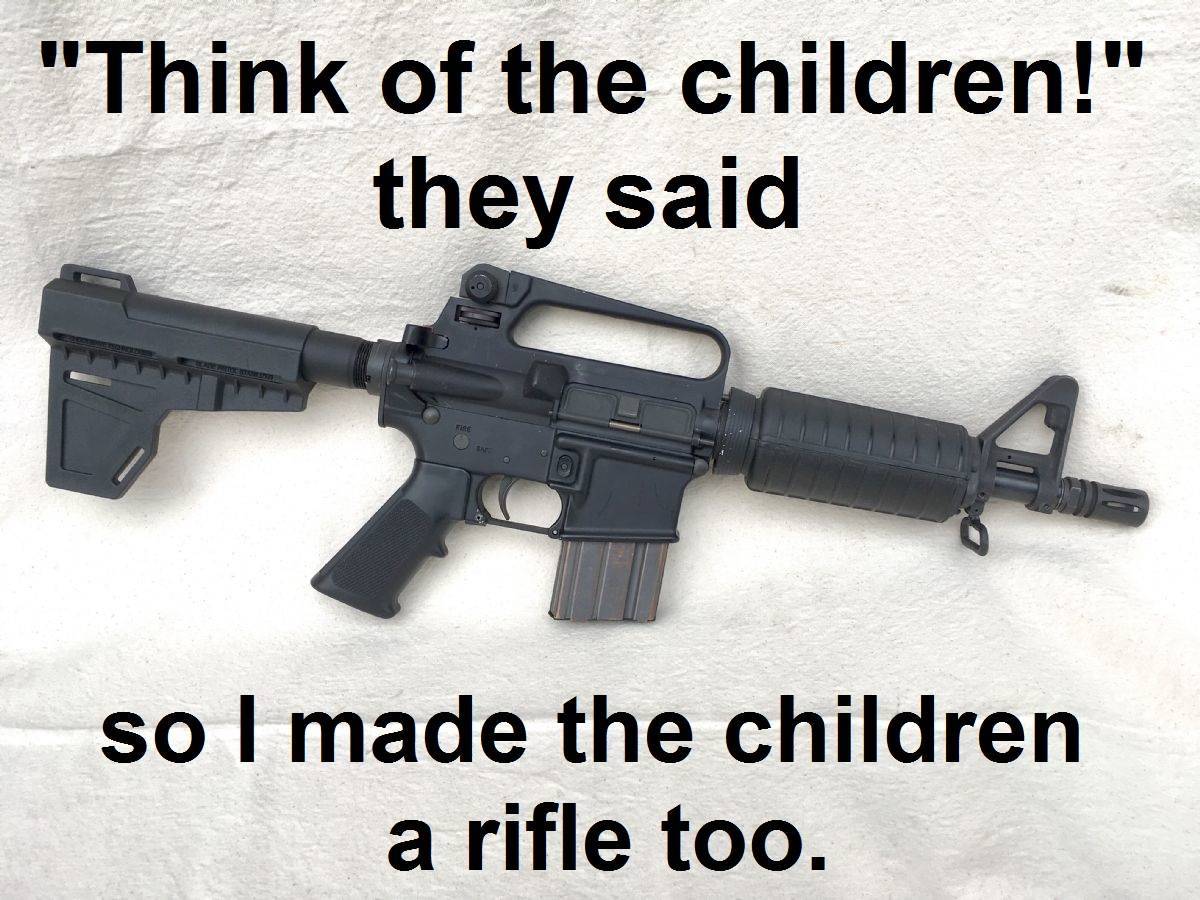
Here’s how the assembly looked when I was finished. I think it looks right fine! Better than I expected actually.
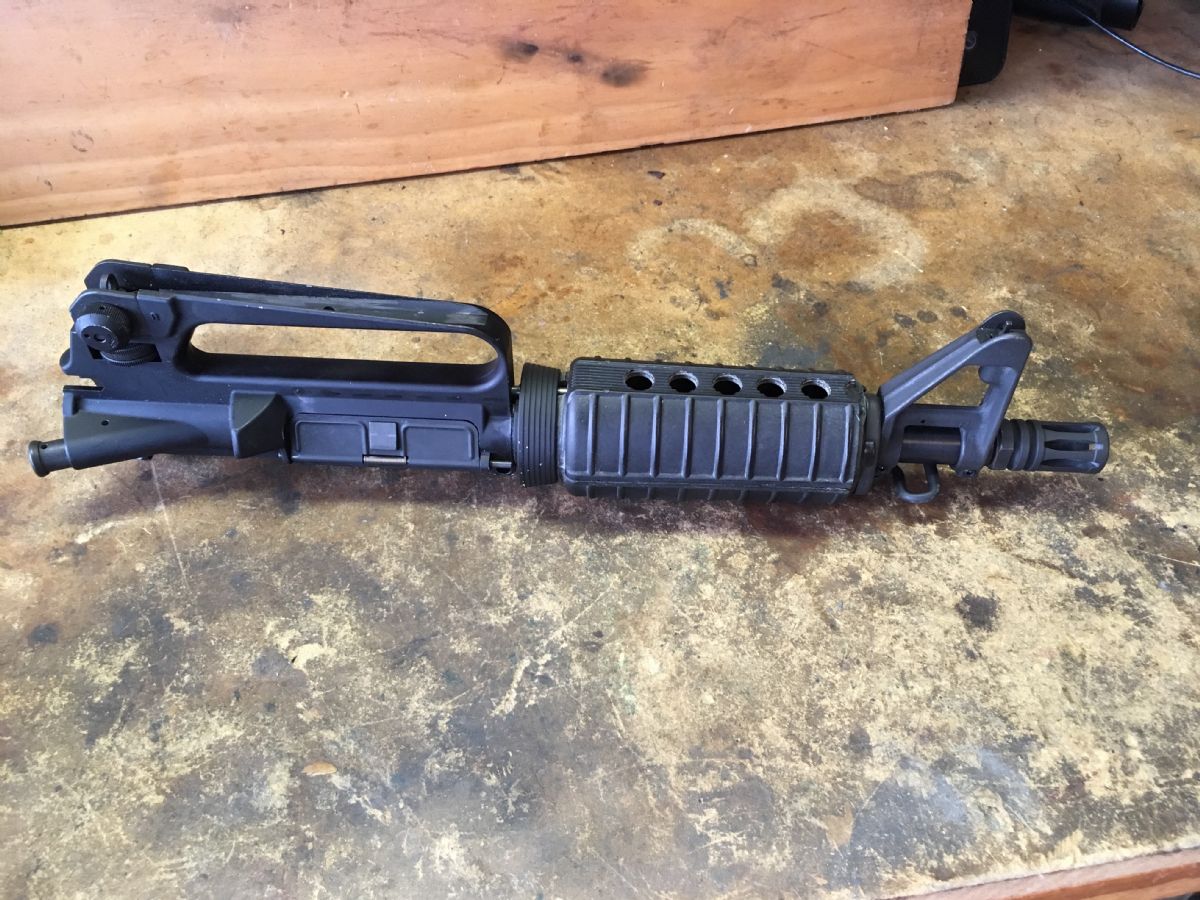
For the TLDR Crowd, here is a video of how I did it with narration:
Start with RIFLE LENGTH A2 handguard. They are tapered towards the front, and the idea is to cut off the front end and tuck it inside the cut down back end, that way the handguards have the proper molding tabs to fit into the front handguard cap. We’re basically cutting out a middle section and putting the two end pieces together.
Cut off the front end NO SHORTER than the length to the first rib. You need some length for stability and you might want the heat shield tabs on the inside.
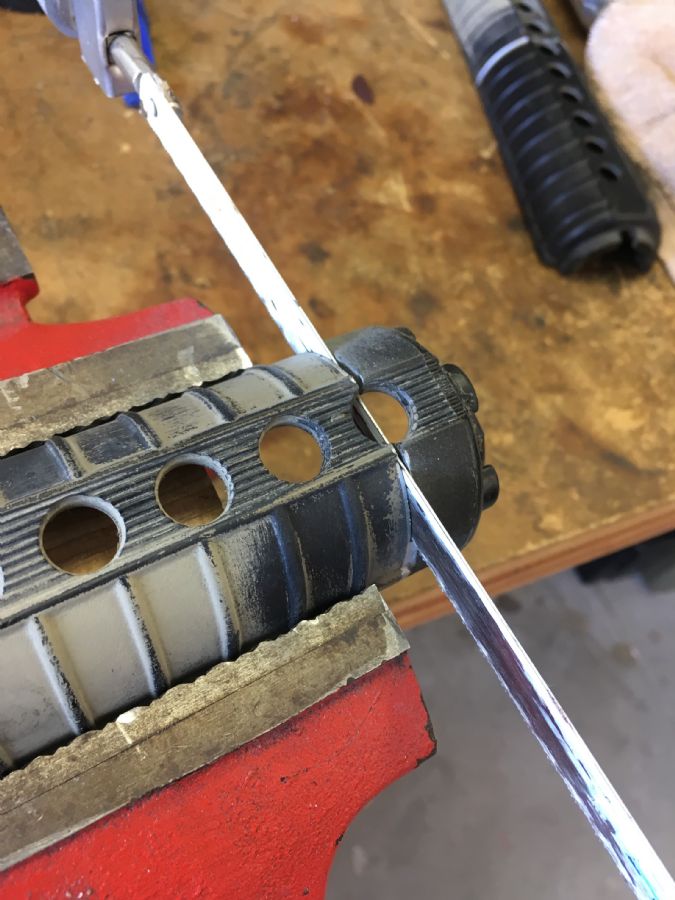
I used a garbage set of handguards that had been painted multiple times. I cleared the paint off to where I needed it.
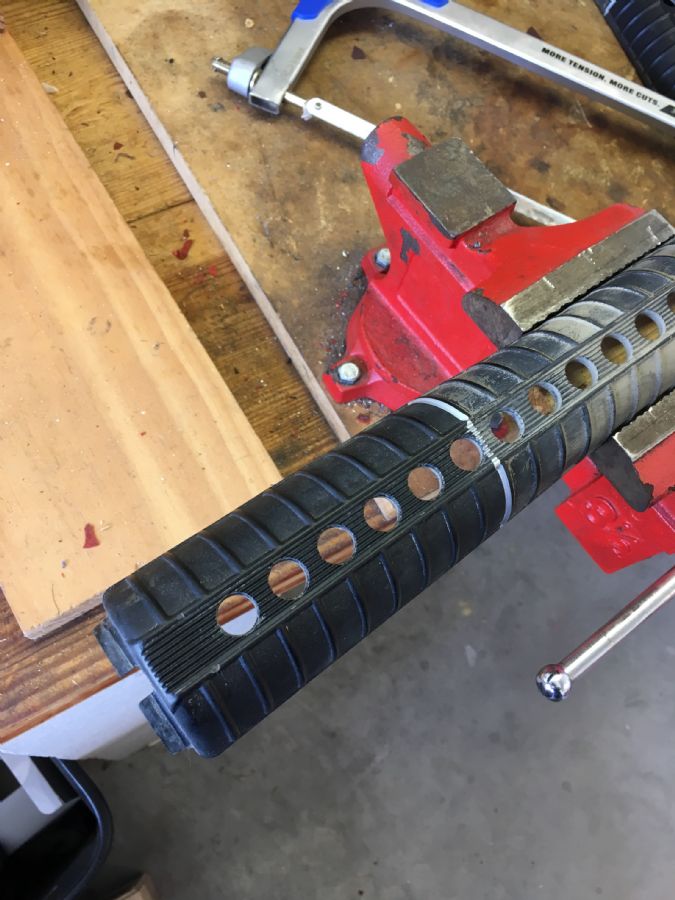
Here is one half mocked up behind the FSB. It’s a bit too long, so I cut it down shorter. (a bit too short…).
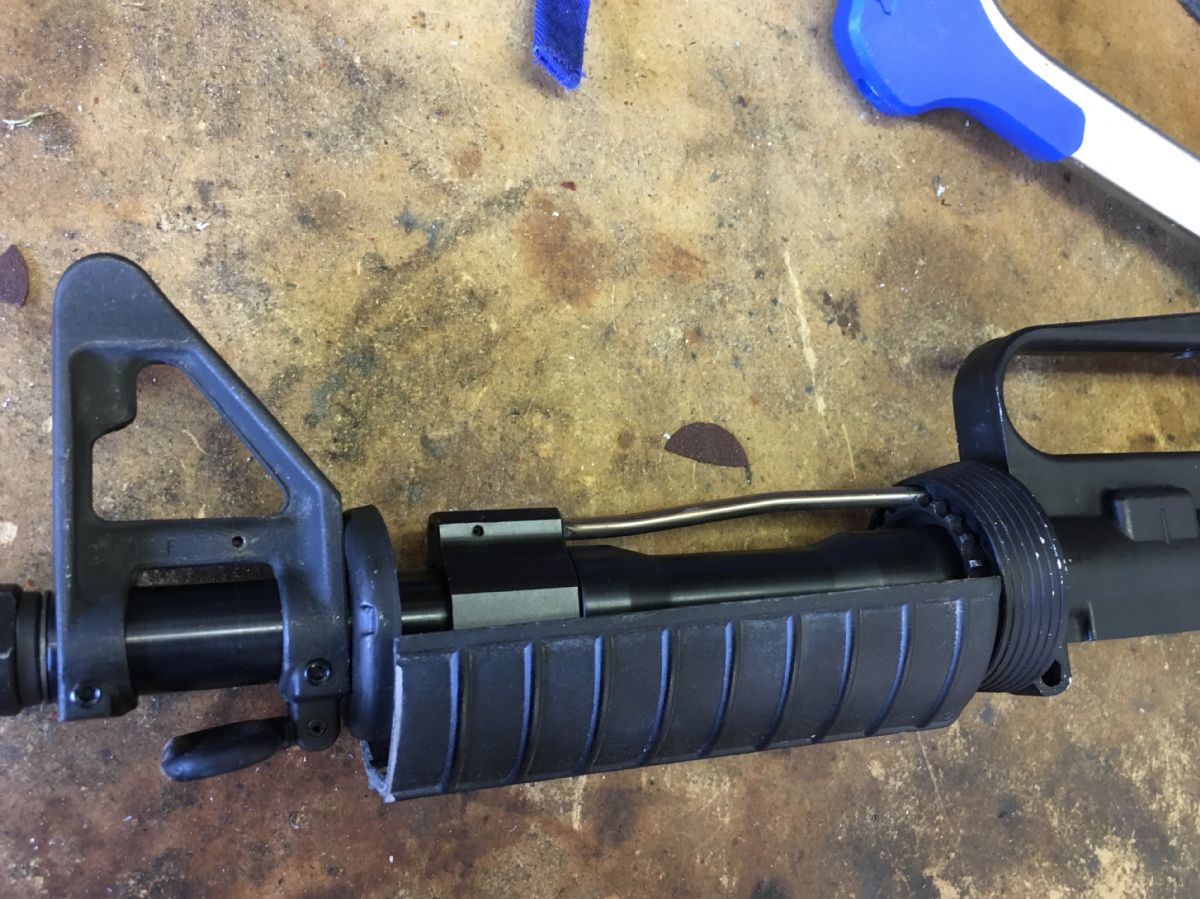
The front sight base I used is a pull-off from a rifle. I cut off the bayonet lug so I could place it right up next to the muzzle threads and still be able to screw on a flash hider. I also drilled and tapped the pinholes to take set screws, but that’s a project for a different article.
Here is the front half nestled inside the back half. It needs some sanding and shaping to fit correctly
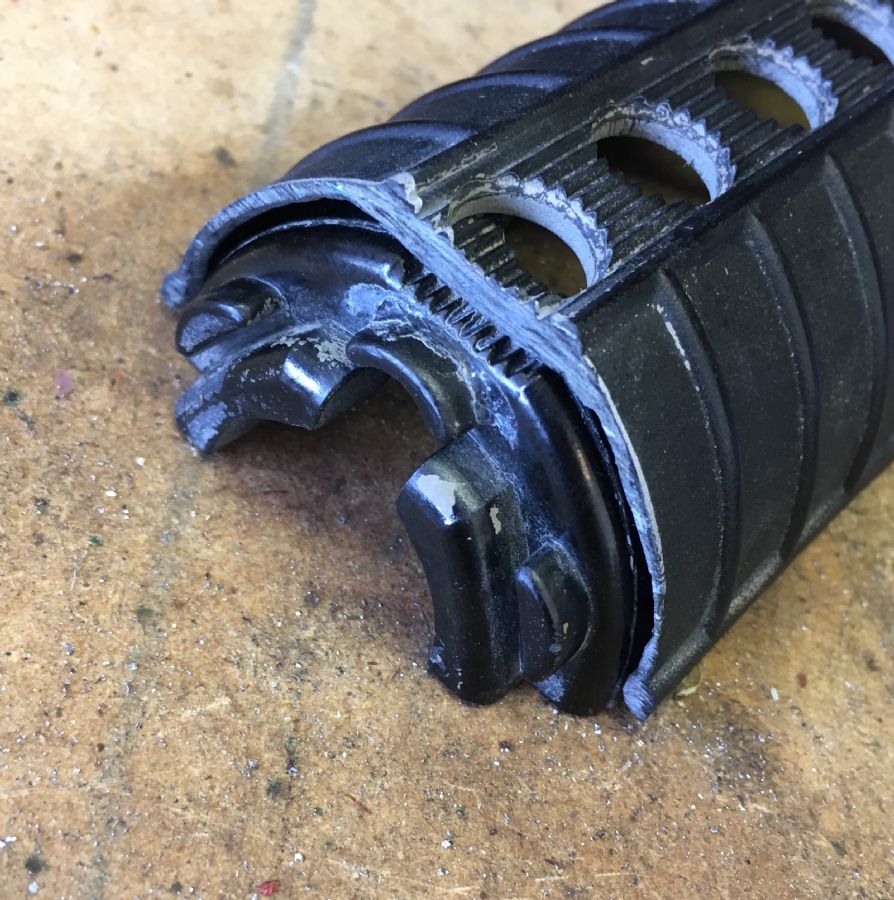
Another view. Note how the inside piece sits too high inside the outer half. The semicircle edges don’t line up. The inside piece needs to be sanded down where the vent holes are and made to be round, not square
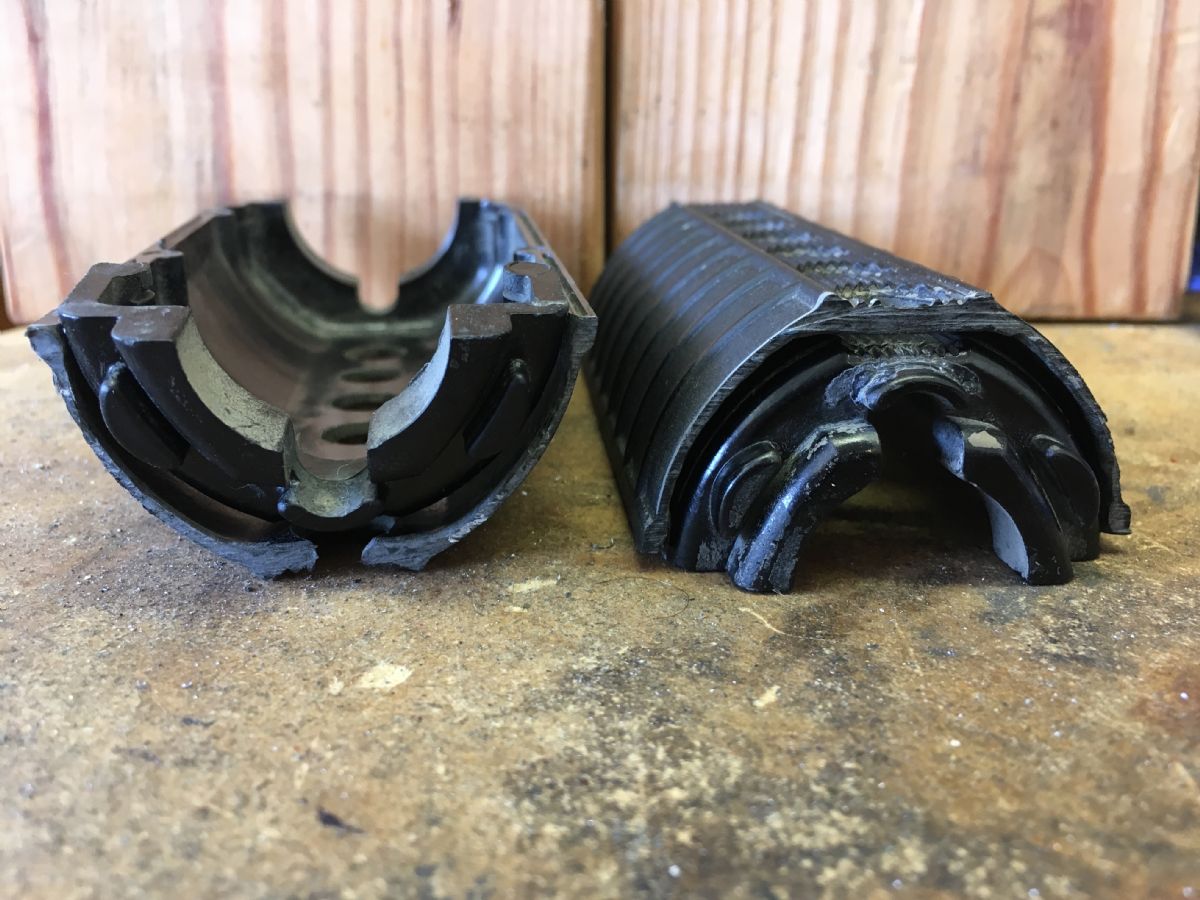
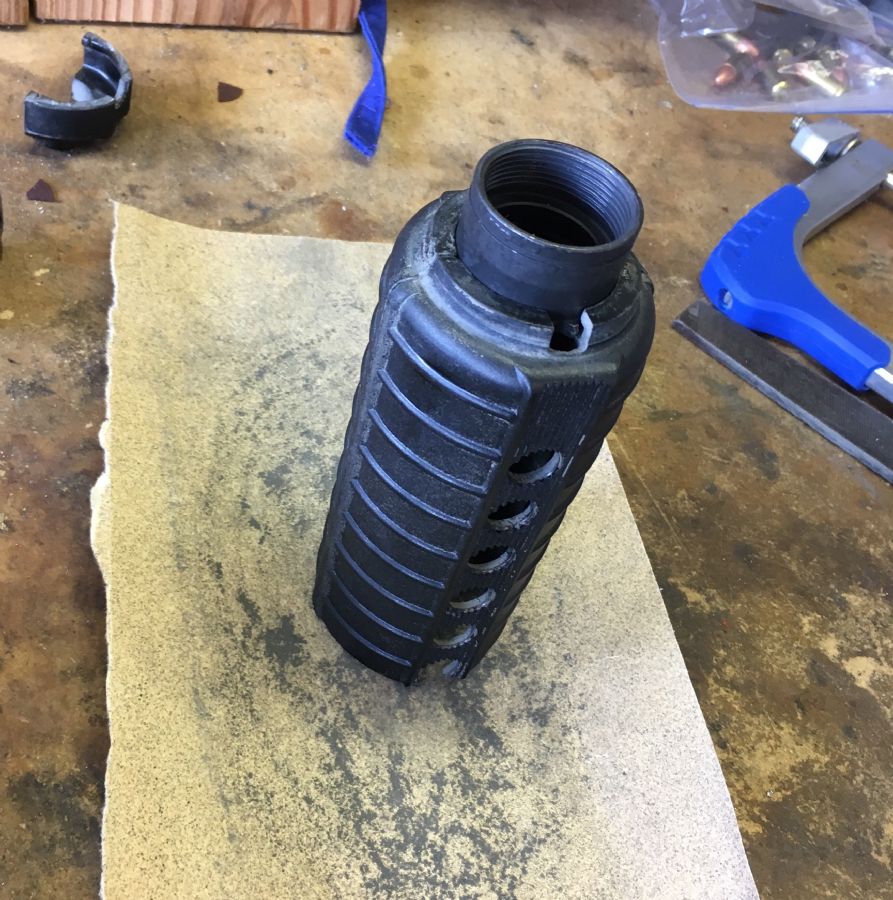
To sand the outer halves square on the front edge I put them into a spare barrel nut to hold them correctly with respect to each other, put the sandpaper on the bench, and worked them until they were nice and even.
Test fit on the back halves. Looks good. You’ll see later that it’s a bit too short.
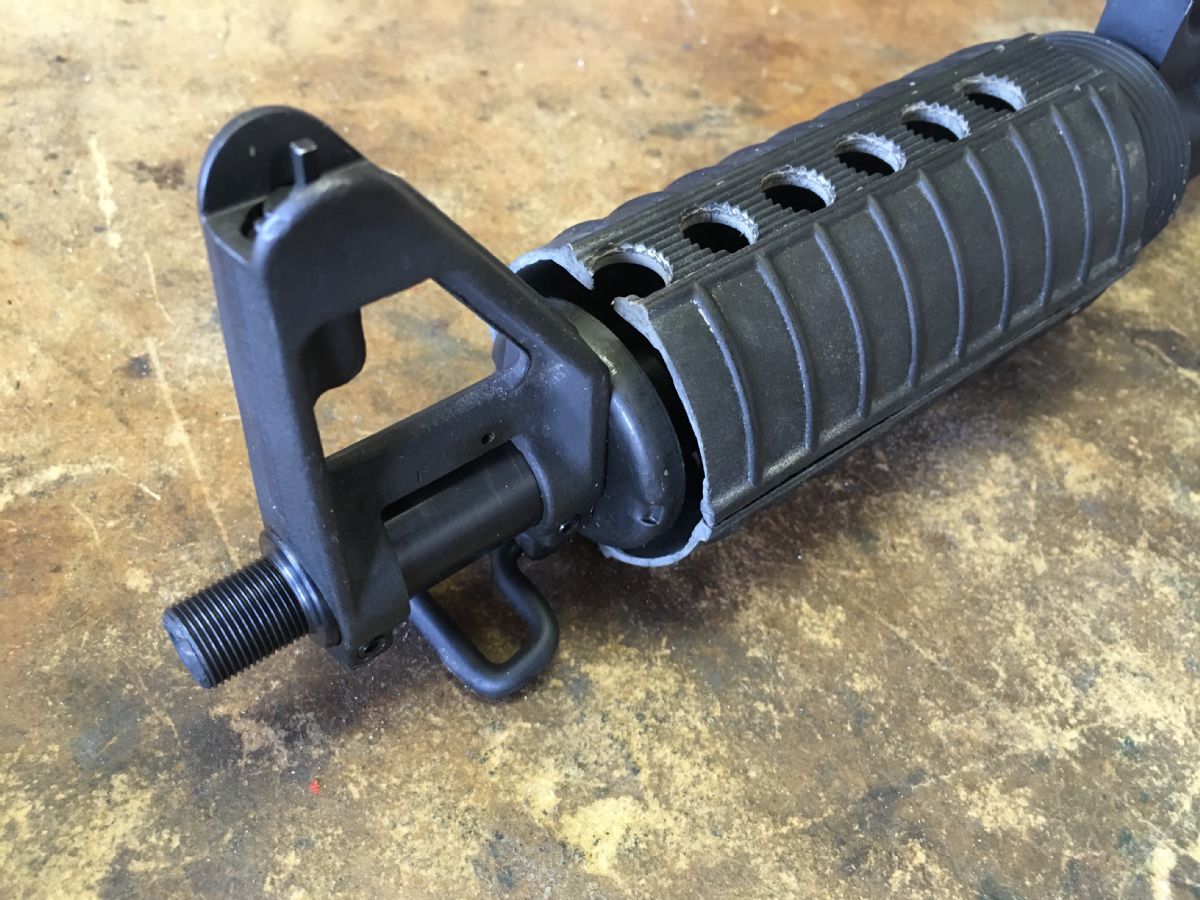 .
.
Test fit on the front halves. Also good.
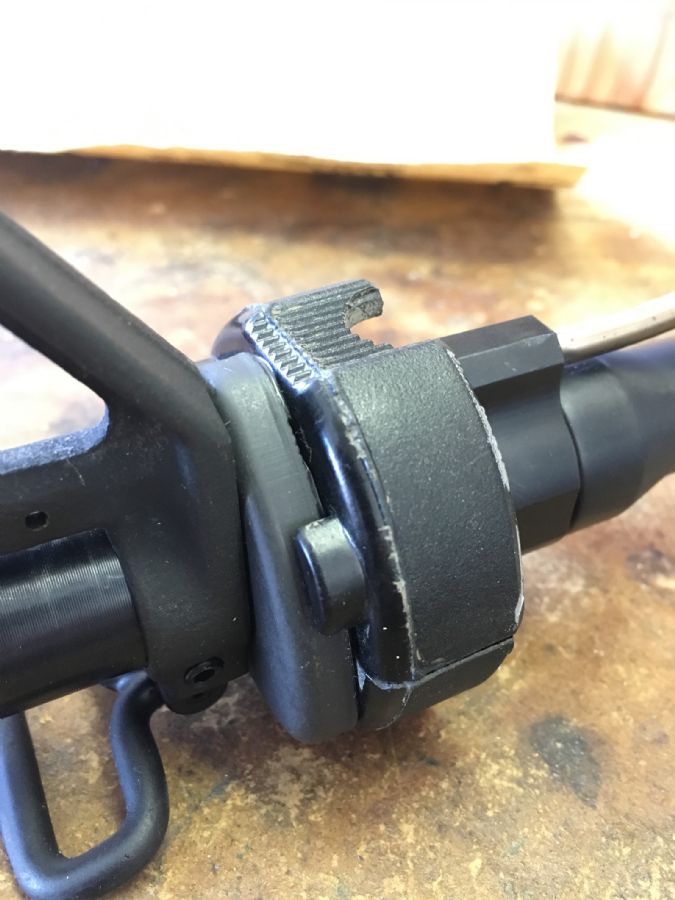
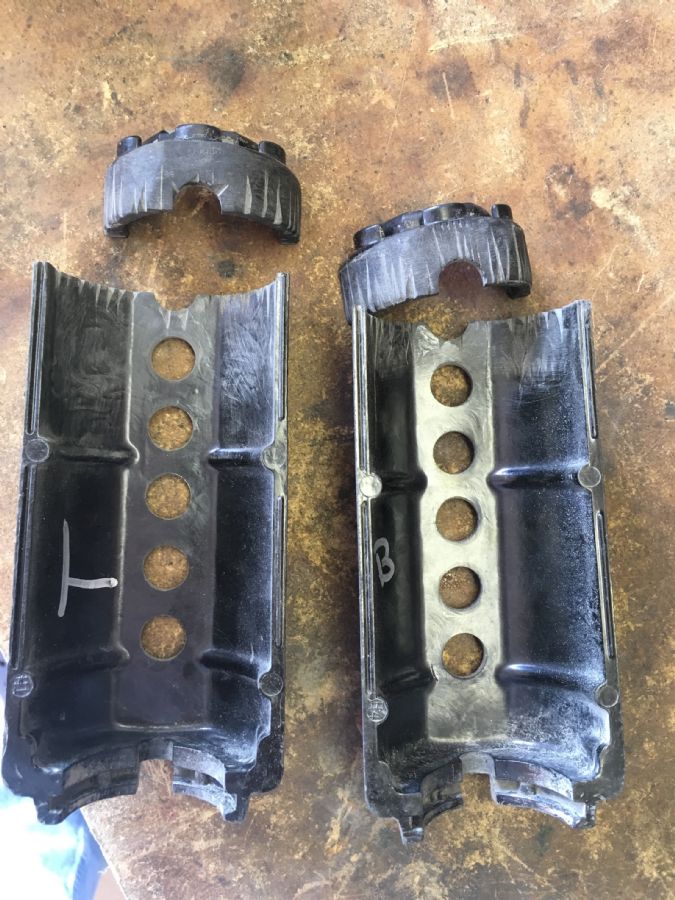
Next, I sanded the inside halves until they fit flush, sanded the outer halves just a bit, then used the corner of a file to cut little channels into each of the mating surfaces for the JB weld to flow into and grab hold.
I made a jig from a round front handguard cap inside and a triangle cap outside to hold the front cap pieces in place while I adjusted them and the quick set JB weld cured.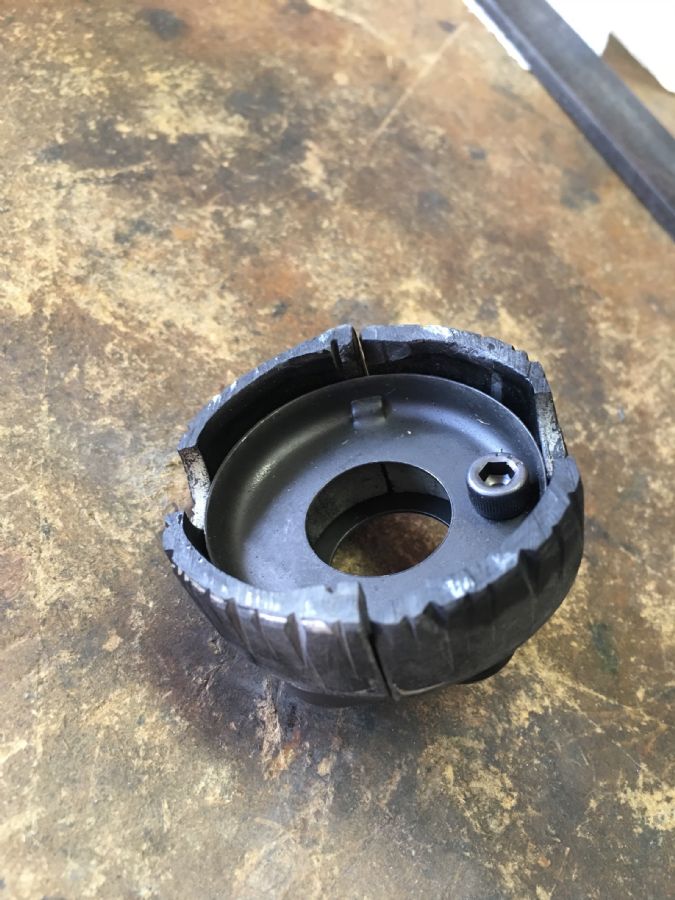
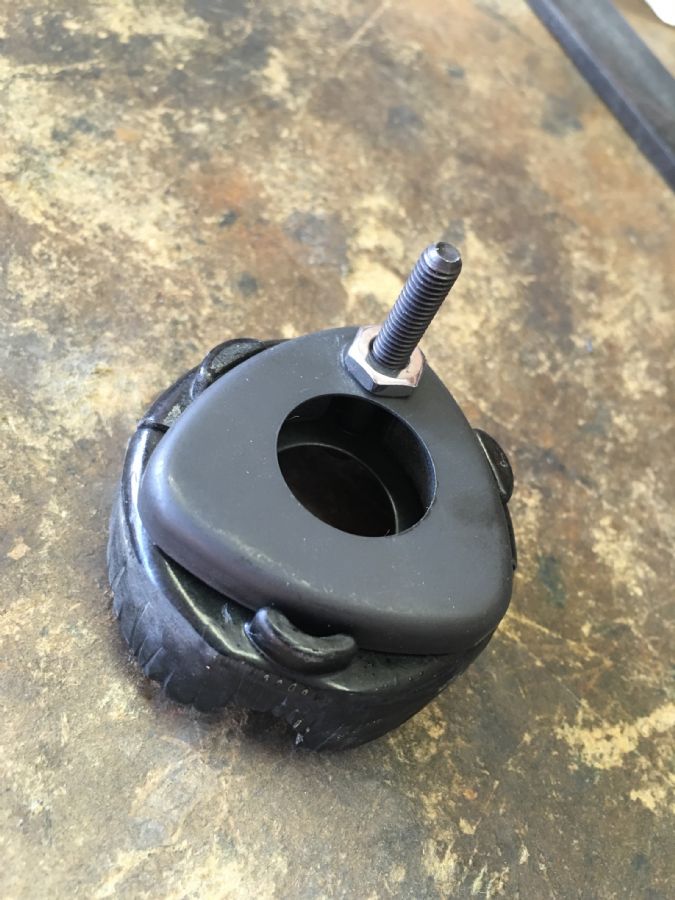
Now I can hold the front halves in the right orientation and slide them in and around when the adhesive is wet to get them lined up precisely before the adhesive cures.
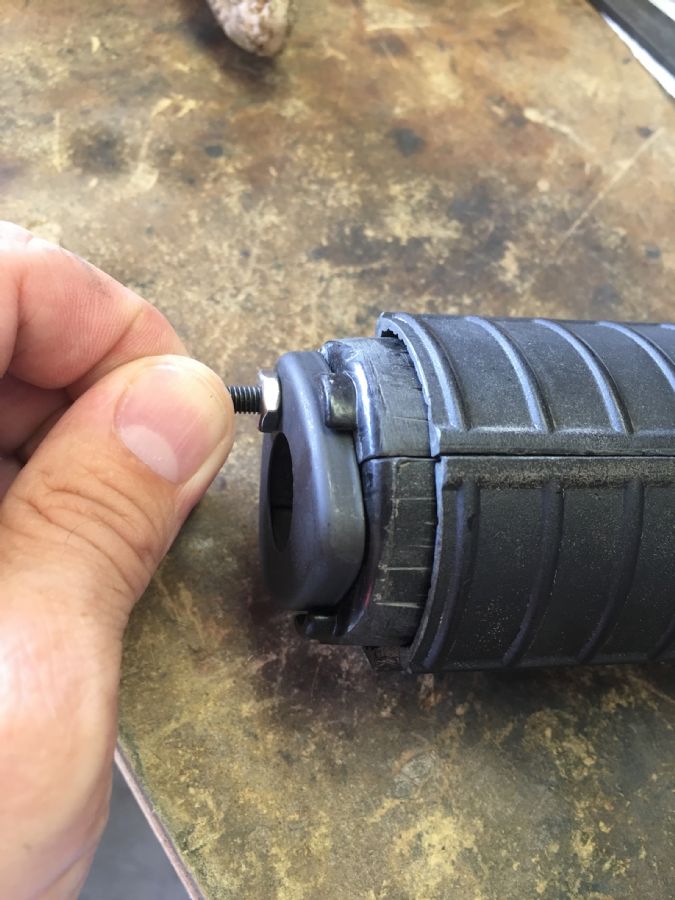
Front view, note the square-shaped vent hole area of the inner halves have been rounded and the inner hemispheres line up with the outer hemispheres. You want to get the edges lined up exactly.
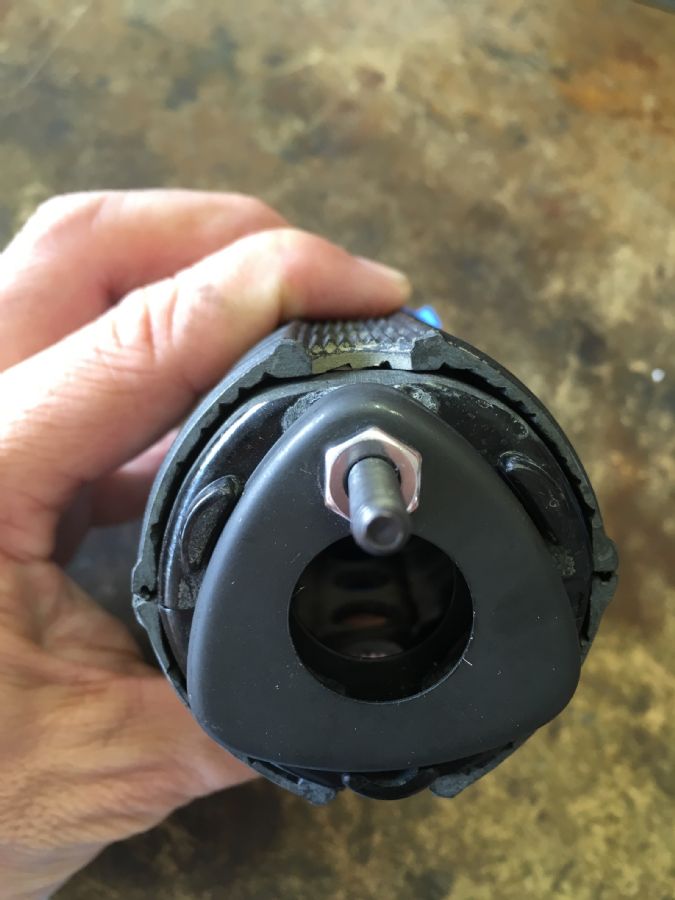
JB Quick is setting. Note that the outer shell has been cut too short and the inner shell visibly sticks out a bit. OOps.
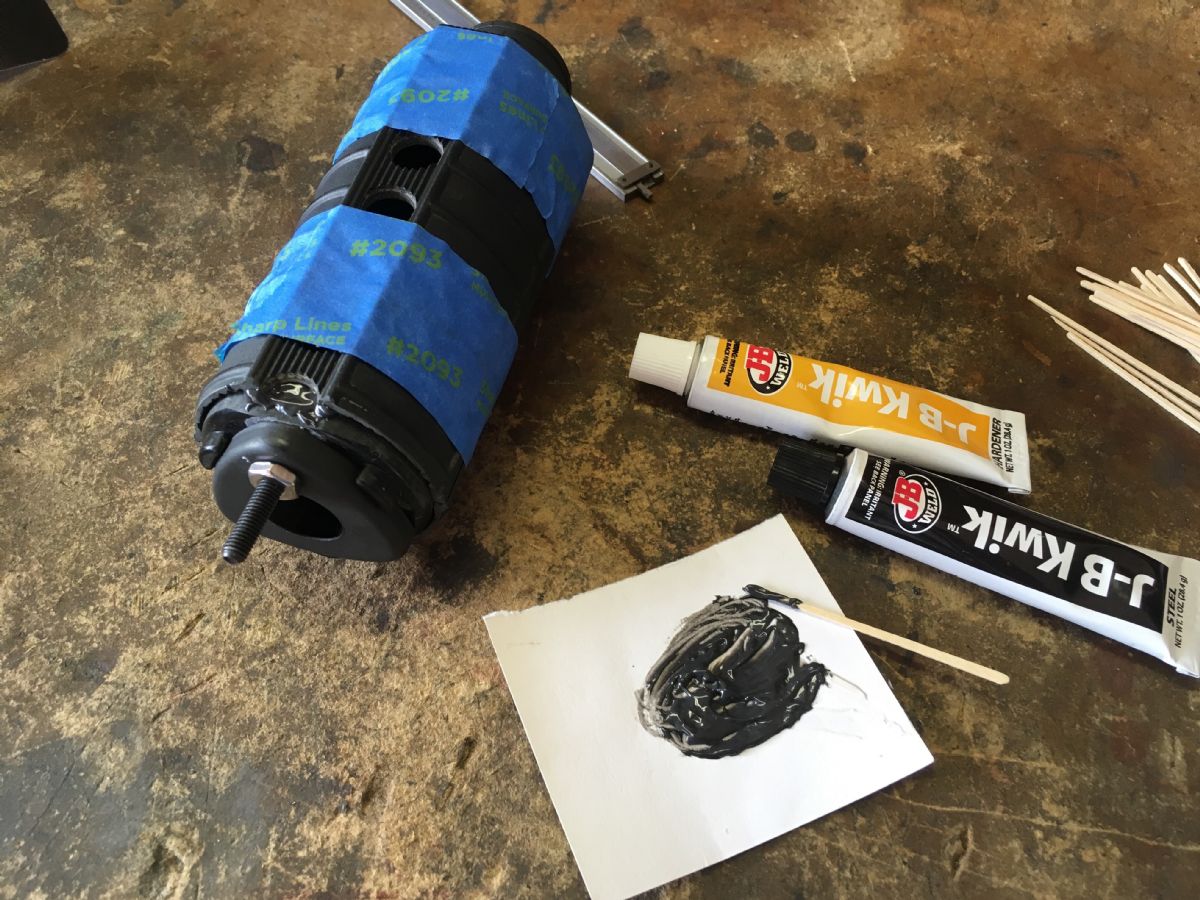
Checking after the JB Quick has done its job. The pieces are held together enough to do the final fitting.
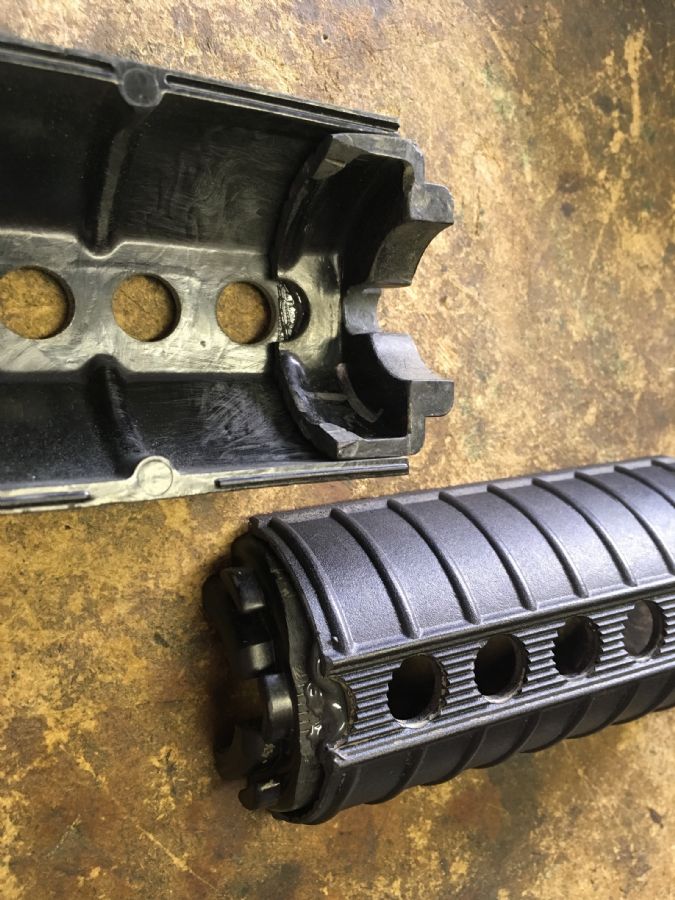
Test fit before final JB weld:
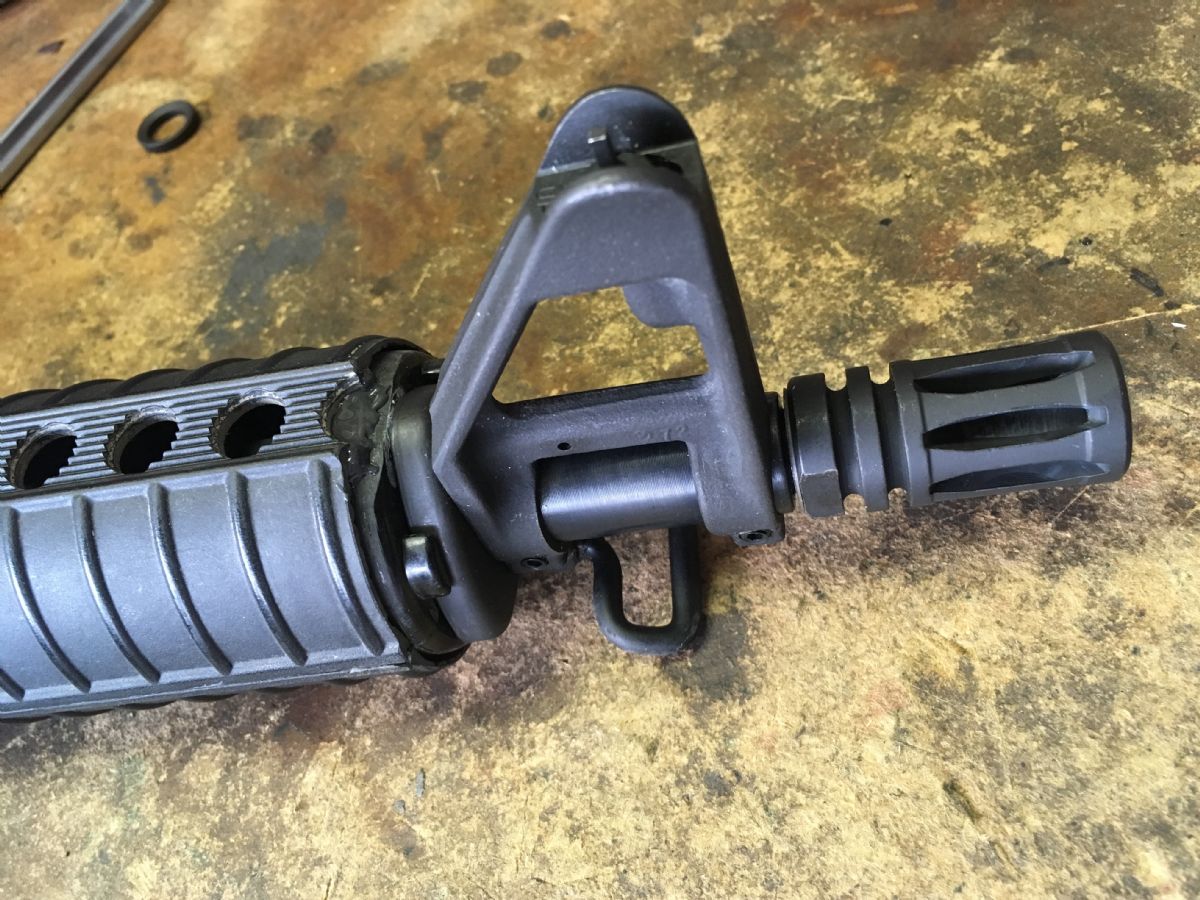
Now the regular JB weld has been applied in all the crevices and seams that remained. I tried to get a good bead on the exposed joint. I also tried to use the JB Weld to fill in the exposed seam and gap between my too-short outer handguard and inner handguard. On future projects, I’ll make the outer handguard a bit longer so there is not an extended joint area.
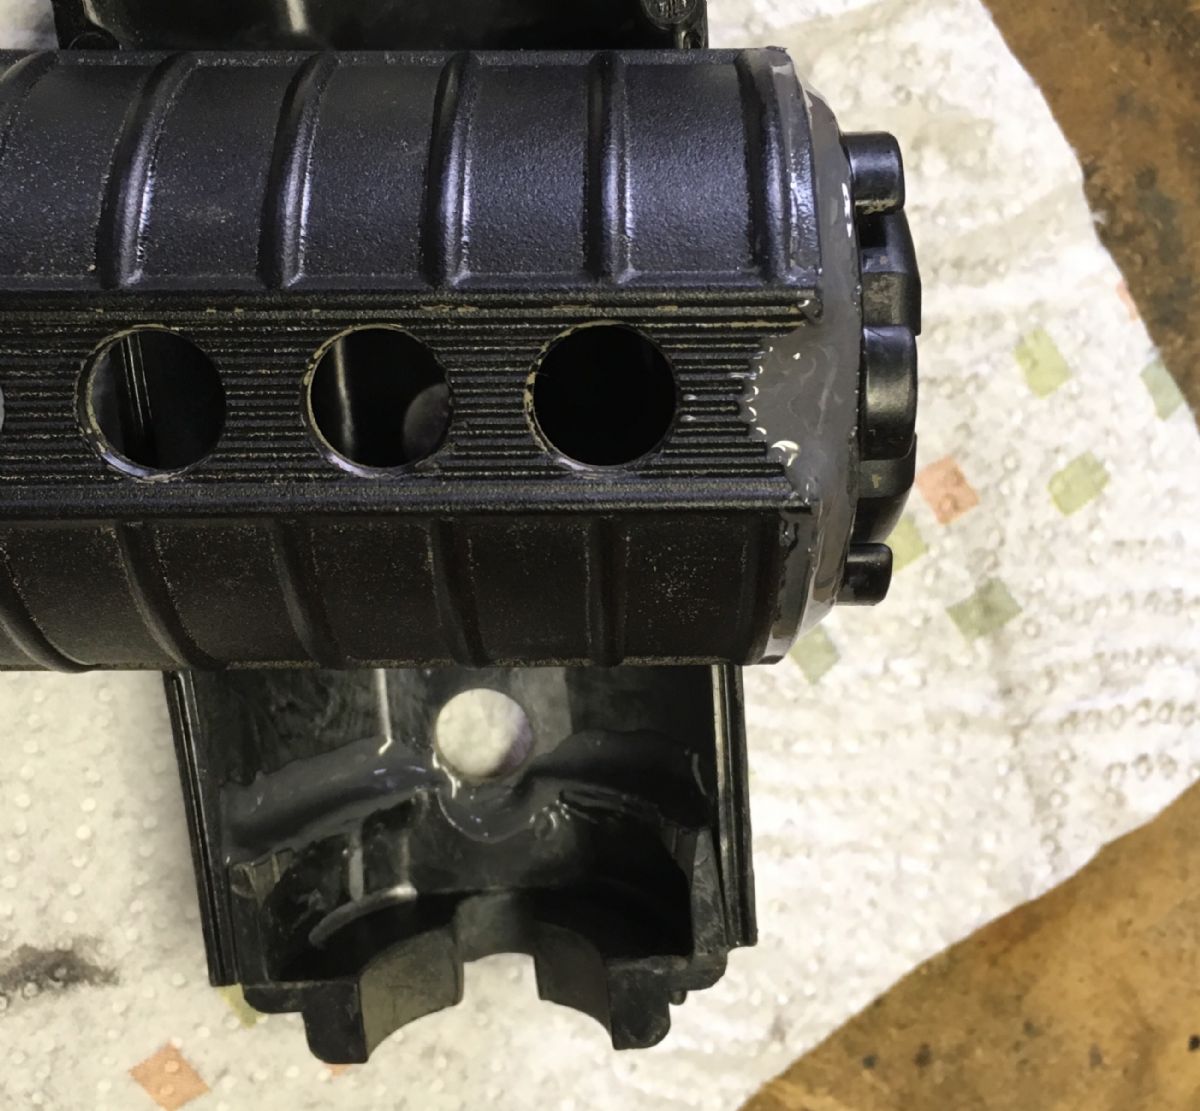
Inside view. You want to keep those little tabs with the slice in it clear of adhesive so the heat shield can fit back into them later. I thought I might have to glue in the heat shield directly if the tabs didn’t work so I cut some spacers from the scrap handguard pieces and glued them in. I wound up not needing them but left them there anyway.
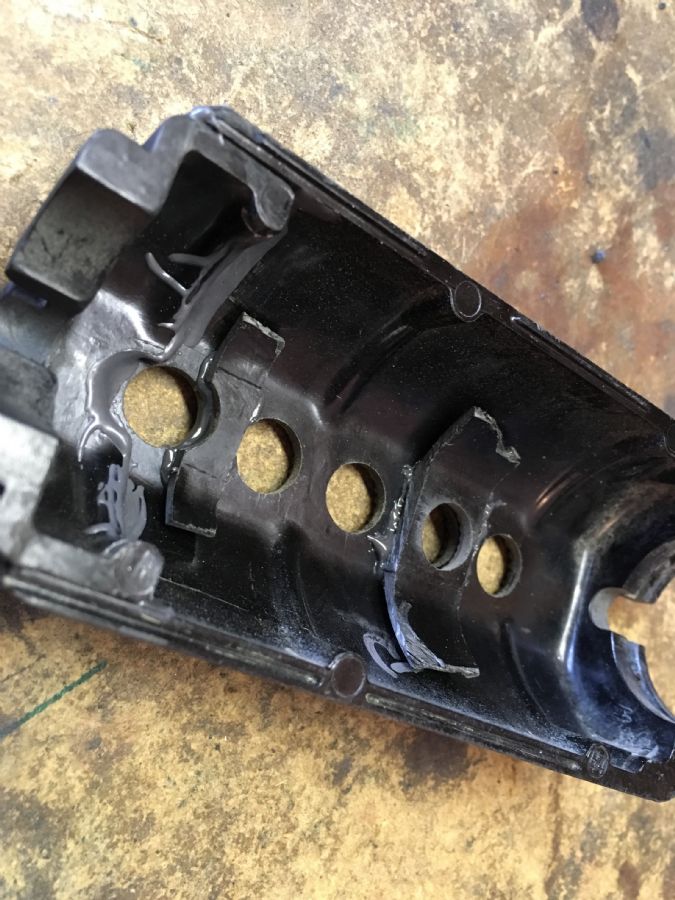
You want to keep the front half of the heat shield with the vent holes. Lengths may vary…
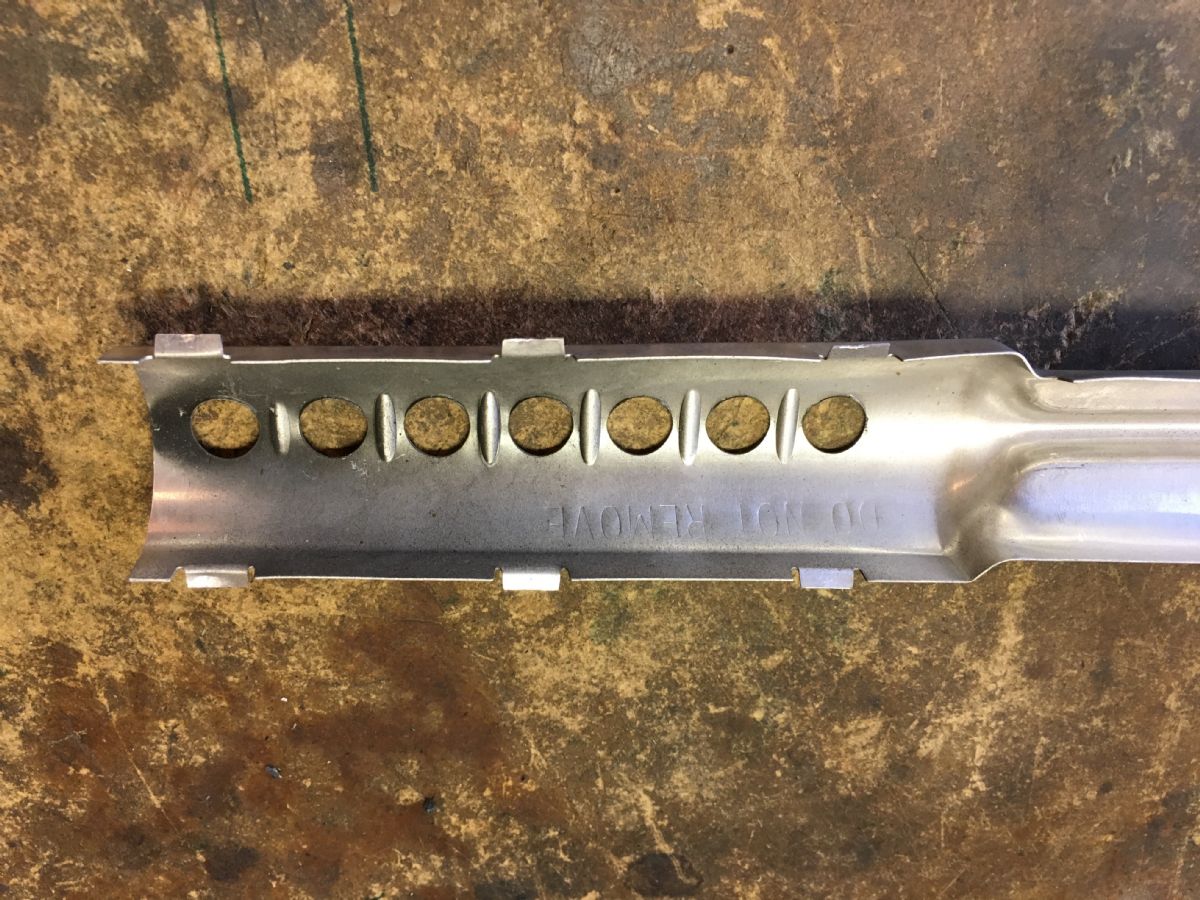
Pic of the heat shield slot in the rear of the handguard.
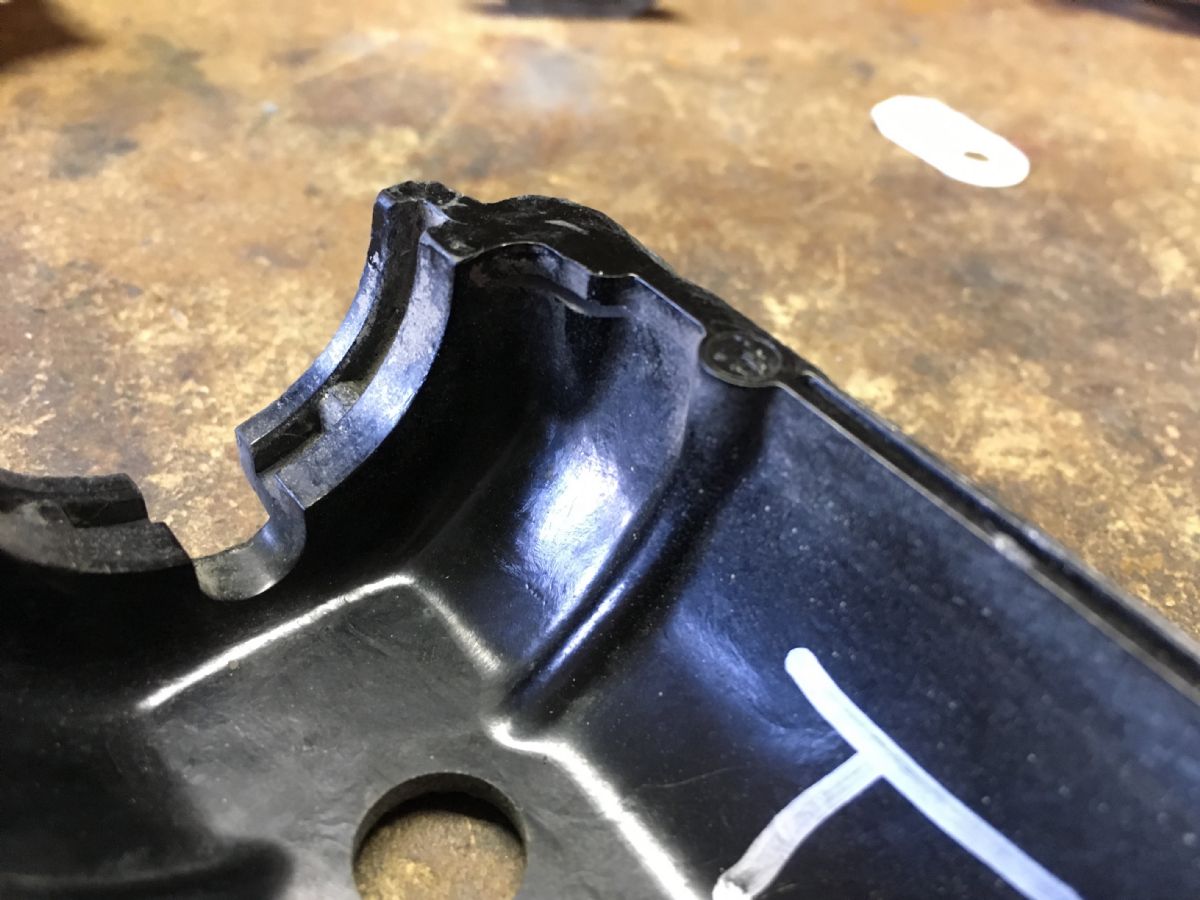
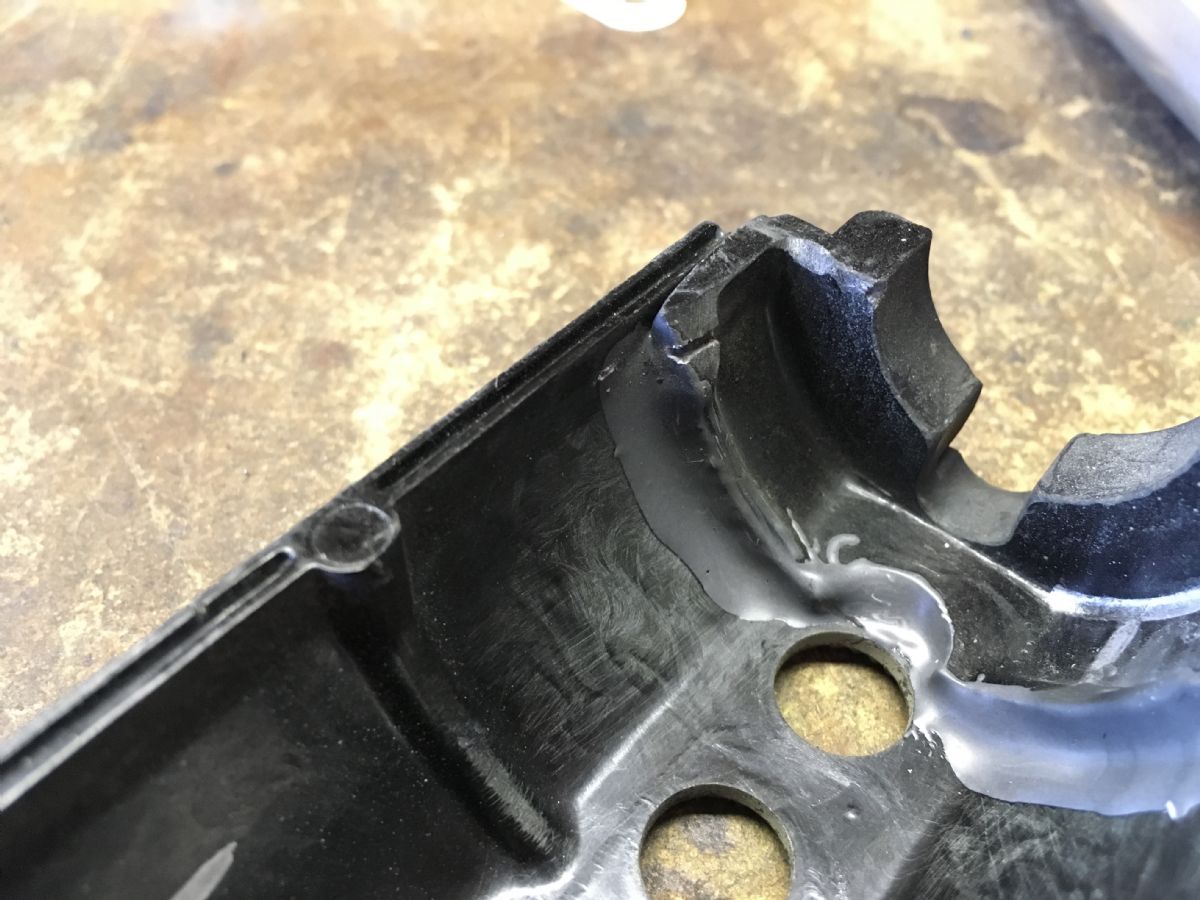
And pic of the head shield slot in the front. I got adhesive in this one and had to open it back up with a hacksaw blade
Rough fit of the cut down heat shield. It took a lot of bending and fitting, but I eventually got both heat shields to fit right. 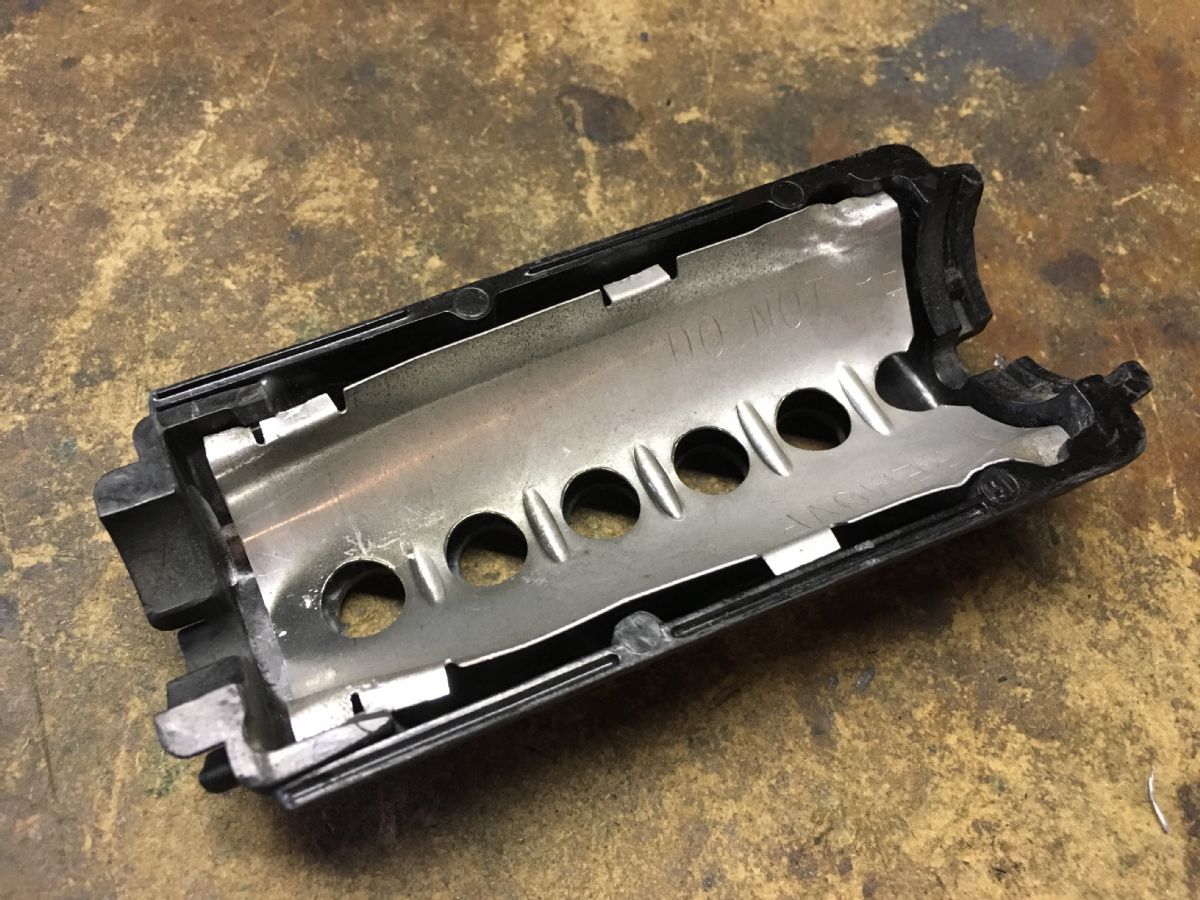
I hit the front end with some black paint to hide the JB weld gray seam and it looks pretty good.

Inside view


Giggles Galore!
Shopping List
Colt A2 Handguards at Brownells: Most people agree that Colt’s A2 handguard is most like GI handguards
PSA Handguards– some people say that PSA’s handguards are strange and cheap. But maybe you like that…


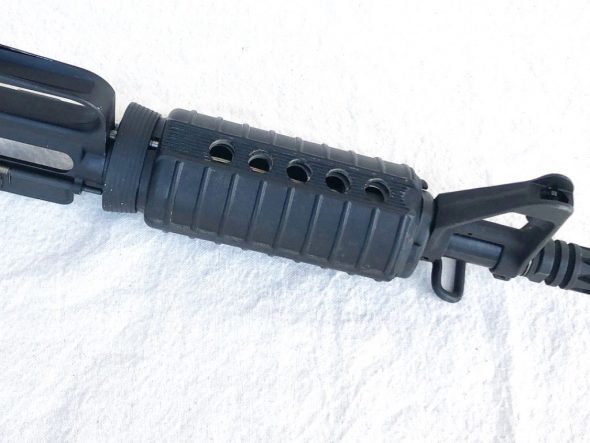


I too have been searching for the exact same “5 hole” handguards… have not been able to find anyone or company that could or would make some from scratch. You did a great job, only thing I would maybe do differently is make it for an 8″ barrel to be able to get rid of the half hole on the handguard.
Would you be willing to make another set like these? You’ve got the touch to do it, I would just screw it up lol. As they say “shut up and take my money” : )
I like your idea a great deal and I have two sets of handguards. One is aluminum two piece and the other is a set like the one you worked. I currently have a 7.5 inch barrel but to make is look and function more to my liking, I am considering a 10 inch barrel instead. Your thoughts?
Also, how exactly did you drill and tap the FSB? Did you drill and tap only the four sides of the base or did you drill the underside of the barrel and tap that too?
Thanks,
Andy
Great work on the handguard. It really does look right on that SBR. I have a Colt SMG clone I am working on. For this one, I needed to find a set of PFW guards. It took a while, but with them on there it looks great. You did yours the absolute right way. Thanks for posting this one up for us. Kinda jelly right now.