Looking for the best variable scope for your AR15? There is no shortage of scope options on the market. There are literally dozens of products ranging from budget friendly to high-end glass that can give even the most dedicated shooter sticker shock. Which variable is the best choice for you? I have compiled a simple introduction to variable scopes popular with the AR15 community. Let’s first talk about the advantages, and disadvantages of a variable:
Why a Variable Scope for Your AR15?
The versatility of an AR15 demands an optic as versatile as the rifle. The goal of 1-4x and 1-6x variable scopes is to give you speed up close, and precision for when it’s time to shoot far. At 1 x the optics have a large field of view, and a very forgiving “eye box”. Magnified to their maximum, they give the shooter capabilities to nail down targets out to 600 yards (or more).
Fast up close, and precise out far, variables have it covered. So why not a variable? As versatile as they are, the main drawback is weight. The variables on the market can typically weight from 14-18oz. Then you need to add a scope mount, and that adds another 3-10 oz from the mounting system. Weight is the trade-off. If the weight isn’t a concern, then these variable scopes give you and your AR15 a versatility that’s hard to match for the dollar.
What’s an “eye box”? The larger the diameter of the objective out, the more forgiving the scope will be with your eye placement. If a scope has a big eye box, you can get on target fast

Aero Precision makes a light weight 3.36 oz scope mount, a good choice if light-weight is a priority.
Optic Features:
Variables also come with a variety of features. Different users may want different options depending on their goal with the rifle. Let’s talk about a few common features you will find in different variable optics.
Turrets: Capped vs. Adjustable
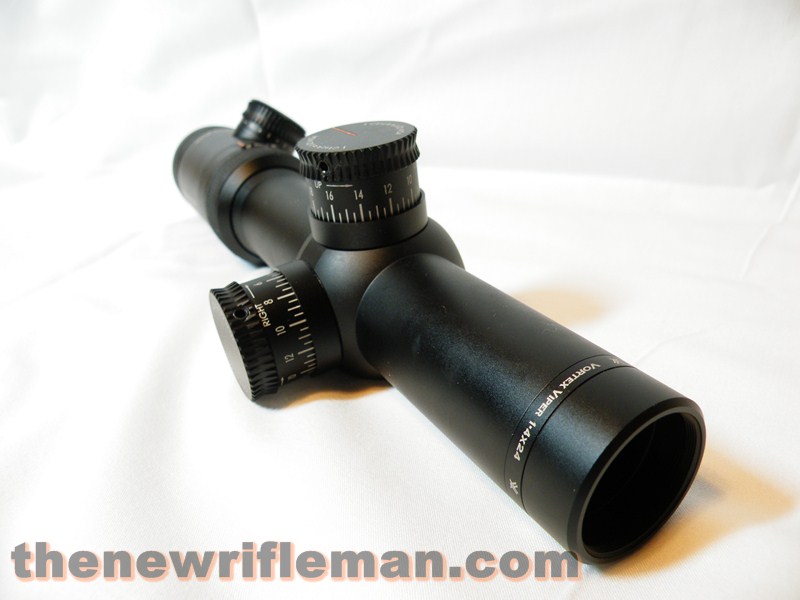
Adjustable turrets on a Vortex Viper PST
The turrets on your scope are where you make adjustments to zero your scope. Many variables come with externally adjustable turrets that allow you to dial in elevation changes and windage on the fly. This is really useful if you are looking to run this scope on a precision rifle. Having the ability to easily adjust the turrets gives you the tools you need to solve your ballistic problems quickly.
Look for models with a “zero stop” which permits you to make adjustments and then reverse all the way back to your zero. Scopes without a zero stop may allow you to adjust too far below your zero in error. On some models, the exposed turrets will be quite tall and can catch on your gear more readily than capped turrets.
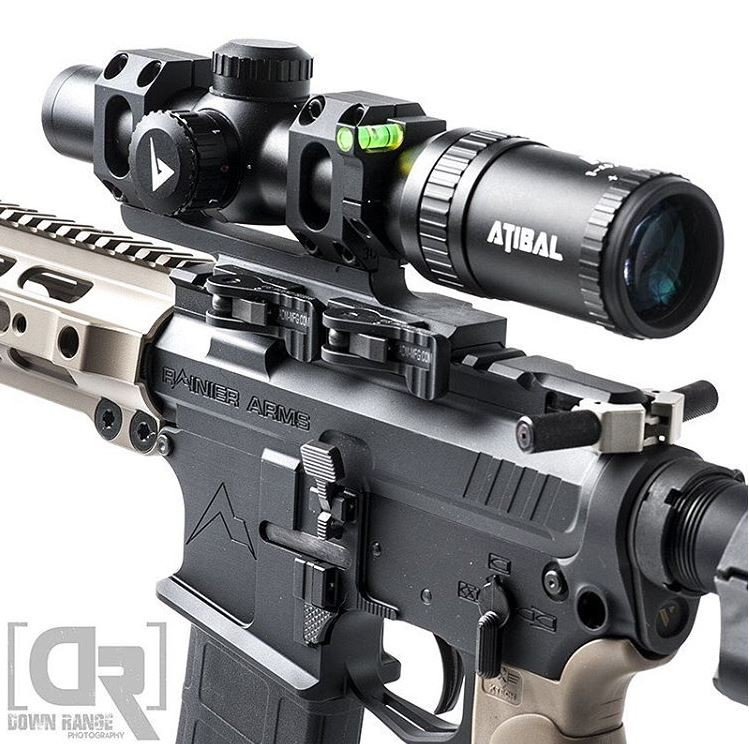
Capped Turrets on a Atibal Velocity 1-4x
Capped turrets allow you to make adjustments to the scope when the cap is removed. Once you are zeroed, no changes can be made without taking the cap off. Typically a capped system will be lower profile and have a smoother look with less protrusions to catch on. I personally prefer the lower profile of the capped turret, and I don’t mind keeping the cap in my range bag if I am going to play with windage adjustments. Capped may lack a zero stop; keep that in mind.
First Focal Plane vs. Second Focal Plane
Another common term is the FFP vs SFP reticules. A first focal plane reticle keeps the reticle consistent with the size of the target. Typically you will see the reticle shrink at 1x and it will grow as you increase magnification. This allows the reticule size to stay consistent relative to the target regardless of the magnification. In other words, if you are at 2.5x and your crosshairs have shoulder width range estimation lines, you can accurately range the target and fire.
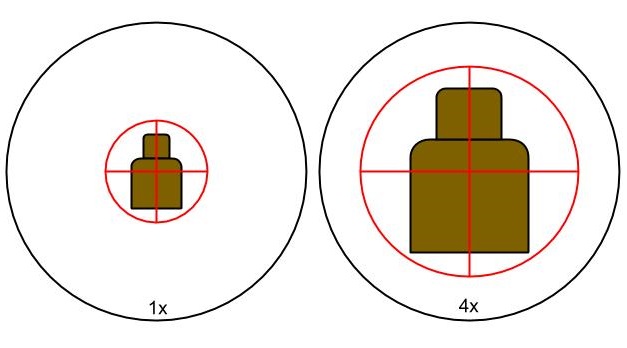
A FFP reticle stays the same size on the target at any magnification. If your reticle has units of measure (such as MOA or MilliRads) then they will stay consistent at any magnification level.
Second focal plane keeps the reticle the same size at all magnifications. This does not allow the shooter to range a target unless they are at the manufacturers recomended magnification. For example, a Vortex Viper PST’s subtensions are only correct if you are zoomed in at 4x.
A Variety of Scope Reticles:
There are too many reticle styles available to do a comprehensive comparison. Let’s look at some common reticule types. The first type of reticule we will briefly discuss is a setup that has MOA or MilliRadian substensions. These reticles are not calibrated to a specific cartridge and simply measure windage and elevation with universal measurements. This type is useful if you want to put the optic on multiple guns with the trade-off being that you need to map out the bullet drop yourself.
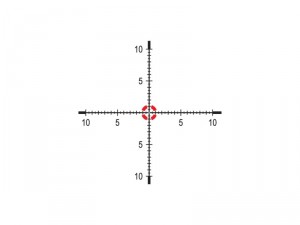
A reticle with MOA substensions.
The second type of reticule we will look at is the reticle which has bullet drop compensation built into it. The Burris MTAC has a unique reticle designed to compensate for the bullet drop from certain 5.56 loadings and certain 7.62 loadings. These bullet drop compensated reticles are designed to get hits on target quickly at a variety of distances.
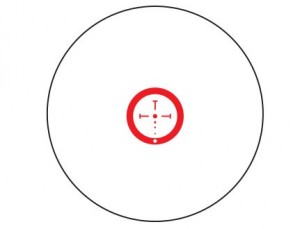
Ballistic CQ reticle is calibrated out to 600 yards with and is compatible with a variety 5.56 and 7.62 loads. Image Courtesy of Burris Company, Inc.
The last reticle we will discuss is the simple duplex, dot, or post type reticule. These reticles are not made for a specific load, and don’t feature any means to estimate bullet drop compensation. These types of reticles are the most simple, but lack the bells and whistles of other designs, namely bullet drop and quick range estimation.
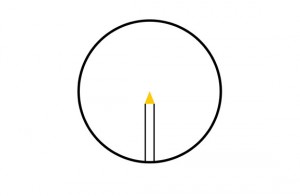
The Trijicon TR24 reticle is a simple triangle point without bullet drop compensation. The simple, uncluttered reticle is useful on a variety of firearms.
Your choice of reticle should depend on your use. If you are going to keep the glass on a specific gun, buy an optic calibrated for the load you intend to use the most. If you are not sure how you are going to use the scope in the future, a model with MOA or Mils will be a good choice since it isn’t calibrated for a specific gun/projectile combo. If you want to keep it simple, then a simple reticule might be the way to go. Give this some thought, as once the purchase has been made you don’t want to second guess your needs / wants.
Understanding Low Light Shooting With A Variable Scope:
1-4x variables have a trick up their sleeve that really set them apart from other common AR15 optics: They will give you better low light capability than either a red dot or iron sights. The scopes in the 1-4x category typically have a 24mm objective lens with an exit pupil that varies depending on the model. The 24 mm objective gathers light and funnels it to your eye.
As the light exits the rear of the scope, it will be focused at a certain diameter which is known as the exit pupil. The size of the exit pupil varies based on your magnification setting. Changing the magnification is how you will “tune” your scope for low light. To tune the scope for better low light shooting, three things must happen:
- There must be some ambient light. No light means none is gathered.
- The magnification must be increased until the exit pupil nears 6-8mm so it matches your night adapted pupil.
- The crosshairs / reticule must be illuminated enough for you to see them and fire upon the target.
As you twist the bell of the optic to adjust the magnification, you are changing the size of the exit pupil. The Burris MTAC, for example, at 1x has a 24mm exit pupil and at 4x a 6mm exit pupil. To better use this specific scope in low light, you need to crank the magnification ring until the exit pupil matches the diameter of your night adapted eye, typically around 6-8mm depending on your age.

In low light, there is a sweet spot where the exit pupil matches your night adapted eye. The Burris MTAC 1-4×24 appears to give the best low light performance at 3.4x magnification for a 7mm night adapted pupil.
All variables can *theoretically* brighten the image, but the quality of the glass will play a big role in how useable the optic is in the dim light. Look for high light transmission optics and buy the best you can afford. You cannot take advantage of increasing the low light performance if the scope glass quality is so poor that light is lost as it travels through the scope.
So you have brightened the image, can you see your crosshairs? No? Well you need…
Scope Illumination:
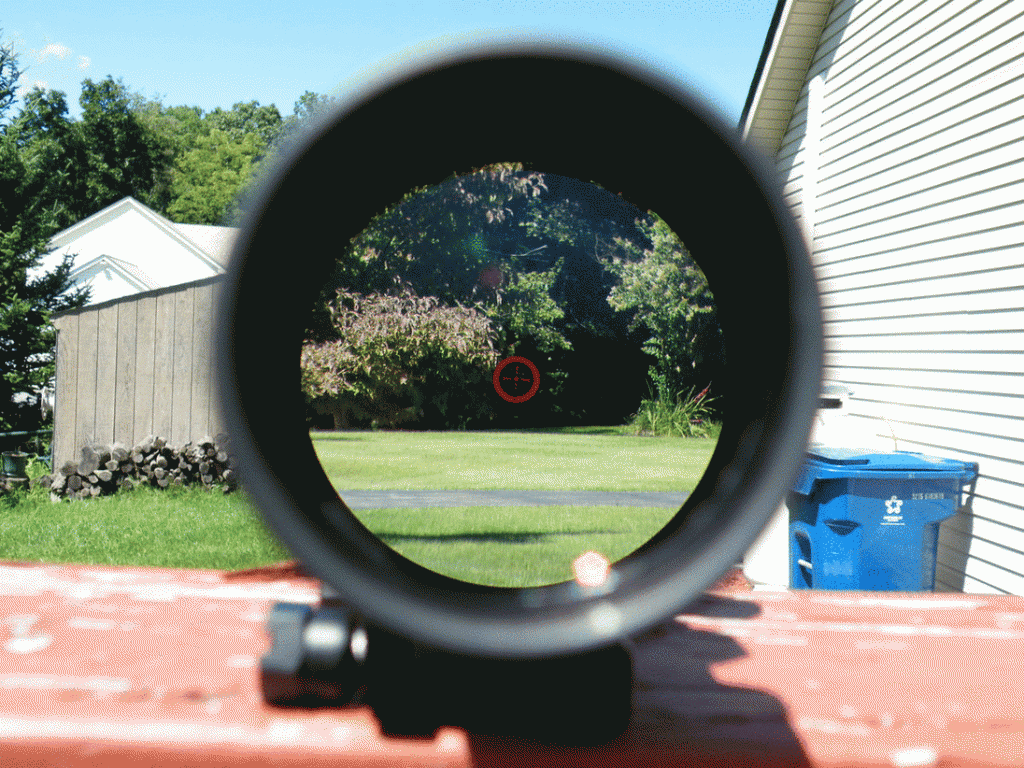
Even in broad daylight, there is still need for illumination if you are aiming into a darkened area. The optic above is the Burris 1-4×24 MTAC with the illumination switched on and off. The MTAC is one of the few “daylight bright” variables in its price range.
Typically, variable scopes use battery-powered illumination to illuminate the black reticle. 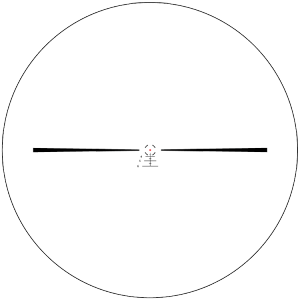 While the illumination of variables scopes continues to improve, there are very few models that can match the brightness of a red dot. Some models are just too dim to be considered daylight bright. Make sure you read reviews of the model you are looking at to make sure it is bright enough for your needs.
IF the batteries die, reticle designs with bold lines lend themselves to speedy target acquisition, even without the illumination. The Burris MTAC is one such example as is the Nightforce nxs FC- 3G (seen above and right). Many variables use a bold reticule designs that grabs your attention even with the illumination off.
Prices:
You probably are wondering why some models cost $200 and some cost $1800. Your ultimate goal is to set out your needs, set out a price point, and then navigate to a few models and compare them. The quality of materials and durability of a quality optic will give it the feel and durability of a tool, where as a low quality junk variable will leave you feeling like you purchased a toy. Again, balance is key.

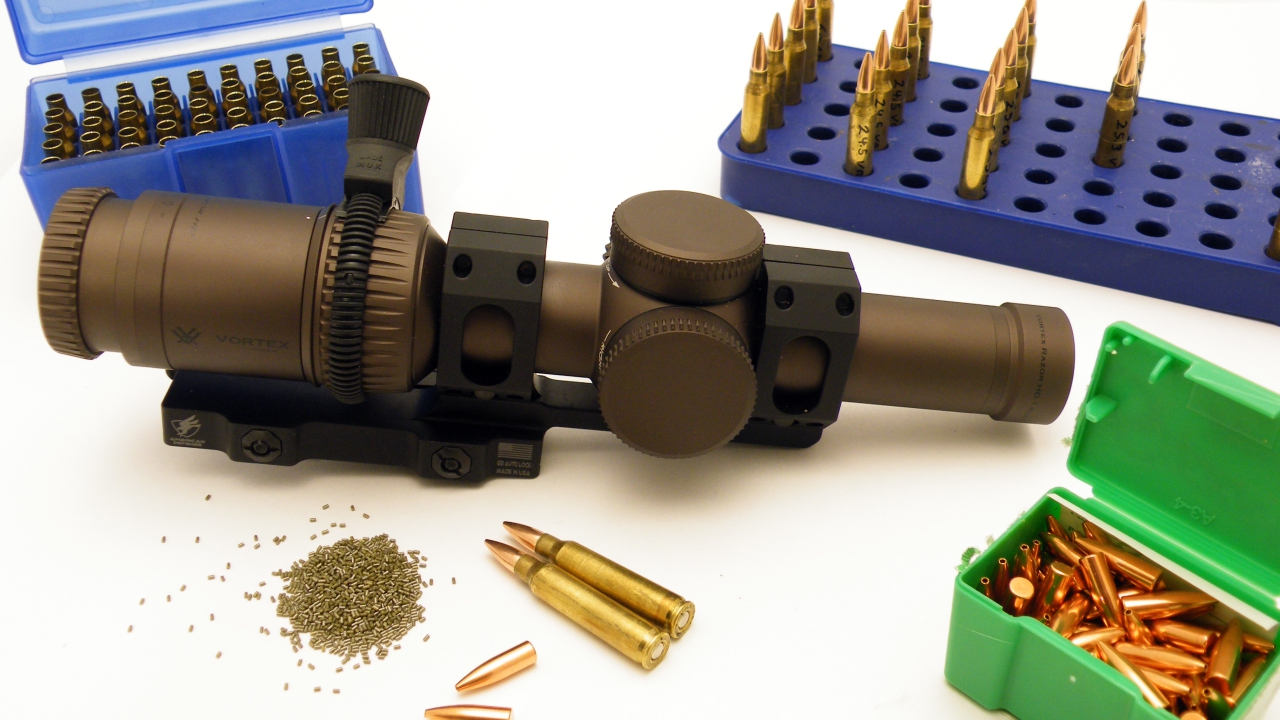
A Vortex Razor HD II represents one of the $1300+ dollar plus variables on the market. Buy once, cry once right?
Wrapping Up:
Choosing a variable scope for your AR15 has plenty of advantages for the AR enthusiast. Navigating the endless model variety is the hard part. Choose the best scope you can afford and think about your needs / wants very carefully. There is a point where spending $2500 on a variable might give you diminishing returns, but flip it over to a sub $150 variable and you may have some serious quality issues. This guide is a short snapshot of some of the terms and features you may find, but this product line is full of innovation and unique features that might not be covered here, so do your research.
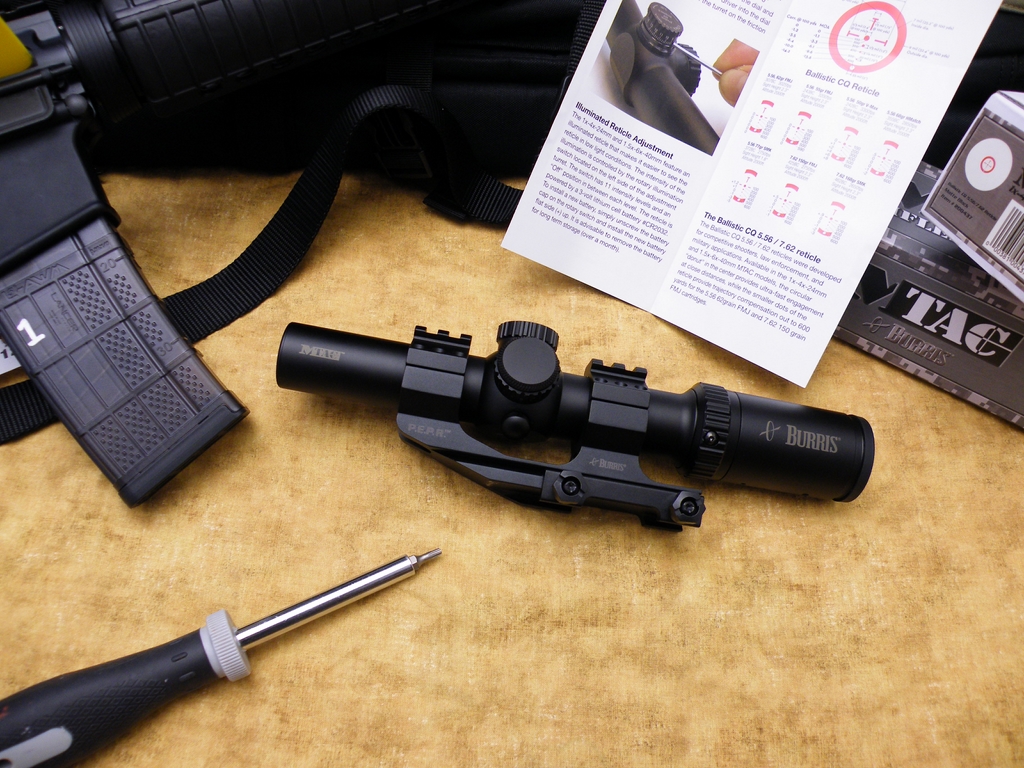
Special thanks to Burris Company, Inc. for their submission of an MTAC and PEPR mount for the guide. Give the Burris lineup a close inspection when shopping for your variable. The MTAC is a solid product and has received great user reviews. The fit and finish, the daylight visible reticule, and the bright glass made me put it on the list of products I would recommend. The Average of 4.7 out of 5 stars from Amazon, Optics Planet, and Midway USA doesn’t hurt either.
Some Optics Companies to Visit:
More Reading:


