Everybody has probably heard about bedding a bolt action rifle to the stock for improved precision, but how many people have ever heard of bedding an AR-15 rifle? Bed it to what? I first heard of this idea years ago on arfcom while reading user Molon’s posts on how to accurize an AR-15, and it made a lot of sense to me, so I tried it and got good results…. Then I tried it again and got good results… Now I do it for every single rifle build. What follows is my method. It’s certainly not THE method, and many will argue it’s not necessary, and they’re probably right if you’re just assembling a blaster or “mil-spec” rifle. However, if you want to maximize your rifle’s precision ability, please read below and think about it. Every variable matters.

Barrel assembly tools: nut wrench, action block, 0.001″ stainless steel shim stock, receiver face lapping tool, 220 grit lapping compound, aeroshell grease, and brush
What is Barrel Bedding?
The purpose is not to precisely match the AR-15 rifle’s action to the stock like on a bolt action rifle, but to precisely fit the barrel extension to the upper receiver, making them function as one solid unit. On an AR-15, the barrel is held on to the front of the upper receiver by a threaded barrel nut that clamps down on a flange that rests on the front face of the receiver. What bedding does is eliminate and fill any void that exists inside the receiver between the outside of the barrel extension and the inside of the receiver. If you’ve ever assembled an AR upper, you’re familiar with the barrel sliding right into the front of the receiver. Was there any side-to-side wobble between the two, even after the barrel was fully inserted? If you had held the receiver in your hand and turned it upside down, would the barrel fall out? If so, you have gaps between the two. If you can easily remove the barrel from the receiver by hand, you have a gap. And gap means possible wobble during the firing sequence, and that means your rifle is not performing to its potential. Now, it may be so small of a difference not to matter. But if you want the best from your build, you need to remove the gap. Here’s how I do it.
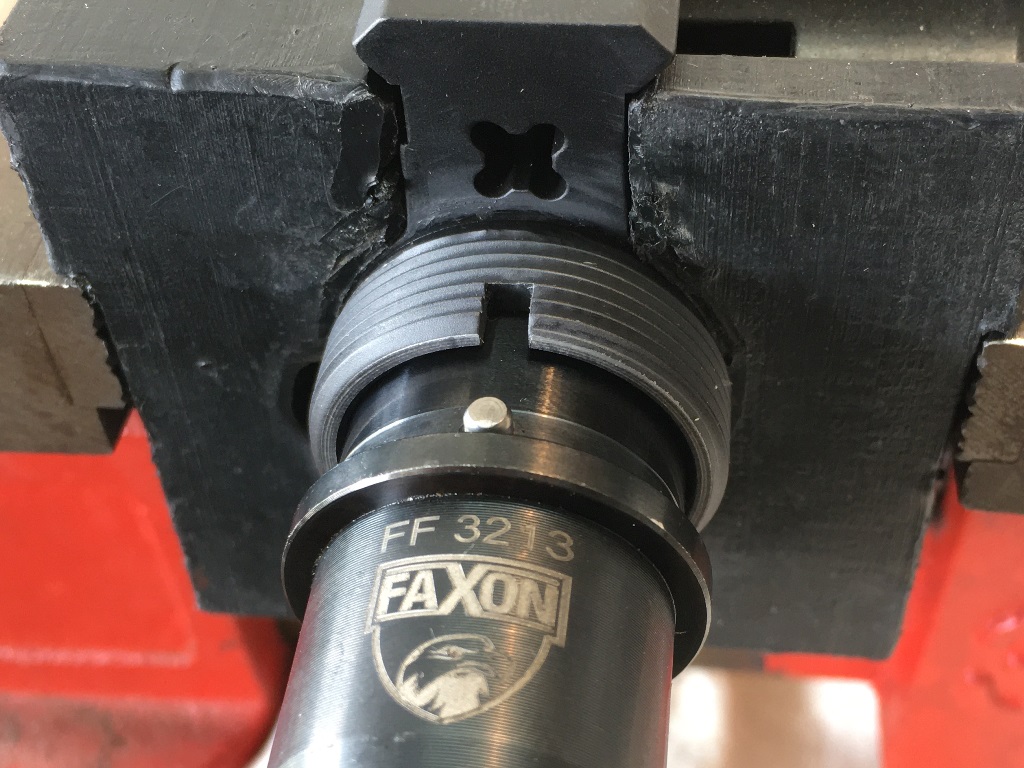
This barrel and receiver pair is a pretty good fit, but there’s still a gap between them
Square the Receiver Face
First I use an inexpensive tool to lap the front face of the receiver square to the bolt raceway. If the front face of the receiver is not square, the barrel, when clamped to the receiver, will also not be square, and the engagement between the bolt lugs and the barrel extension will not be even and balanced. Even if the bare metal upper receiver is machined with the face perfectly square to the central axis, the anodizing process can leave the front surface rough and in need of some attention. There’s lots of internet arguing about this step, in addition to all the others, but the thing that sold me was my own experience with a carry handle upper that was giving me problems. I assembled the upper and found that I had to crank the windage far over to the left to get the rifle to zero. It worked fine, but this annoyed me. I thought perhaps the front sight was crooked and I spent a long time looking up and down the length of the gun, but the front sight seemed perfectly straight. Someone suggested lapping the receiver face as a cure to this problem, so I bought the tool from Brownells, lapped the face, and reassembled the upper. AND… the rear sight now zeroed two clicks off of mechanical center. There it is. My barrel was pointing a bit sideways because my receiver was just a bit out of square.
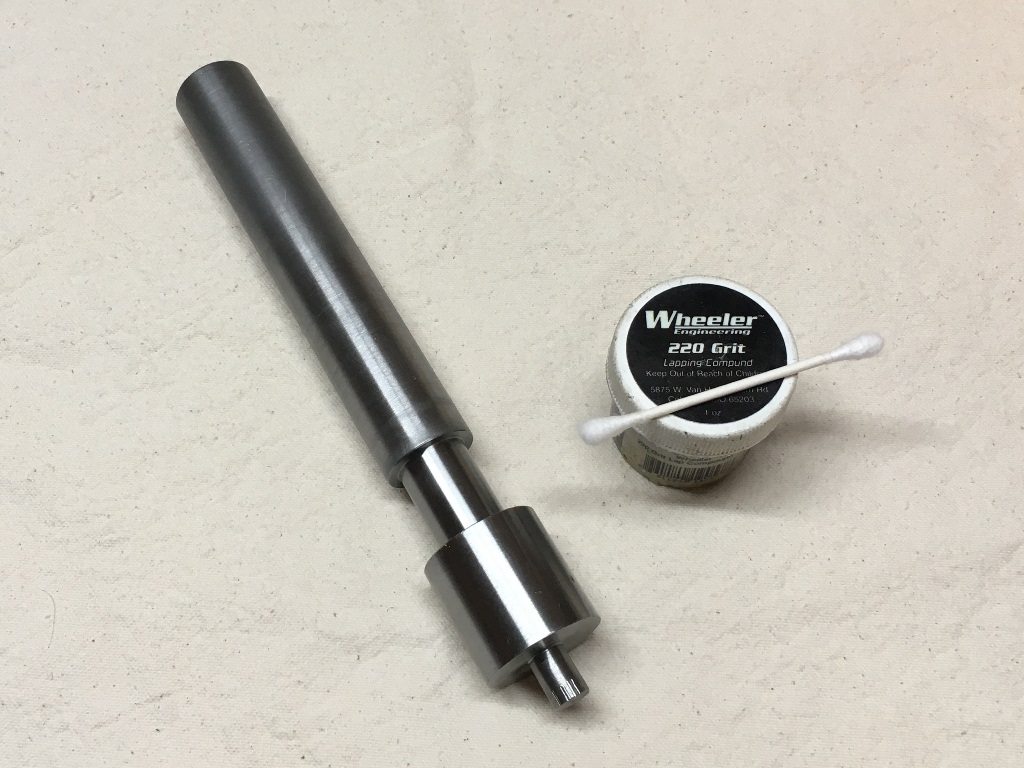
Brownells lapping tool and Wheeler 220 grit lapping compound
To lap the front face, the tool is inserted into the stripped receiver and a small bit of abrasive lapping compound is placed on the lapping face. I use Wheeler 220 grit abrasive, which is on the rough side. 400 or 600 grit will work too but take longer. Then the tool is pressed against the front of the receiver and rotated. The directions say to chuck the tool in a drill, but I strongly suggest you simply do it by hand. You don’t want wobble in the drill to cause problems and you don’t want to overdo it. Lap the front face just enough to take off most of the black surface anodizing, but not all. You will have to remove the tool, carefully wipe off the abrasive, and check how much progress you have made. Be patient; it won’t take very long. I do mine until there is only a quarter of a circle left of the shadowy dark anodizing remaining. When finished, thoroughly clean the tool and the receiver to remove all of the grit.
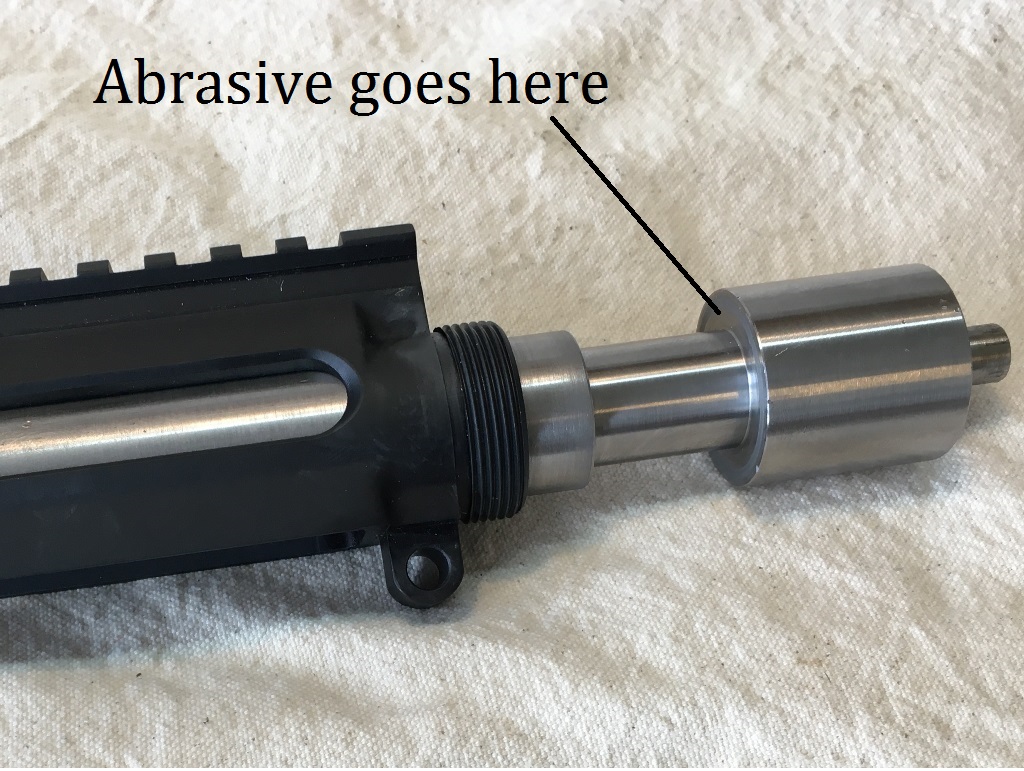
apply a small amount of the lapping compound on the face of the tool as shown

Turn the lapping tool by hand, do not use a drill. Check your progress often. Photo shown with no abrasive ’cause it’s messy.
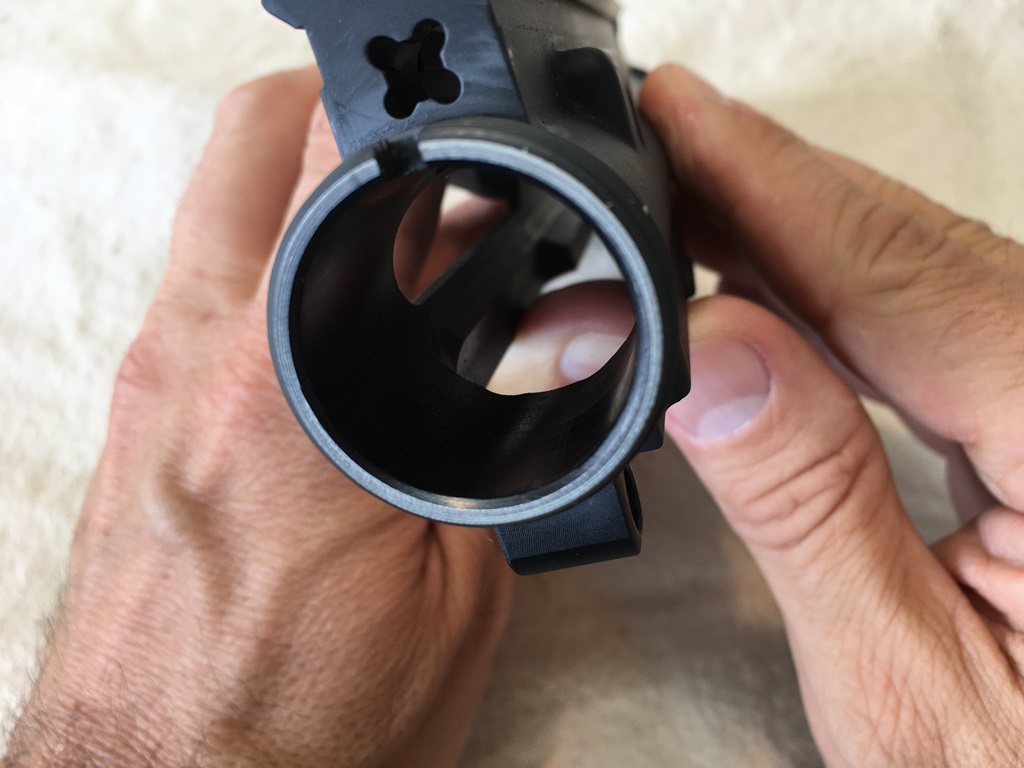
Use the lapping tool to remove most, but not all, of the anodizing from the front face. The face is bright and shiny at 1 o’clock, but still has a bit of anodizing left by the time you go around to 11 o’clock
Shim the Barrel if Necessary
Next, I use 0.001” stainless steel shim stock to fill the gap between the receiver and the barrel extension. I use enough shim to get a slight interference (friction) fit. One container of shim stock is enough to assemble a truckload of rifles, so it should last you forever. I cut a strip just wide enough to fit behind the index pin on top and not stick out into the feed ramps below, and long enough to almost go all the way around the extension. I then carefully fit this around the extension and attempt to insert the barrel into the receiver. I say carefully because the shim strip will be sharp, and it will cut you. The container says to wear gloves when handling it. This full-length strip is usually too much and I have to begin cutting it down shorter. My instinct is to put the gap between the ends of the shim strip on top or bottom, but you want it on the side. Gravity will naturally pull the barrel downward and you don’t want any gap on the vertical axis. I keep trimming the length of the shim strip until I can get the extension inserted about halfway in before it begins to become difficult to do by hand. Shim stock can easily be found on Amazon or elsewhere online, but mind the decimal, you want one-thousandth of an inch thickness, not one hundredth.

0.001″ stainless shim stock, cut to size
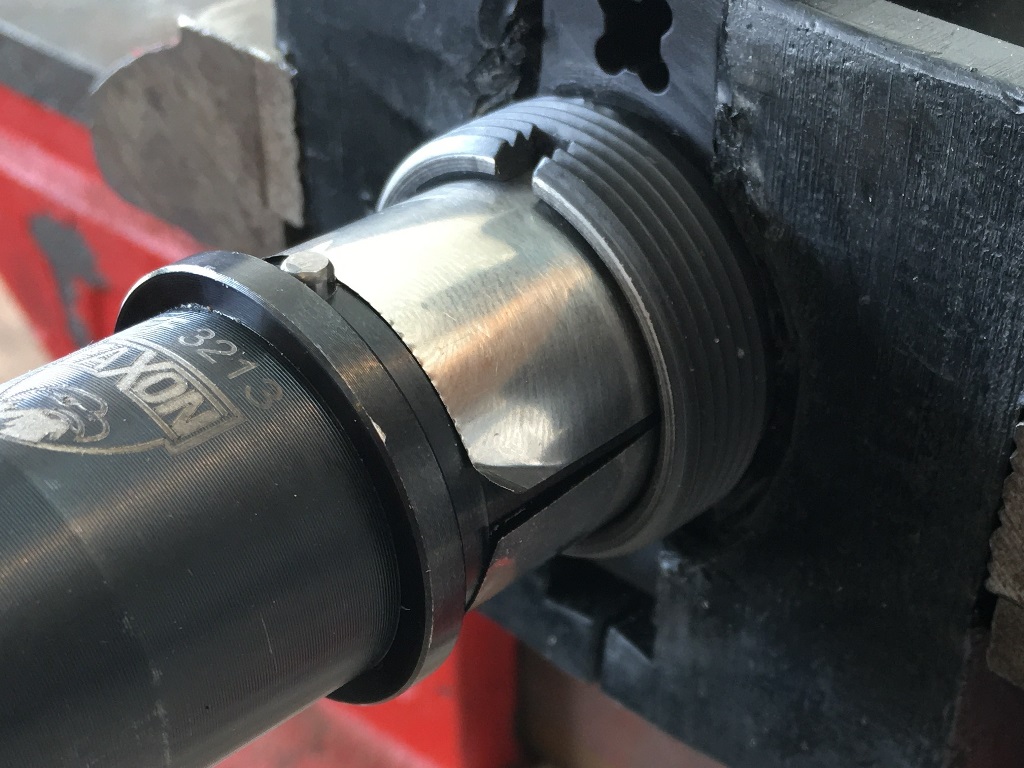
a piece of 0.001″ shim stock placed around the barrel nut to remove the gap between the extension and the receiver, the seam on the side
Loctite the Receiver and Barrel Joint
At this point, I add a touch of blue or green Loctite thread locker to the joint to fill in any remaining void as I continue to insert the barrel. The thread locker does not really “lock” the barrel in place like it does with screws, but it seeps into any remaining crevices that might still exist and hardens into something rather solid. Now I resort to wiggling the barrel back and forth, lightly tapping on the muzzle with a rubber mallet (RUBBER! not metal), and possibly using a heat gun to warm and slightly expand the upper receiver channel to get the barrel all the way in. Once the barrel is fully seated, try to pull it out by hand. If you can’t, you’ve bedded it correctly. Well, what if you DO want to get the barrel out? A simple 1” wooden dowel can be inserted into the rear of the receiver and be used to drive the barrel back out, and a heat gun to expand the upper receiver channel helps.

When you’re about finished, add some blue or green (not red) Loctite to the joint. This is probably more than enough shown here, as I had to wait for the camera to focus.
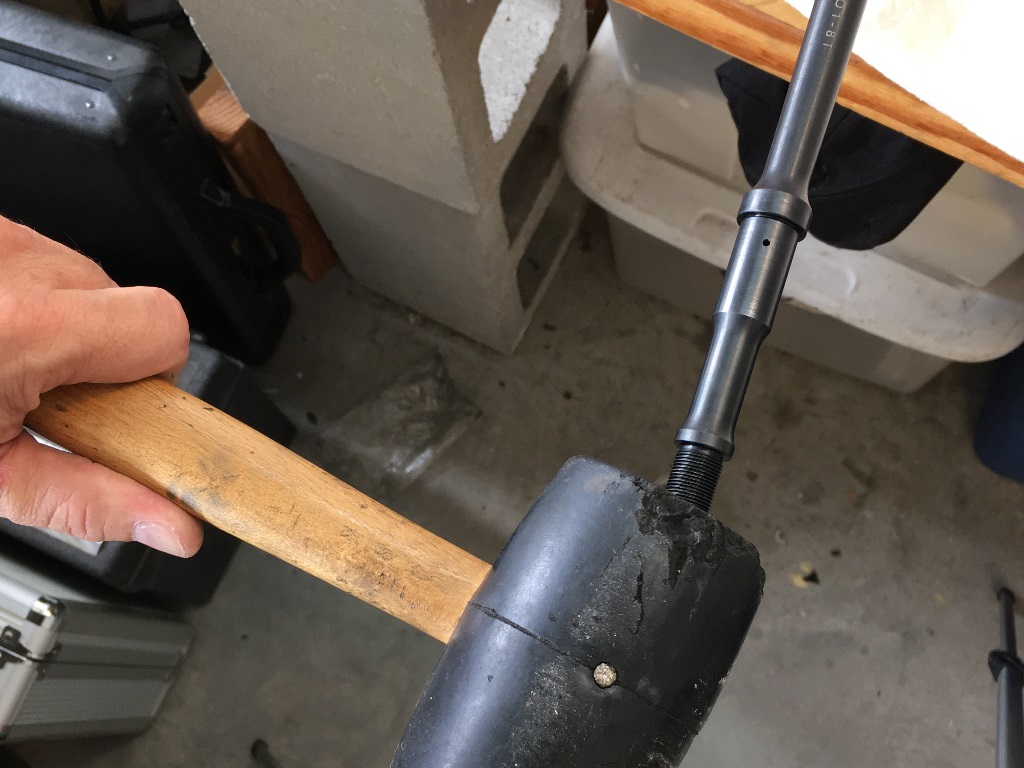
light taps on the muzzle with a RUBBER mallet will help seat the barrel
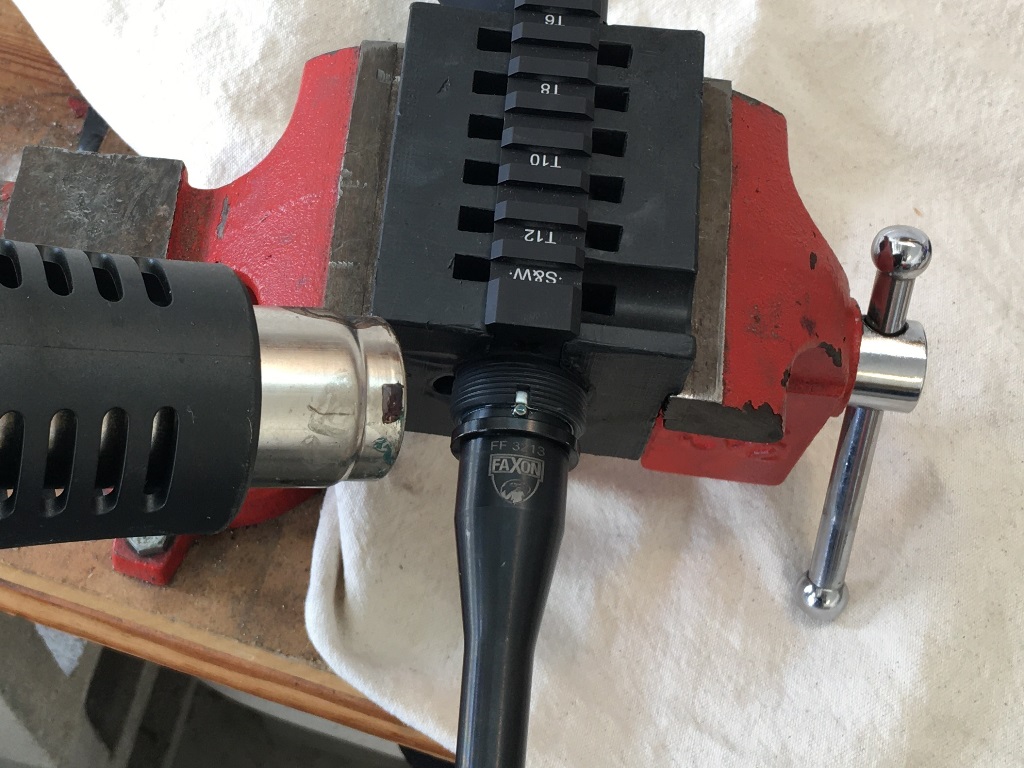
A heat gun can be used to expand the receiver just a bit, allowing the barrel to go all the way in, or come out as well. Note the silver shim stock located behind the index pin
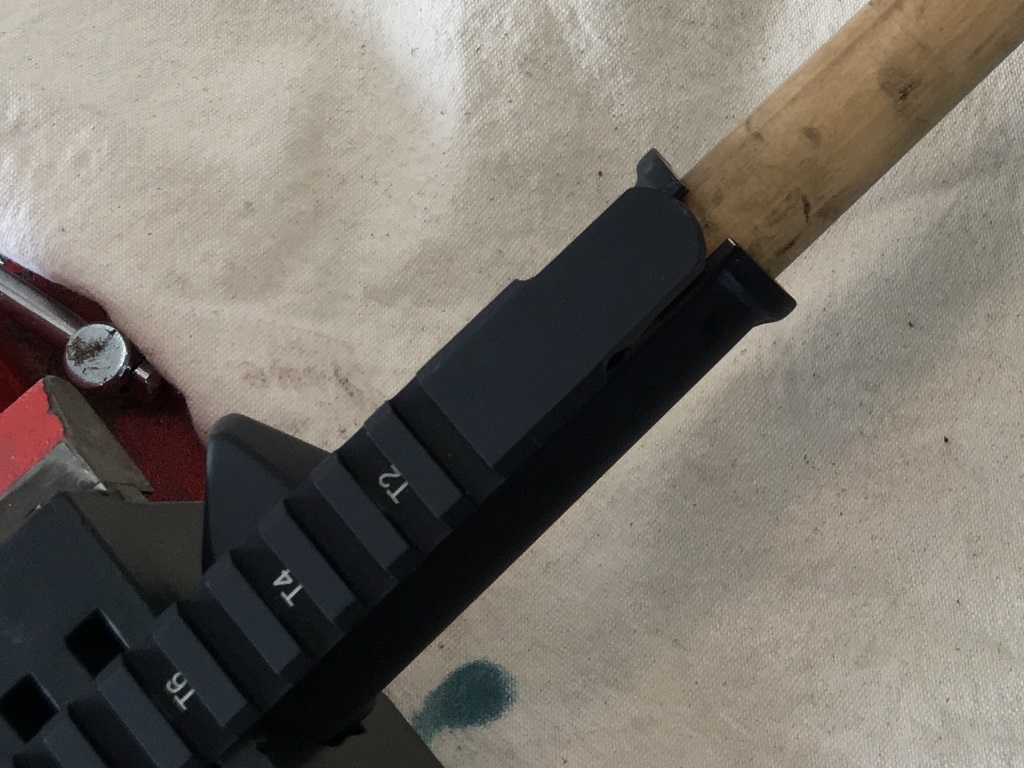
A 1″ wooden dowel can be used to drive the barrel out of the receiver once it’s bedded in place
The last thing to do, and don’t forget to do it, is to use a Q-tip or other fine cloth to remove all of the blue Loctite from the receiver threads. If you have any Loctite on your threads when you install the barrel nut it WILL glue the nut in place. That’s actually what the thread locker is designed to do, after all. Once that’s done, install your barrel nut and finish the build!
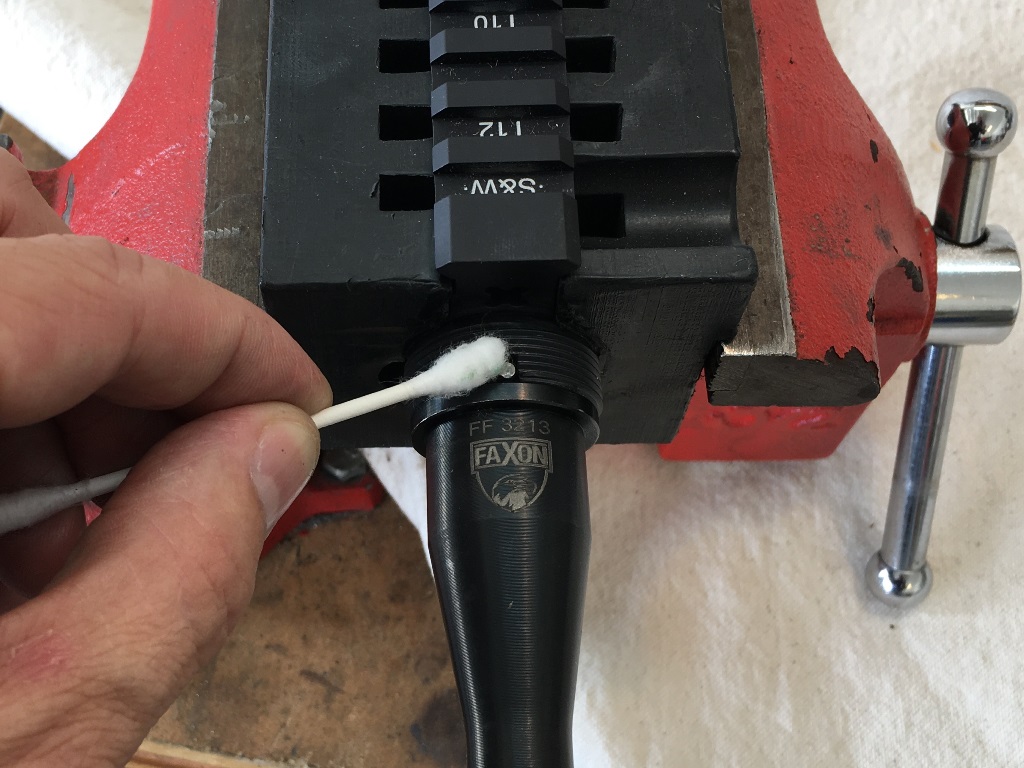
Use a Q-tip or patch to remove all, ALL the thread locker from the receiver threads BEFORE installing the barrel nut.
The Results:
You certainly want some evidence that it works, right? There’s no guarantee, of course. Play between the barrel extension and the upper receiver is just one of many things that influence a rifle’s precision. The more variables we can eliminate, the better the results.
Here is a build using a Faxon 18” non-free floated barrel that I assembled using the techniques outlined above. When I put glass on it and shot it from the bench, here are my results. 10 shot groups at 100 yards.
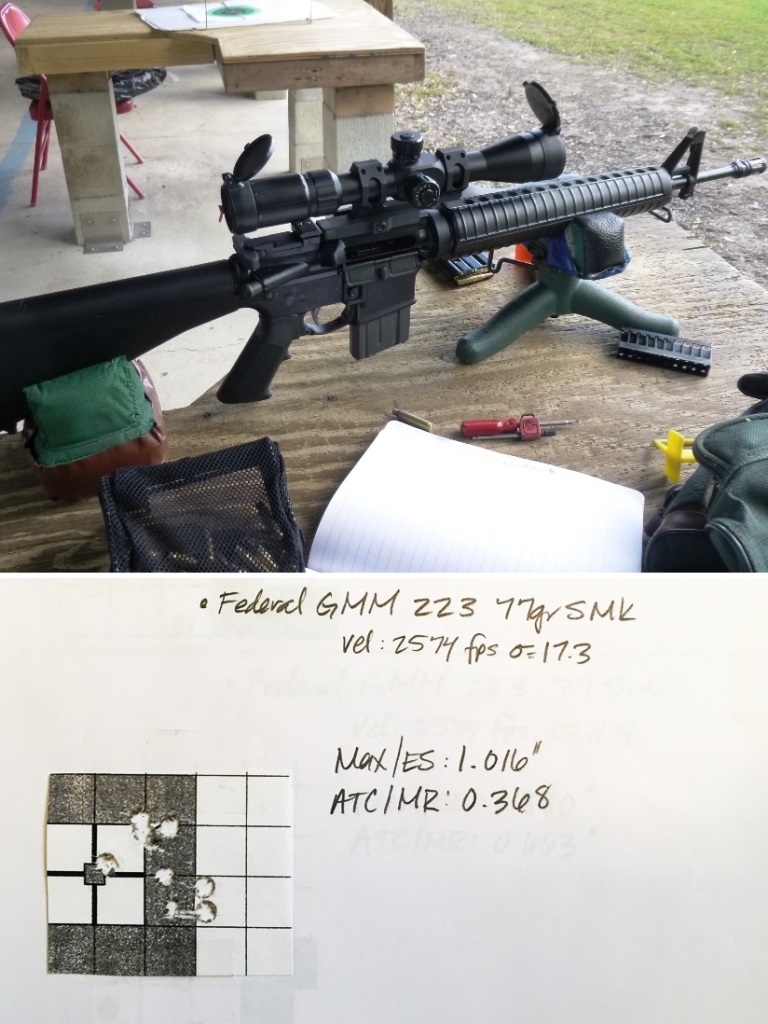
Faxon 18″ gunner barrel assembled using the techniques in this article. 10 shots at 100 yards using Federal Gold Medal Match 77gr ammunition and an SWFA 10x mildot scope. The barrel is NOT free floated. The results are VERY good
Proof again that you don’t NEED a free-float barrel to have an accurate rifle. Free-floating will help, but perhaps barrel assembly is more important. But don’t take my word for it. Here is Joe Carlos from American Gunsmithing discussing how the Army Reserve Shooting Team started using this technique on their match rifles. This is a very informative video:
Shopping list:


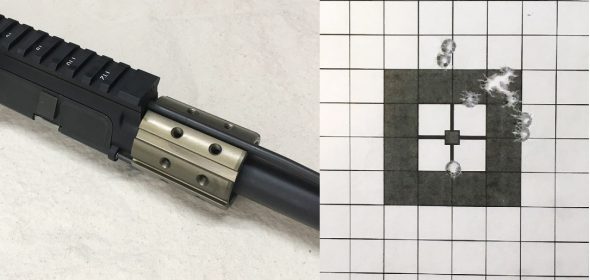


Thank you very much for sharing your hard earned knowledge with me (and others) as I’m sure it WILL HELP accurizing my build.
Great info. I have a question though, does the shim/bedding procedure have any negative effects on reliability for stressful course of fires such as when rapid firing while suppressed?
I don’t own a suppressor, so I can’t speak from experience, but I don’t see how the procedure would negatively affect reliability. What do you think might happen?
What were the group sizes before you bedded the barrel? I have a thermo fit JP billet upper and I’m debating on if I’m going the lap it or put loctite on the extension. I am a fan having a bare metal surface on the front of the receiver. I think Faxon has tremendous quality for the money and the fact that it’s a hammer forged barrel still not a single point cut.
The assembly shown was on a new build, so there were no “before” groups. This is the method I now use on any new build. Any “before ” and “after” test results will be highly dependent on the quality of the parts and of how they were assembled. My goal is to remove as much potential for error as is reasonably possible, meaning a square faced receiver and a solid fit between receiver and barrel.