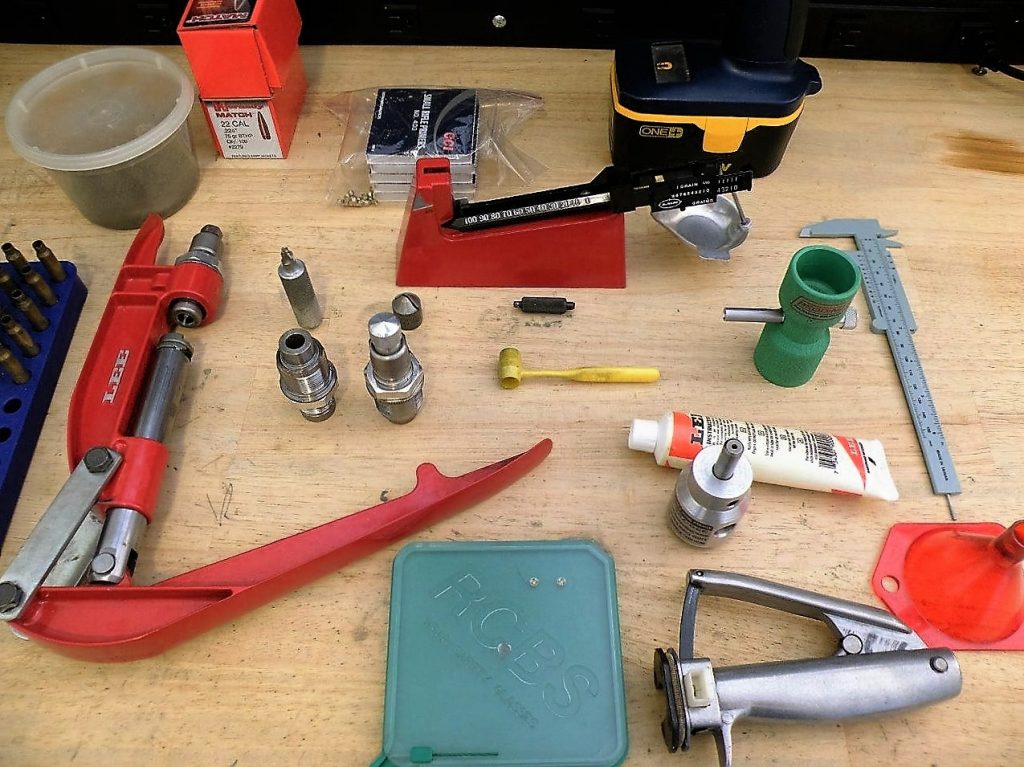
So you want to reload, but don’t have the space to do it? I was there. Apartment life is sometimes a drag. Space is at a premium and not all of us can afford a spare bedroom just for our gun hobby. Reloading is no different… but most people see the “reloading bench” and get turned off by the need of special equipment and a work-space. I have news for you. Reloading can be accomplished on the kitchen table and the components can be stored in a shoebox. I have had success reloading from a small set of tools and for several years I did not have a bench. Are you ready?
Ground Rules:
Reloading is not a game for careless people. This guide is for entertainment purposes only. If something isn’t clear, or you need to learn more information, please refer to a professional reloading manual for technical data and instruction. Individuals who use the methods below do so at their own risk and www.thenewrifleman.com and The New Rifleman LLC make no guarantee of success or safety in the outlined reloading methods. Reloading is a safe way to enjoy high quality ammunition at an affordable price, but it is a fast way to a damaged firearm and/or personal injury if you are careless or negligent in using sound methods and techniques to reload your own ammunition.
Equipment List:
Lee Pacesetter 3 die set in .223
Little Crow Gunworks Worlds Finest Trimmer .223
Lee Perfect Powder Measure (optional)
Calipers (generic)
Cordless Drill
Chinese Food Take Out Soup Bowl with Lid
Shoebox
Lee Reloading Manual
That’s a lot of gear. Some of it is expensive; however, it is a good investment that will pay you back over the years or decades of use. In my case, I obtained it piece by piece and slowly built up to my current setup. If you have the money for better products all around such as a digital scale vs the Lee beam scale, GO FOR IT. Make your life easier the first time around. So what’s the first step to reloading?
Step 1: Wash Your Range Brass
The first step is easy. Give your brass a bath. I use dawn soap and the kitchen sink. Lots of hot sudsy water. I wash the brass and then dry it over a few days. Set it out in the sun. We have to get grit off the brass because any grit left behind can get crushed and embedded into your dies. This is not good. Clean brass will equal a happy resizing die. Again, nothing special other than hot soapy water in the sink and a few days to dry. If you are in a hurry set the brass in the oven at 250 until dry. So after the bath, what’s next?
Step 2: Resizing, Case Trimming, Case Prep
Each time you fire your gun, the brass case is placed under immense pressure. It will literally mold itself to the shape of your rifles chamber. The first step we must take is to re-shape it to SAAMI spec, or the specifications a .223 should have. Our resizing die will resize the brass to the SAAMI spec, and will pop the used primer out of the bottom of the case at the same time. This process needs case lubricant, the hand press, and the resizing die.
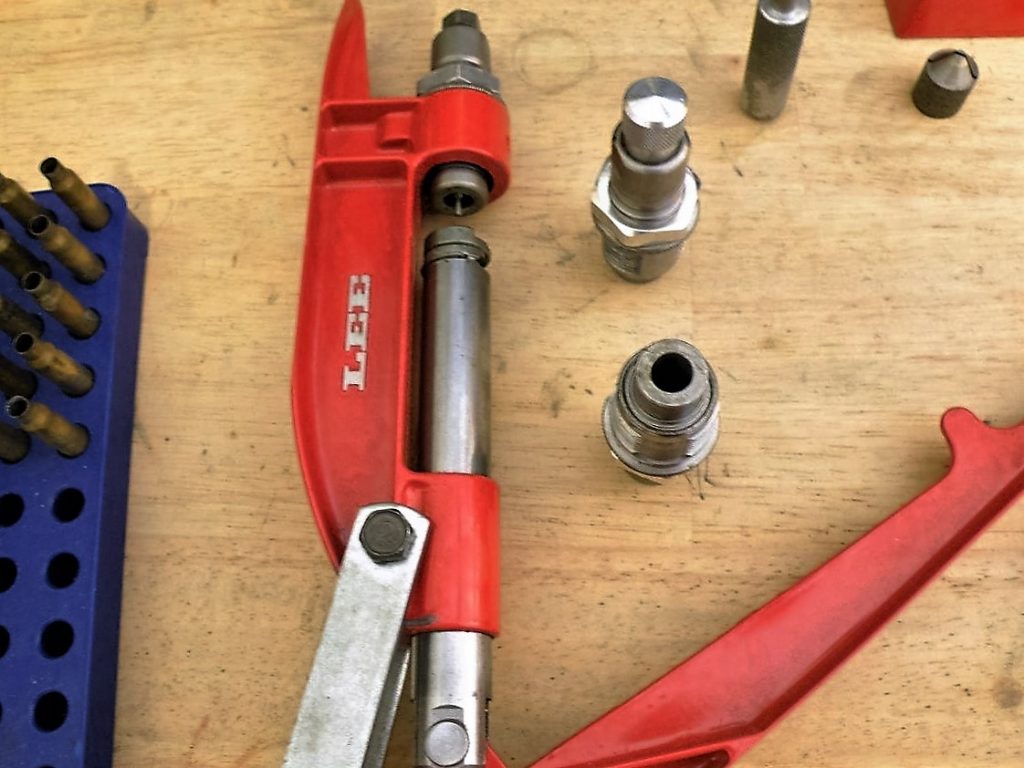
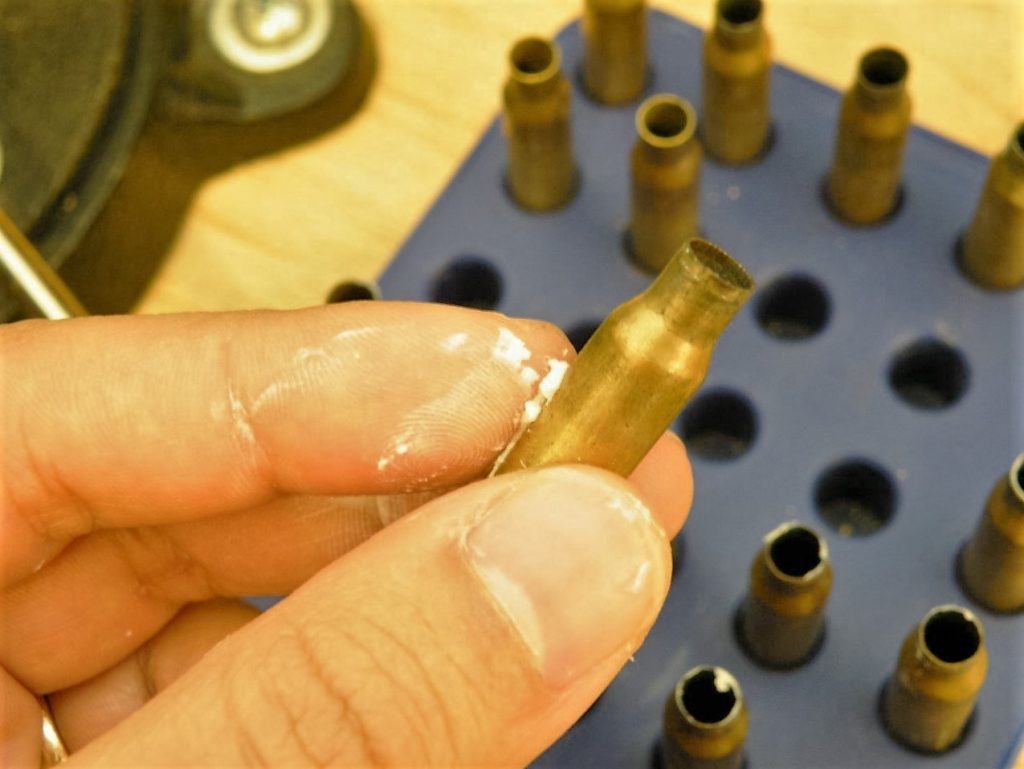
Cases need to be lubed with case lube. If there is no lube, expect a stuck case in your resizing die.
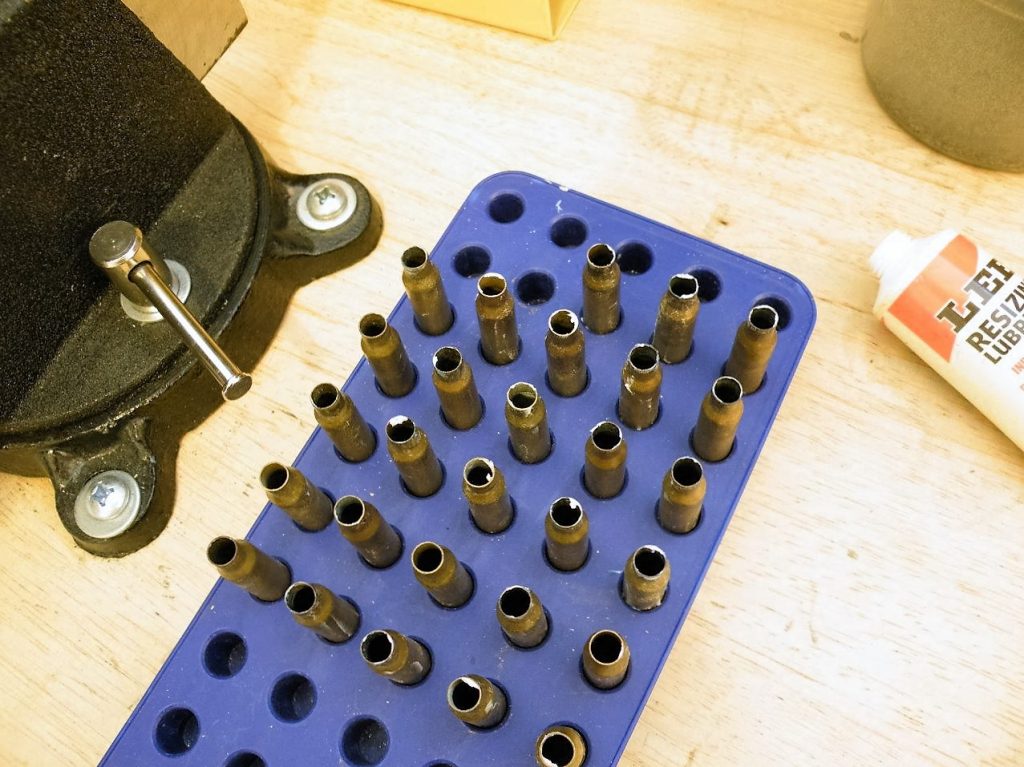
The cases are lubed in the outside and around the inside of the case mouth. Lee case lube is better used if its diluted in 99% ETOH and sprayed on, but here I did it by hand. There are a number of lube products available and some come in spray form.
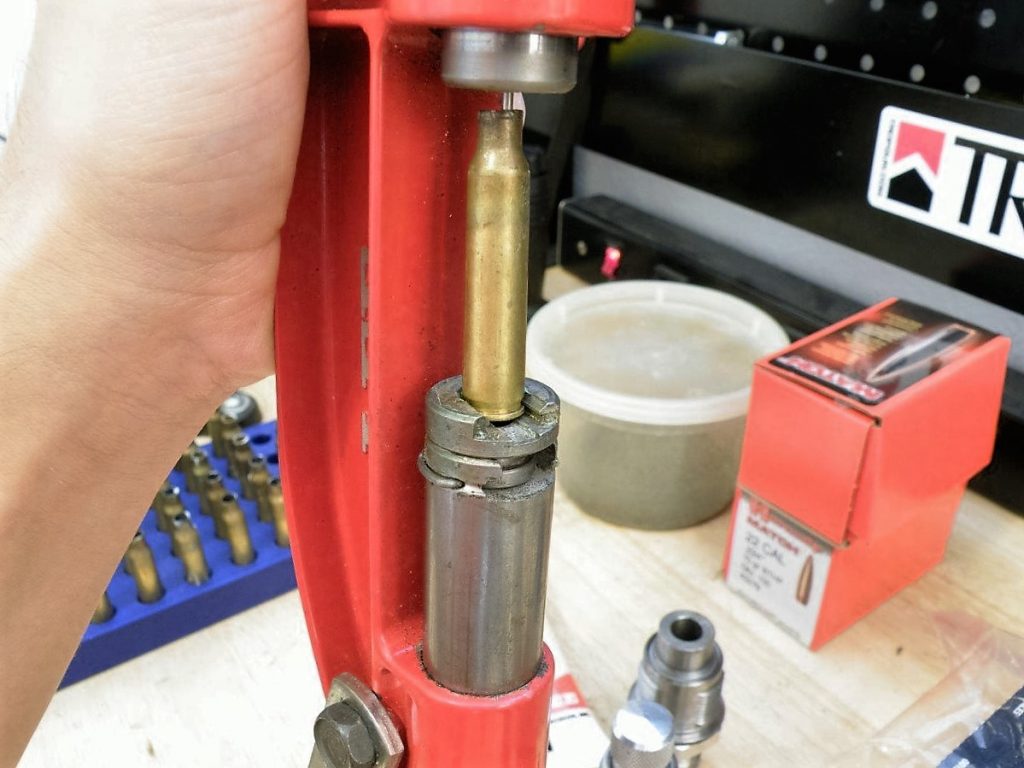
Here is a lubed case being fed into the resizing die with the Lee hand press.
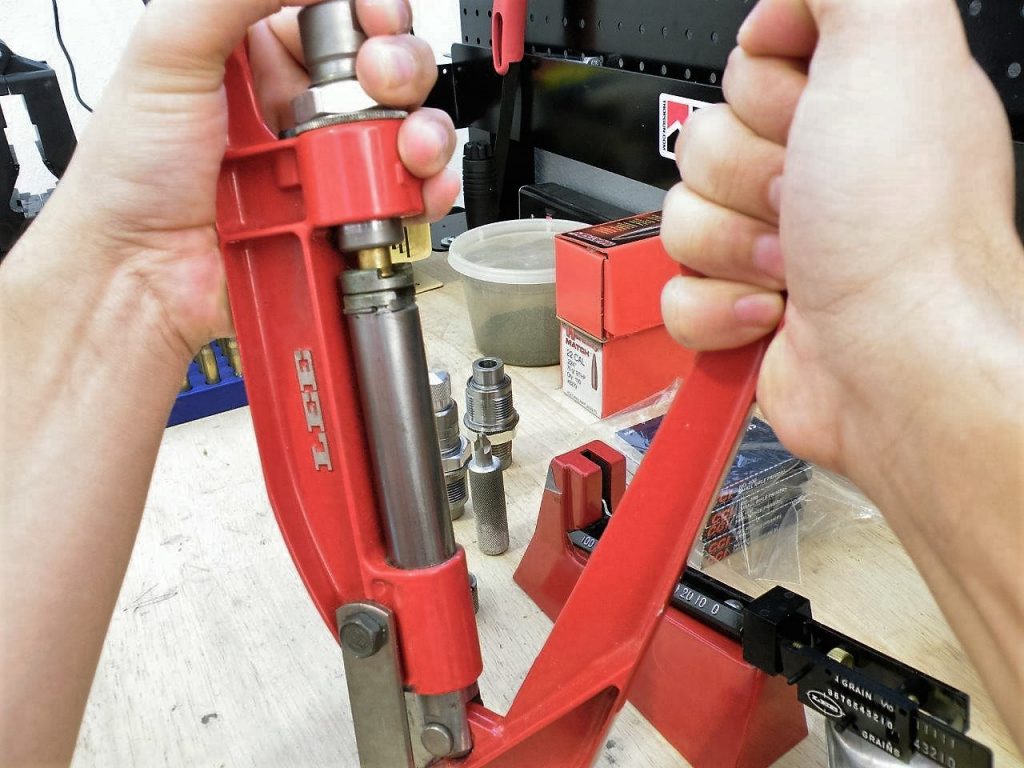
A complete stroke of the handle will pop the primer and leave you with a resized case.
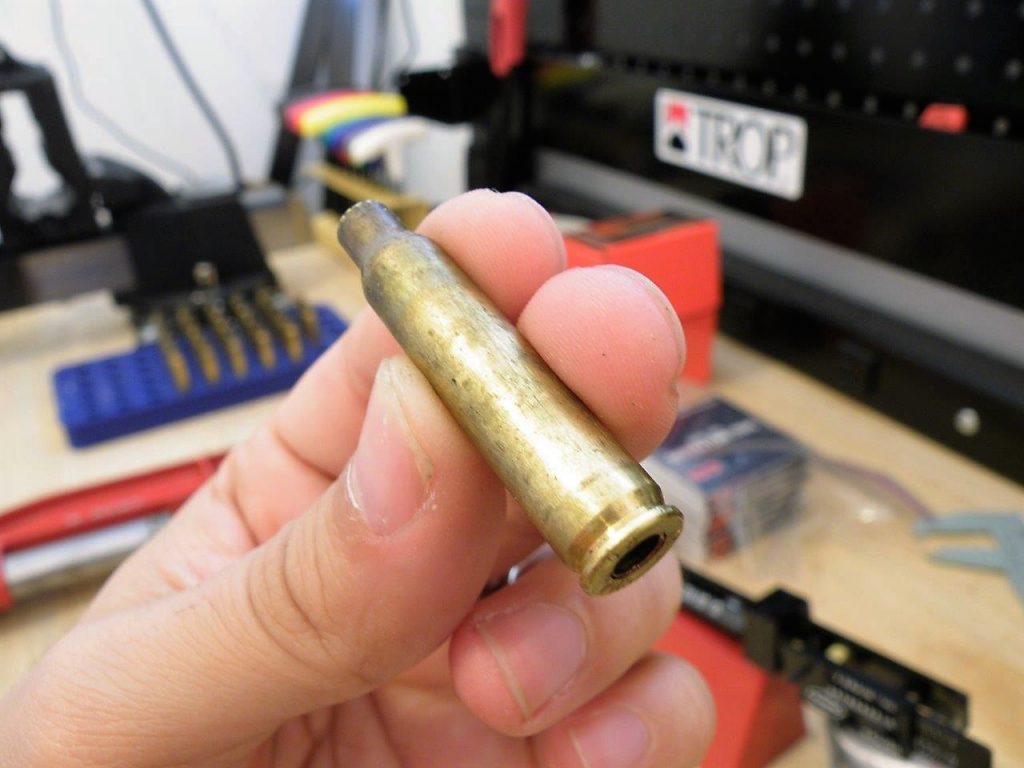
The case has now been resized and the primer has been popped out.
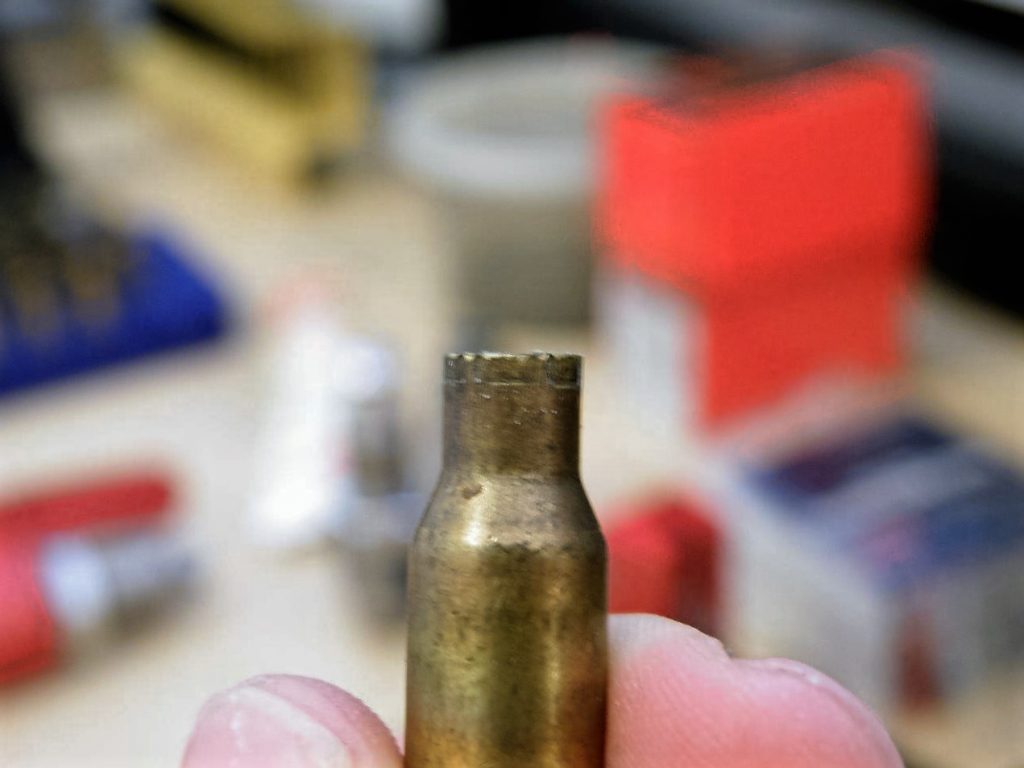
With firing and resizing, the length of the brass grows at the case mouth. This needs to be trimmed. If it is not trimmed it may touch the rifling at some point as it grows and will likely cause a Kaboom! if it pinches the bullet in the throat. Trim the cases.
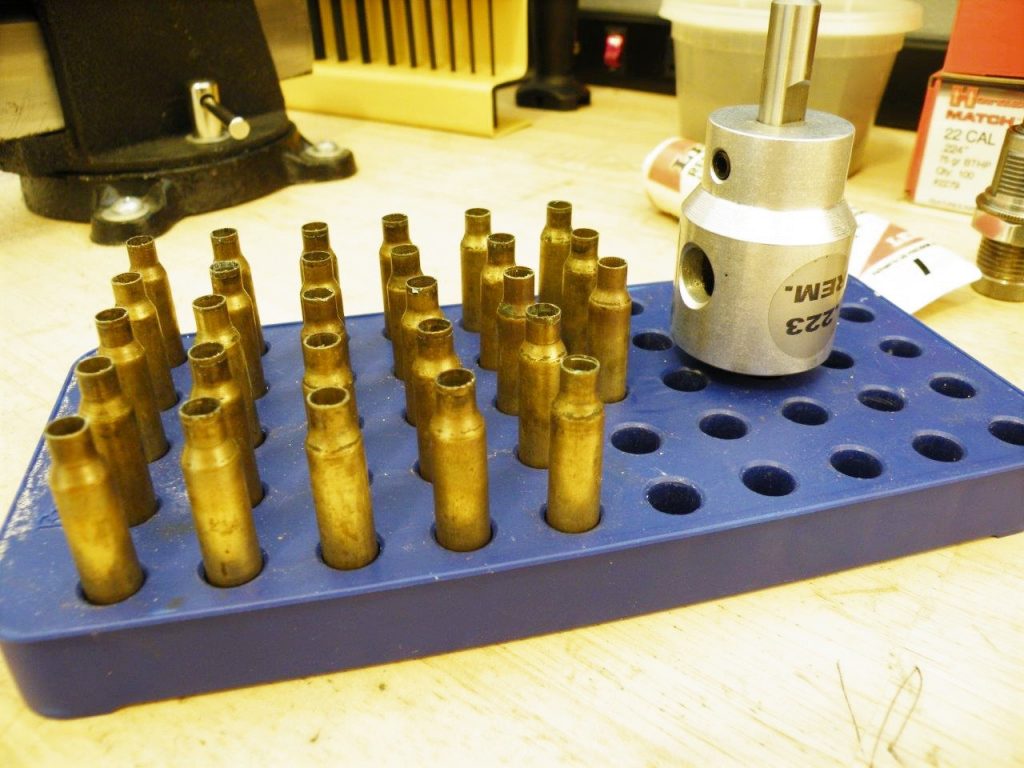
I use a Little Crow Gunworks “World’s Fastest Trimmer”. This trimmer hooks into a drill and makes the process quick and painless.
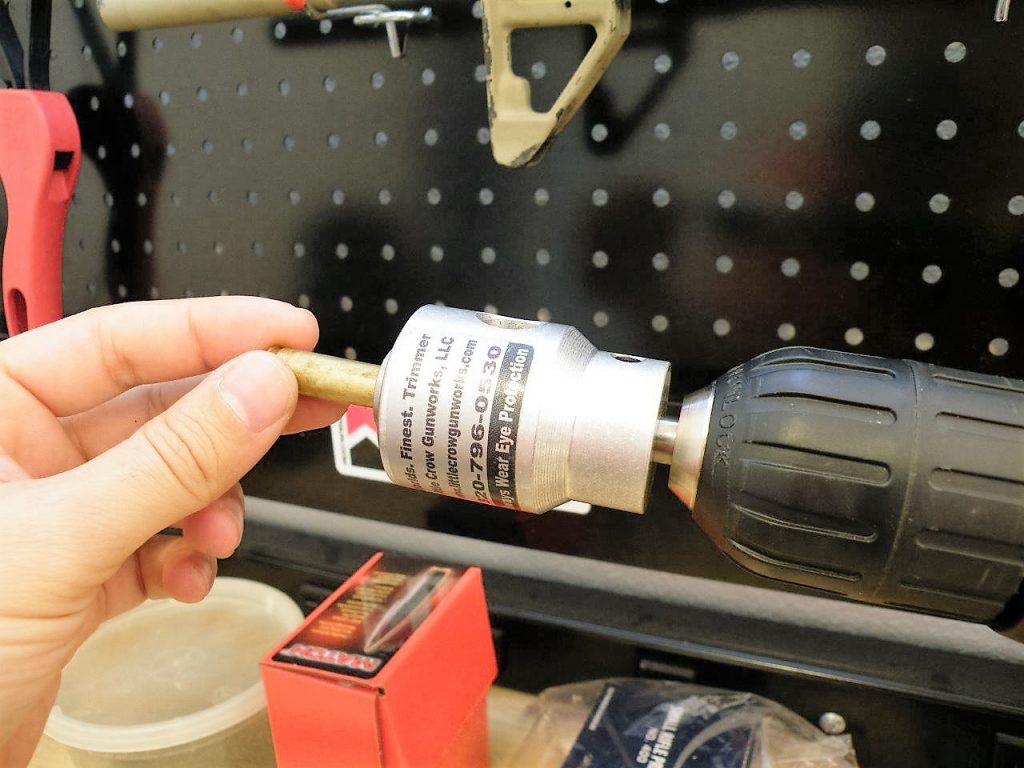
The case is fed into the opening.
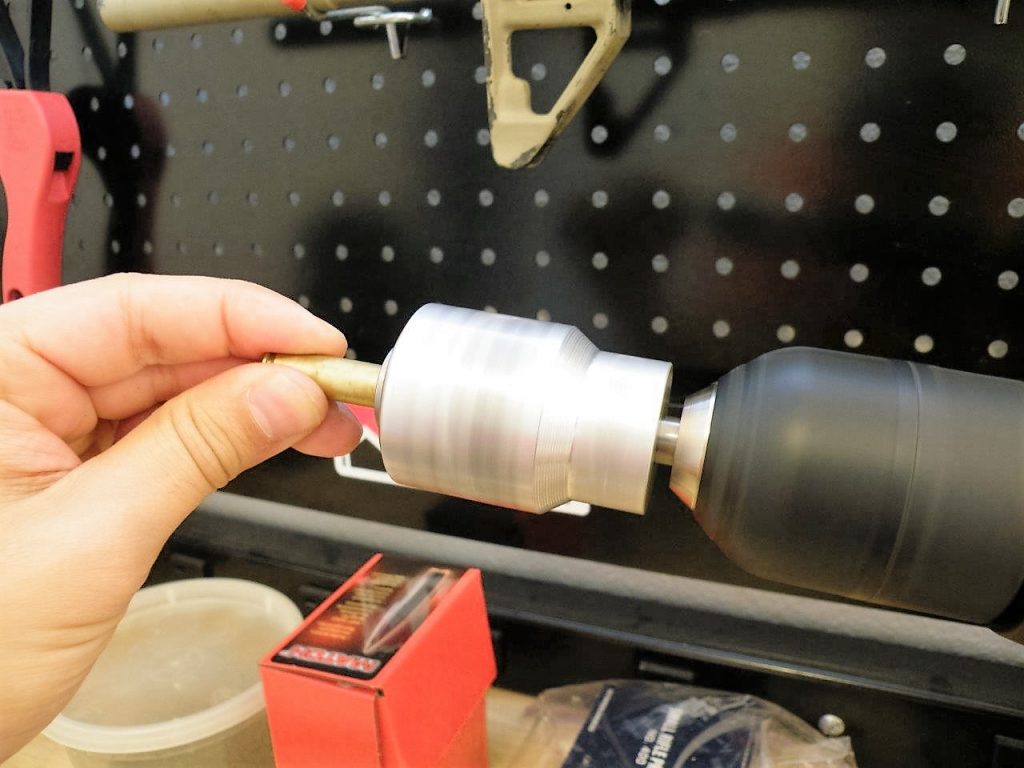
The cordless drill is then used to rotate the trimmer and trim the case.
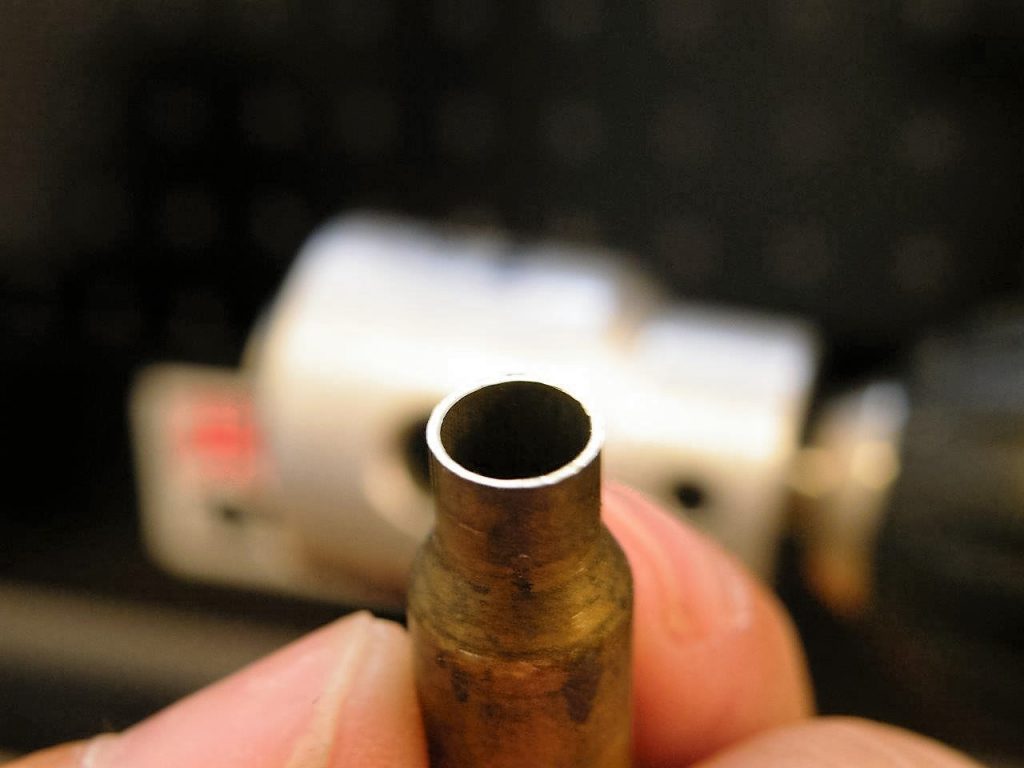
Here the brass is trimmed and ready for the next step.
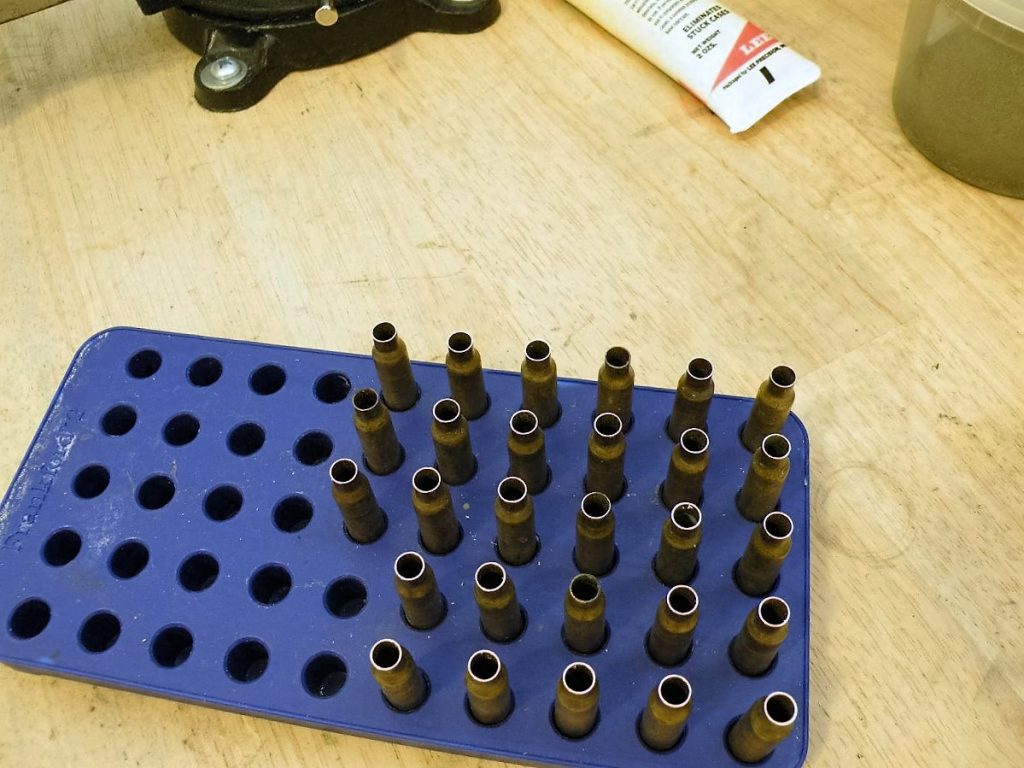
Not all casings will grow long enough to get a trim. That’s OK. The shiny ones you can see were trimmed. The dull ones did not lengthen enough for trimming and are still safe to use for reloading.
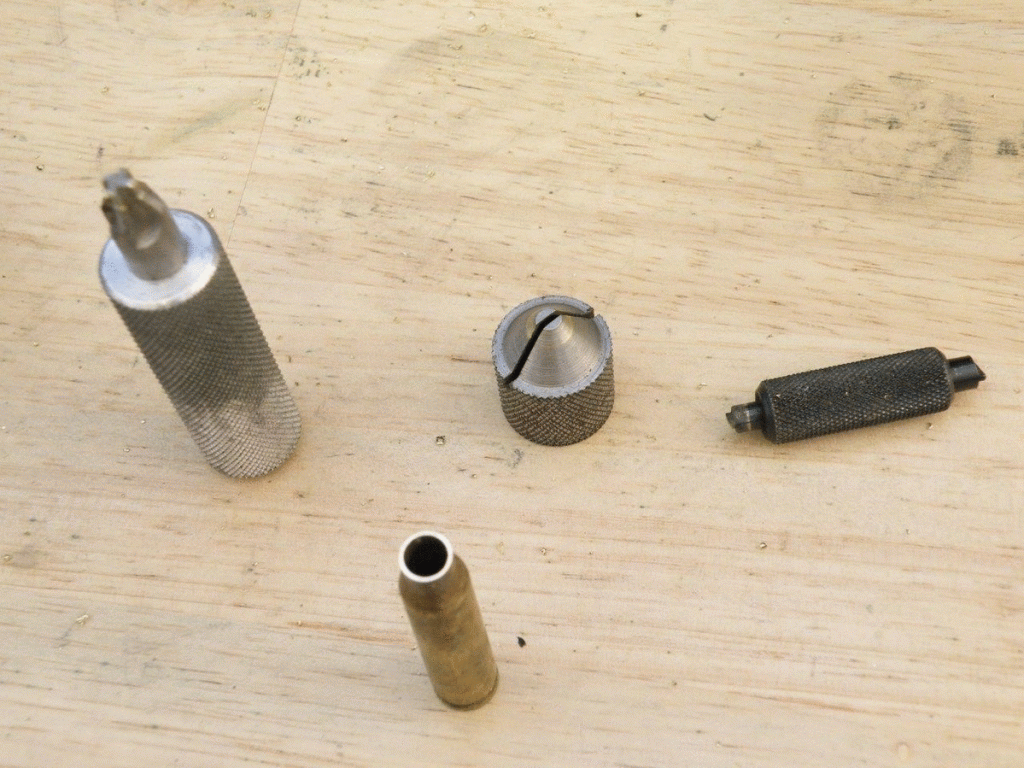
We now have to chamfer the case mouth, remove the primer crimp (Ammo such as M193 and m885 have primers that are crimped in place and this crimp must be removed before you try to re-prime) and clean the primer pocket.
Step 3: Priming the Case
After the case prep, wash your brass again to remove the brass shavings and the case lube. Again hot, soapy water will do the trick. Let the cases dry and then we are ready to prime the case. Here we simply put a brand new primer in the empty primer pocket. I use a hand priming tool for this in order to keep everything in the shoebox.
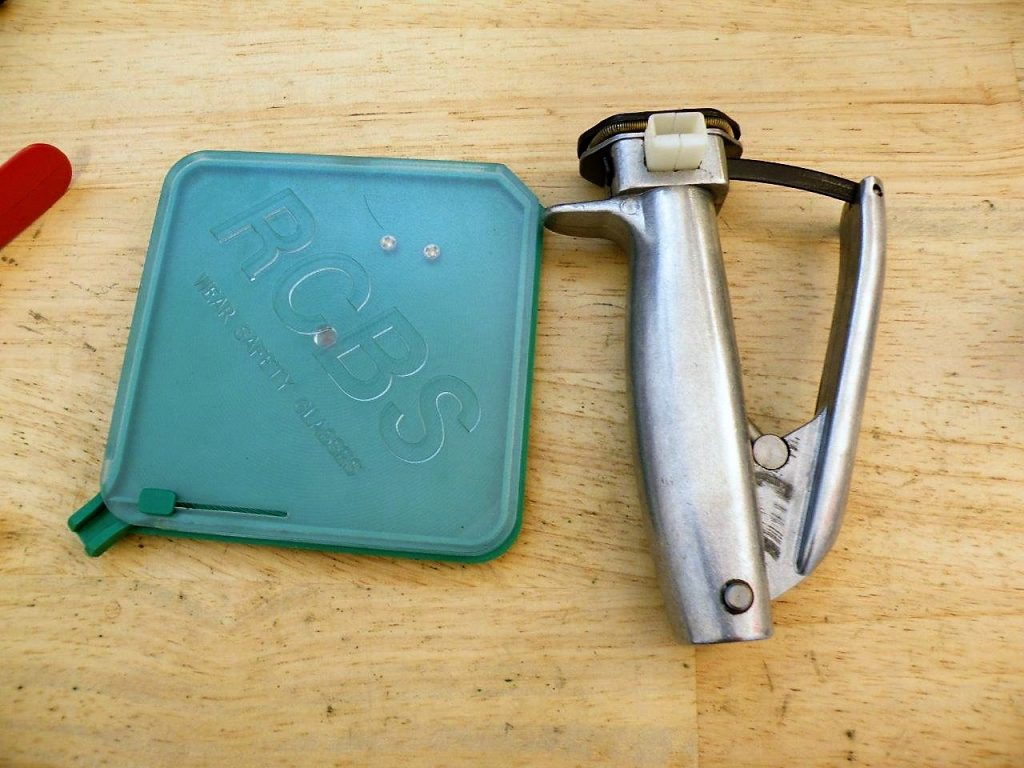
Once we have prepped the case, and removed the military primer crimp, we are ready to prime with the RCBS hand priming tool.
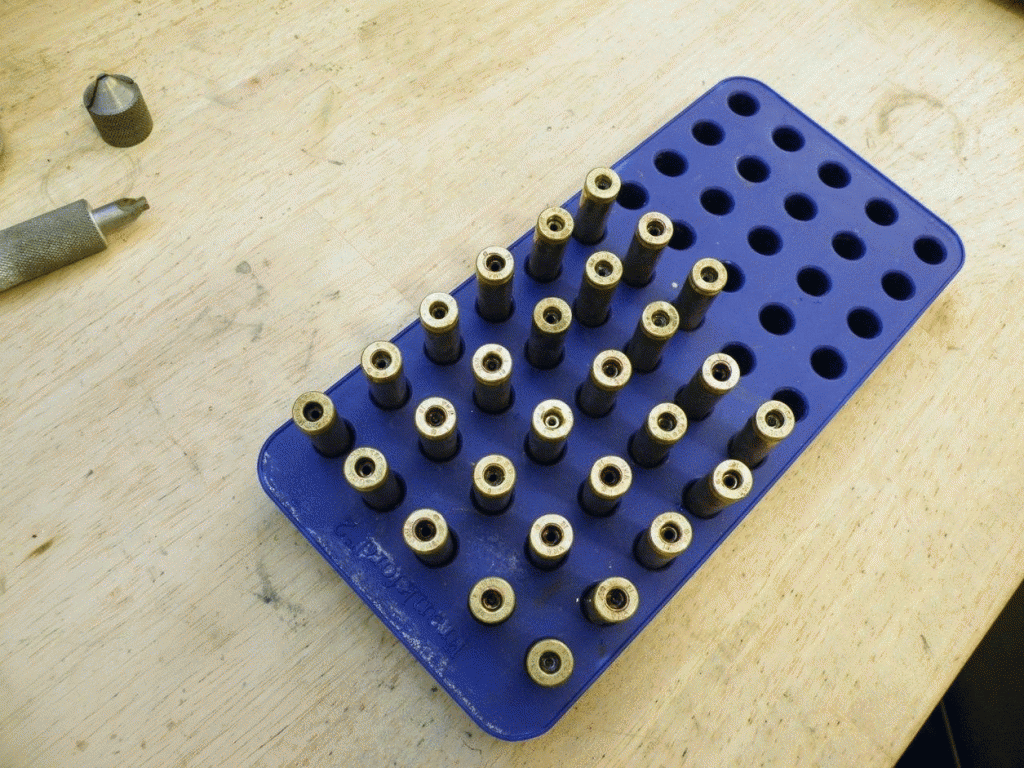
We are ready to hand prime. The primers are placed in the hopper, and each case is fed into the rim holder and the primer is squeezed into place. Point the casing away from your face while you do this.
Step 4: Powder
It goes without saying that you will have a bad day if you blow yourself up. Please read a reloading manual to understand the important concepts of reloading… these concepts are things we will not fully cover here. For each loading you wish to try, you must work up a load using a ladder method and shoot these loads and observe for over-pressure signs. All of this requires careful study before you proceed. I have already worked up a loading and will not be illustrating the incremental workup and instead I am loading to a finished product.
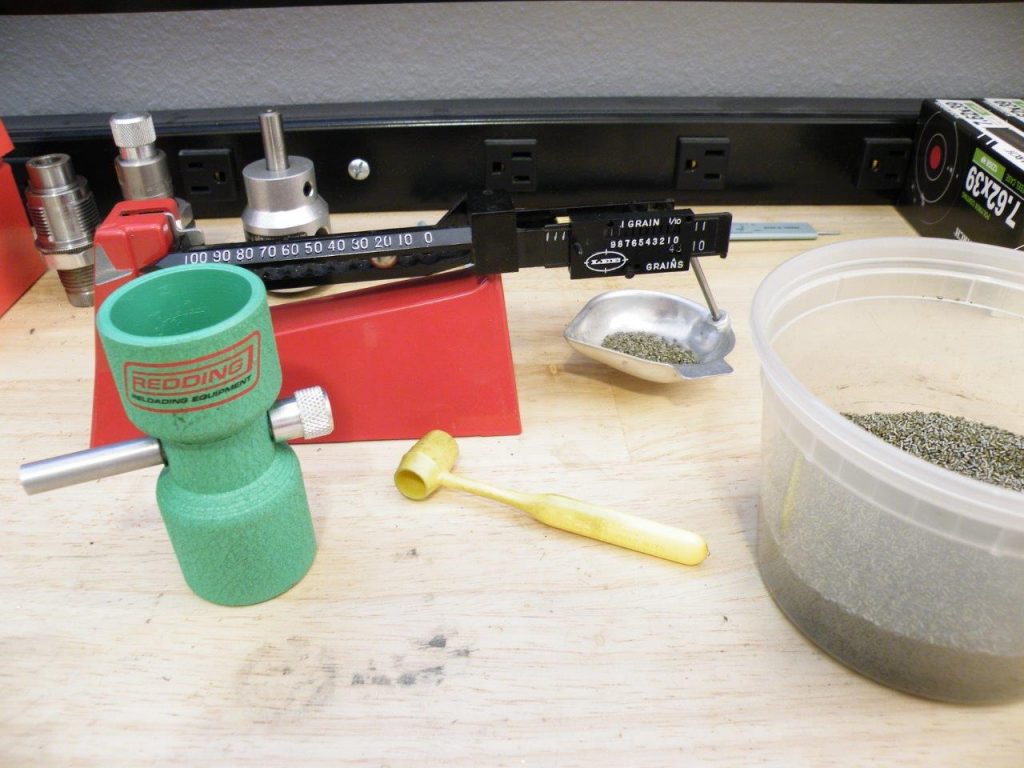
Here we have a powder weight beam scale, a Lee dipper scoop, our powder, and a powder trickler.
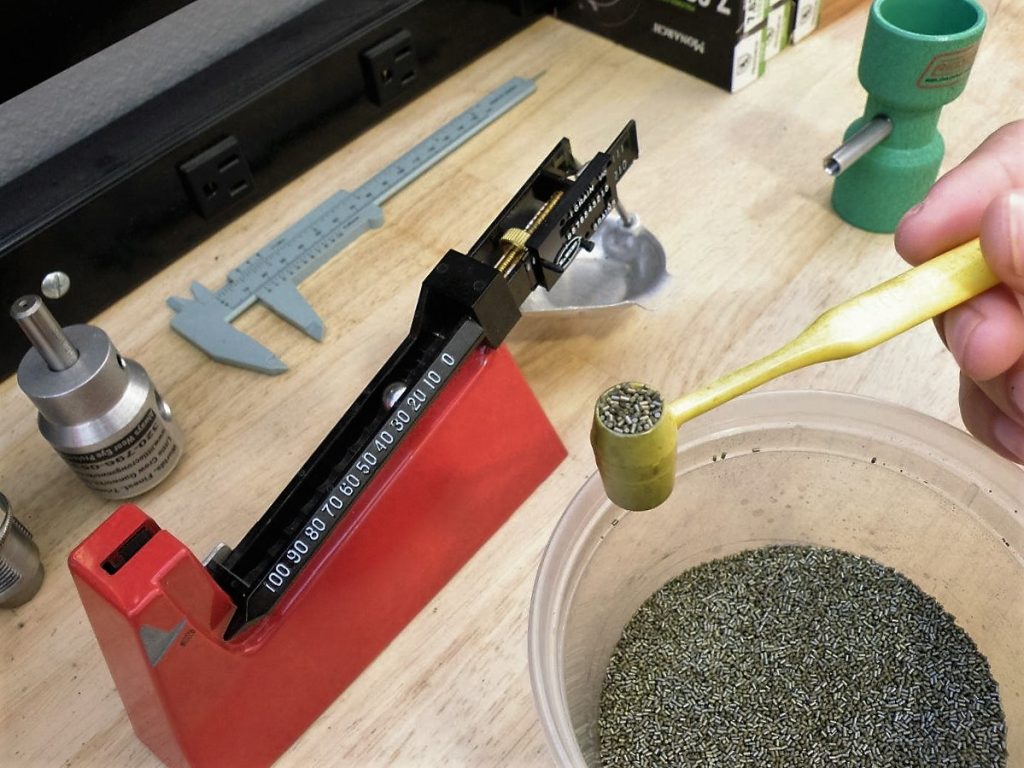
After consulting your reloading guide for the proper powder charge, select the dipper with a volume below your desired charge weight and dip it into the powder. The Lee die set comes with one dipper and the instructions will illustrate this further. Dip the dipper into the powder and transfer the powder to the scale.
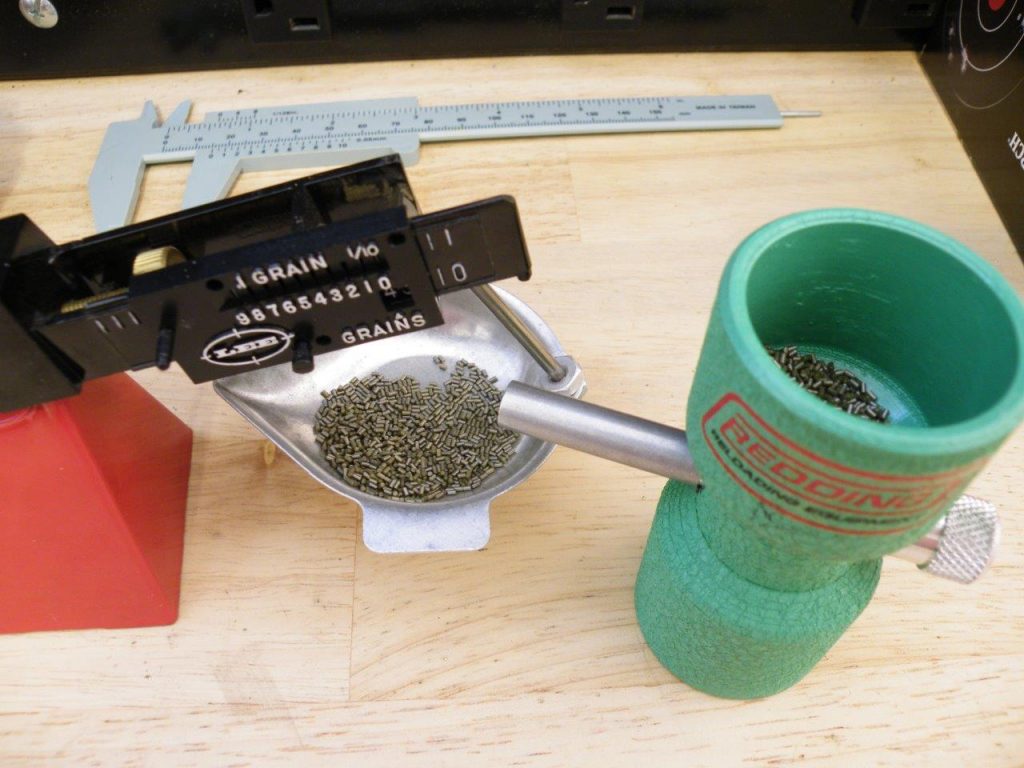
The scale should be locked to your desired weight (READ THE INSTRUCTIONS), and right now we don’t have enough powder to reach the charge we want because we used a scoop that is too small. Remember we did that on PURPOSE. From here, we will trickle powder into the scale until our weight is achieved and the beam is balanced.
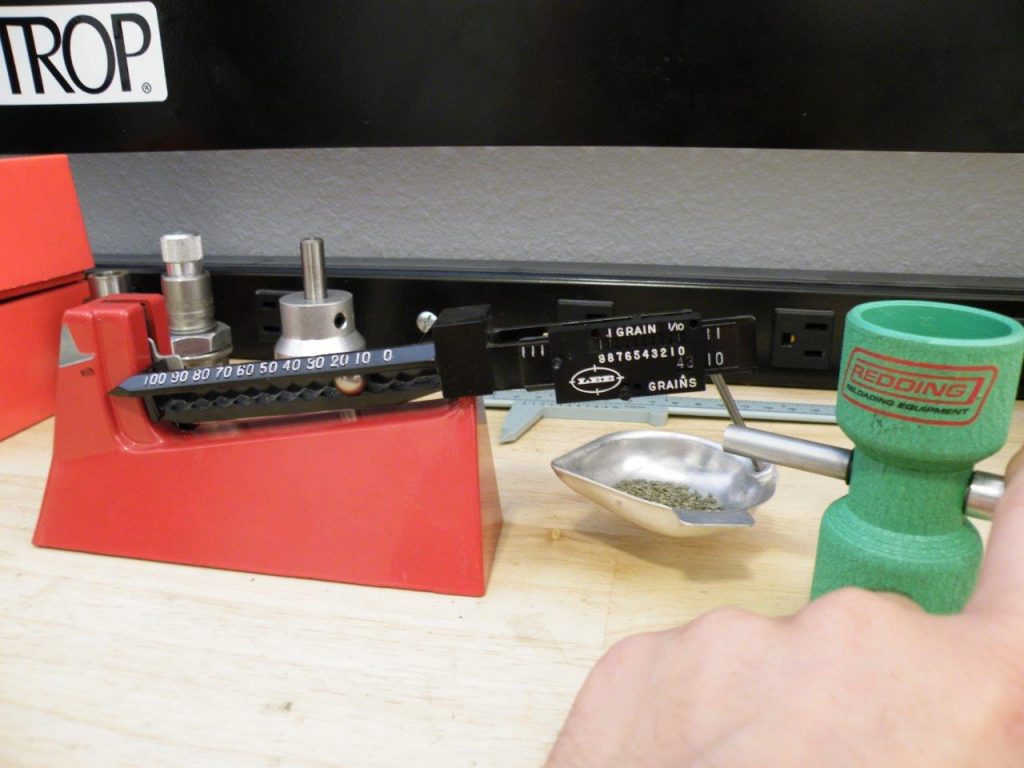
The scale is set to the weight I want. I then trickle the powder into the pan until the scale starts to climb.
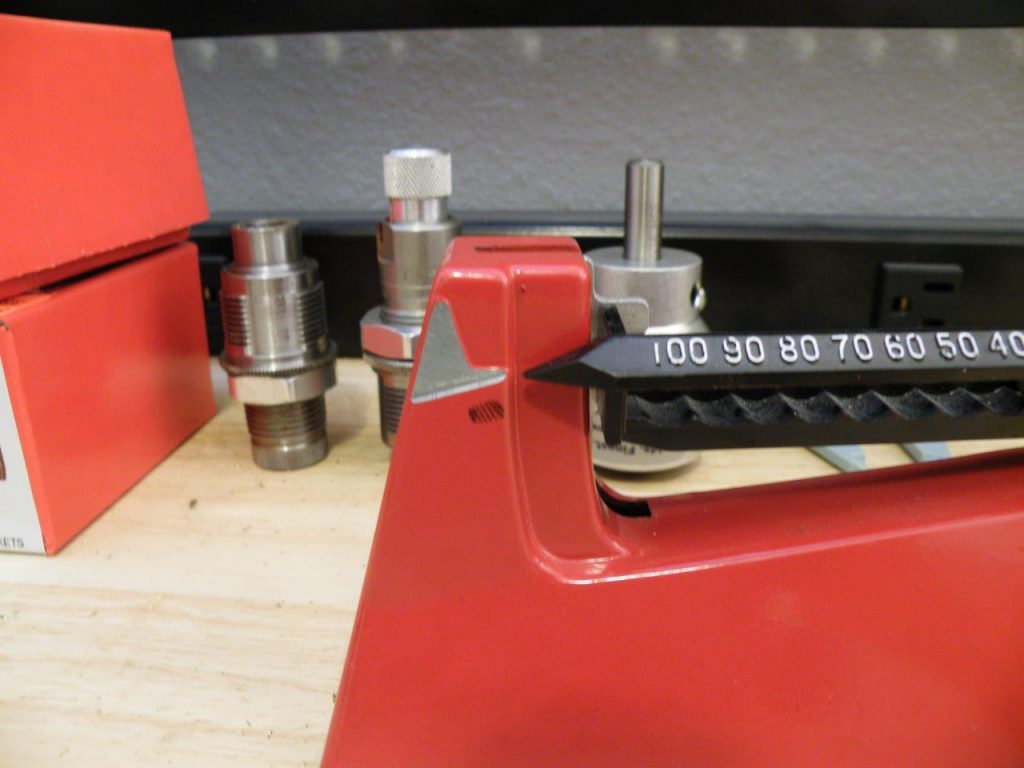
Bingo. We have achieved our desired powder weight. Transfer the powder into the case with the case funnel and set it in the reloading tray.
Option 2: Using a Powder Measure
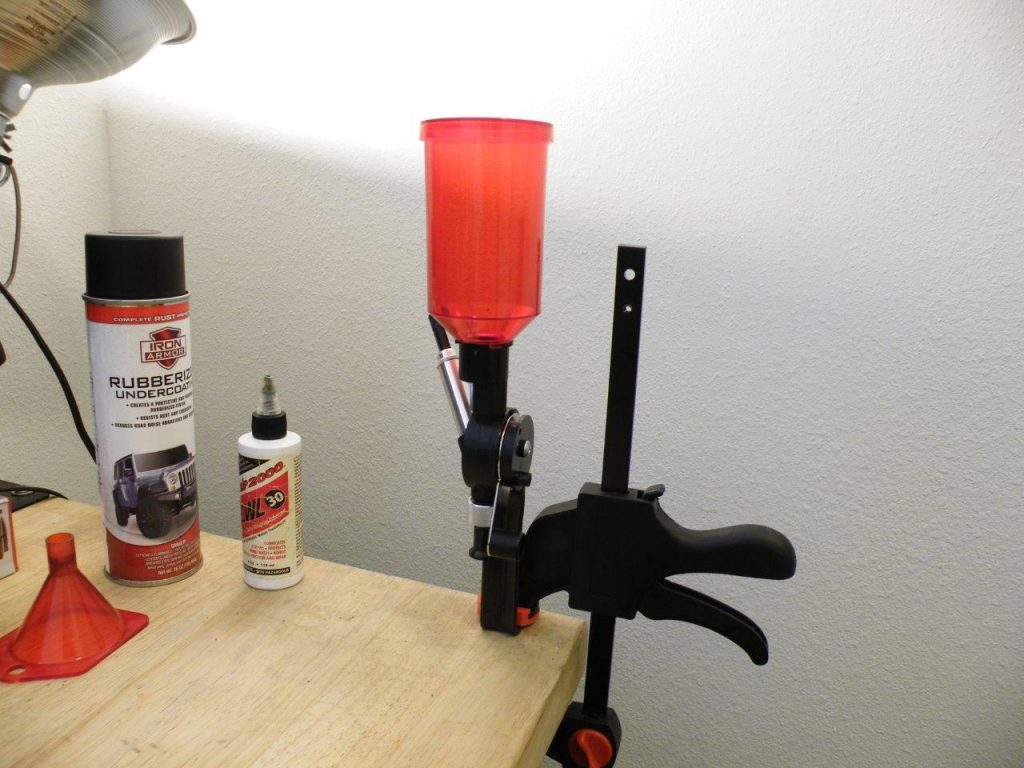
Option 2: Use a powder measure. This isn’t as accurate as trickling up to weight for cartridge case, but it is a time saver. Again you don’t need this device but I sure like it.
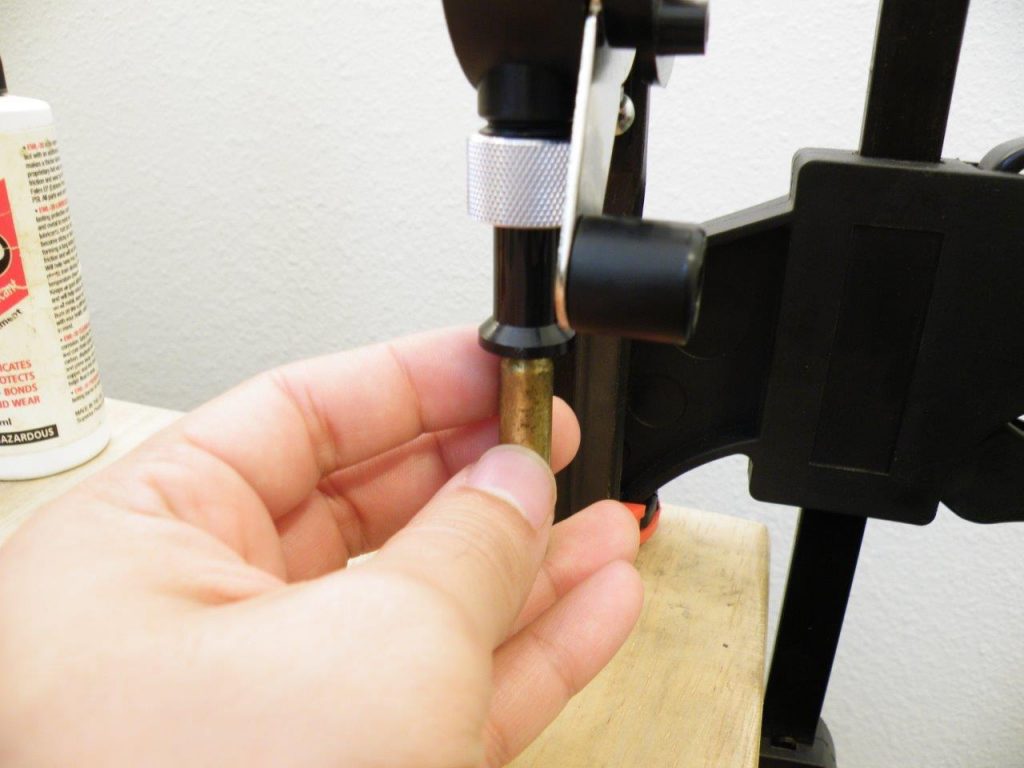
Put the casing up to the drop chute, pull the lever up and down, and your case is filled. The powder measure must be calibrated to throw the weight you want, so read the instructions included for the proper method to do this. This relies on you following the included instructions, weighing the throw, and re weighing until a consistent loading is achieved with each throw.
Step 5: Seating the Bullet
The bullet seating die is a part of your press that pushes the bullet into the case mouth after you have placed your powder charge in the case. The purpose of the die is to allow you to set the depth of the bullet and push it into the case to the desired depth / overall length. It is best to read the instructions included with the seating die and carefully adjust the seating die incrementally until the bullet is seated to the proper depth.
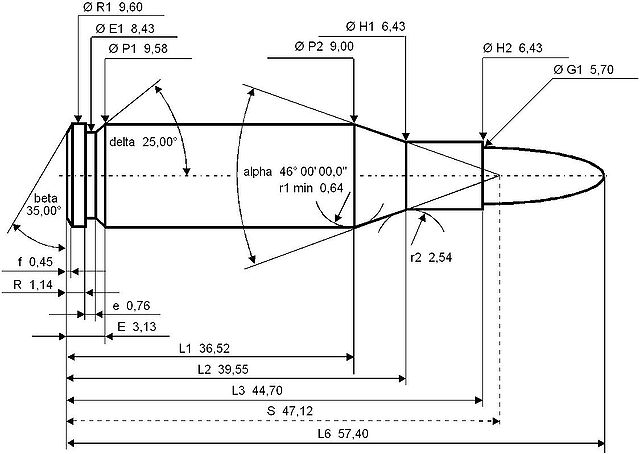
The overall seating depth of the seating die is best set by calipers and careful measurement. The SAAMI specs for .223 are above in millimeters, but overall length (bottom line) comes to 2.25 inches. If you don’t have calipers, you can set the length of the bullet seating die off a factory 5.56 or .223 round… but please get calipers.

The knurled area on top of the bullet seating die is adjusted up or down until the desired seating depth is reached.
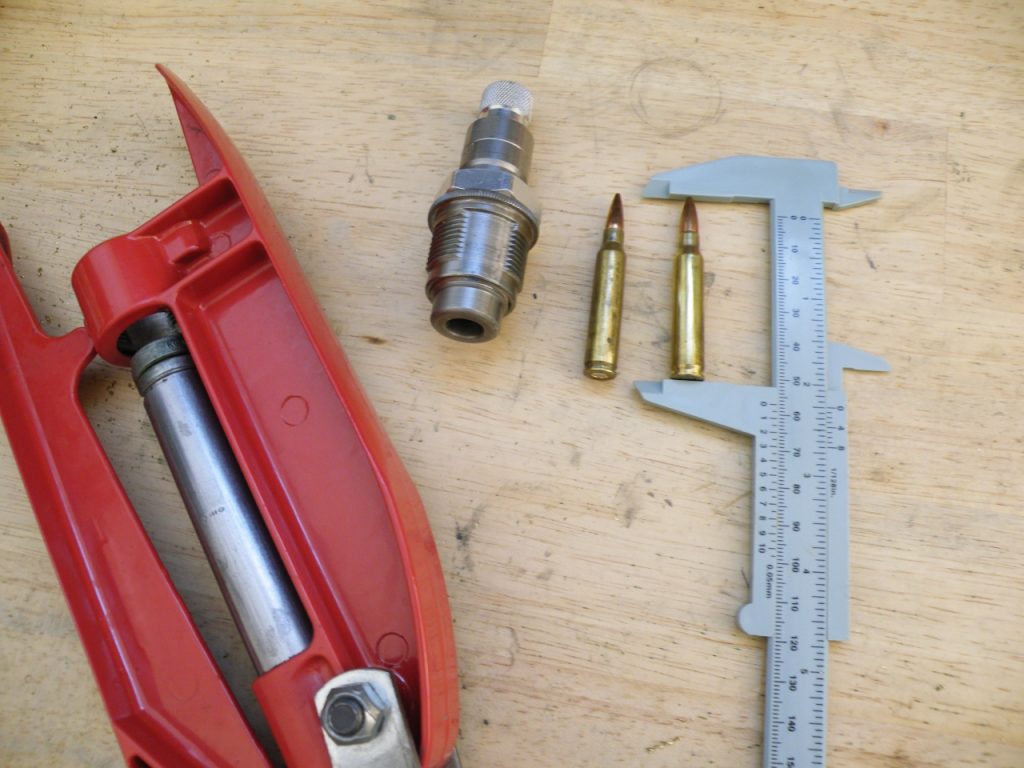
After each adjustment, measure the overall length of the cartridge to make sure the seating depth is within SAAMI spec for your cartridge. Once you are at the desired depth you no longer need to adjust the bullet seating die.
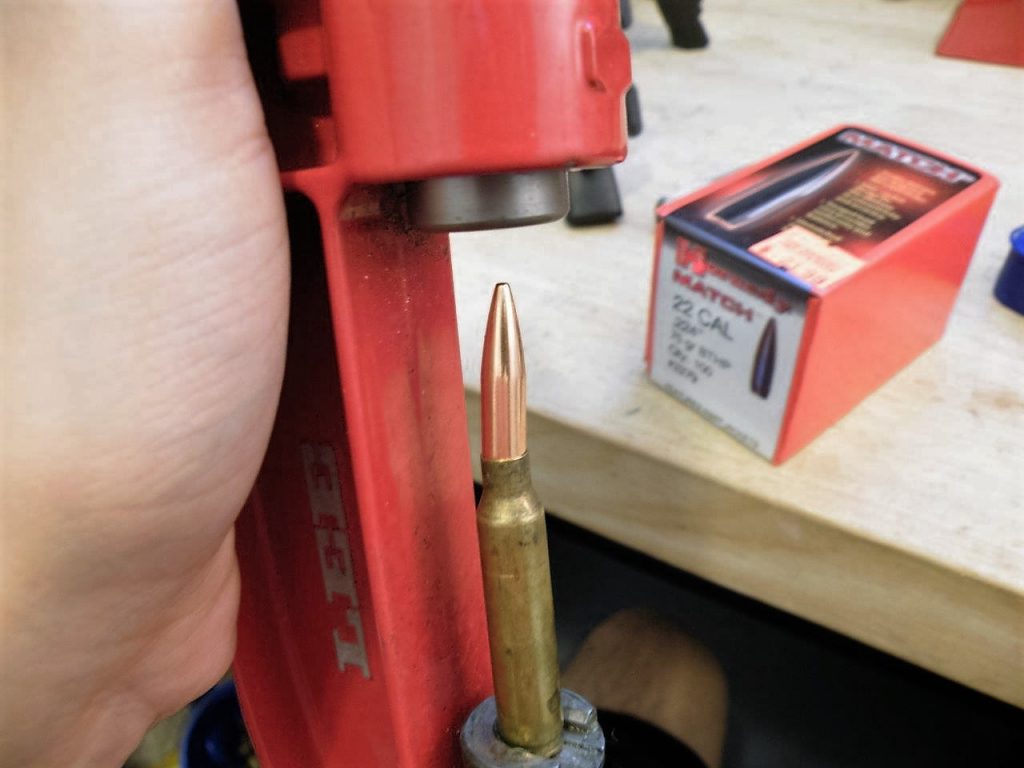
Here the die has been adjusted and is ready to accept a bullet and charged case.
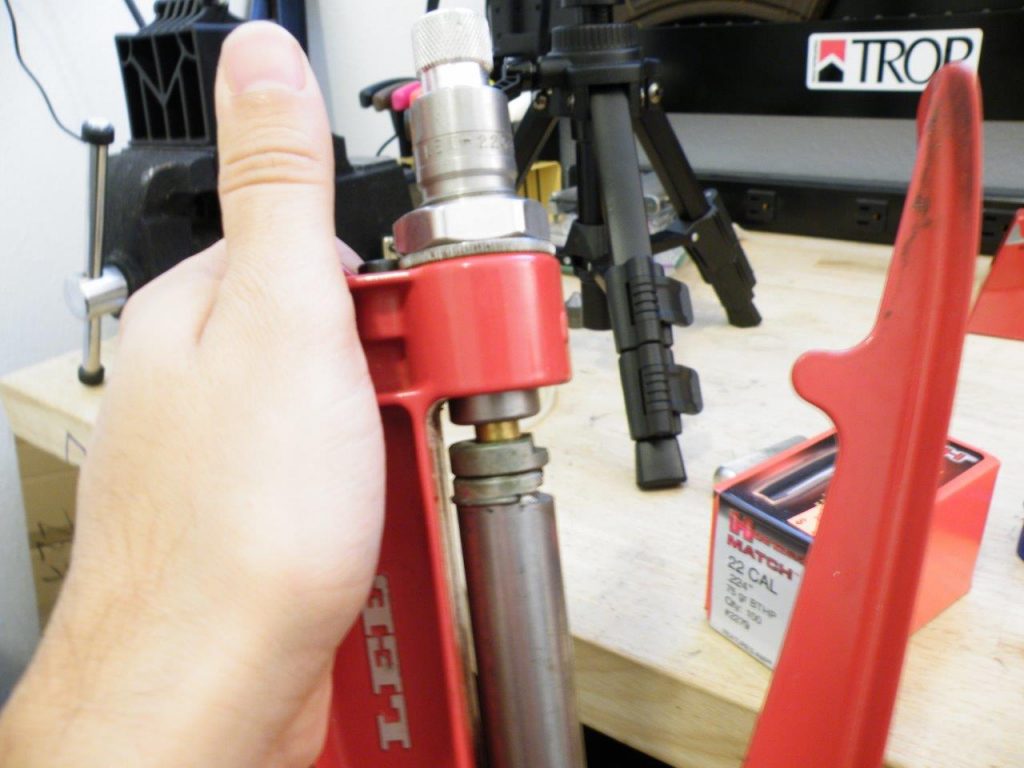
The bullet and case are pushed into the die.
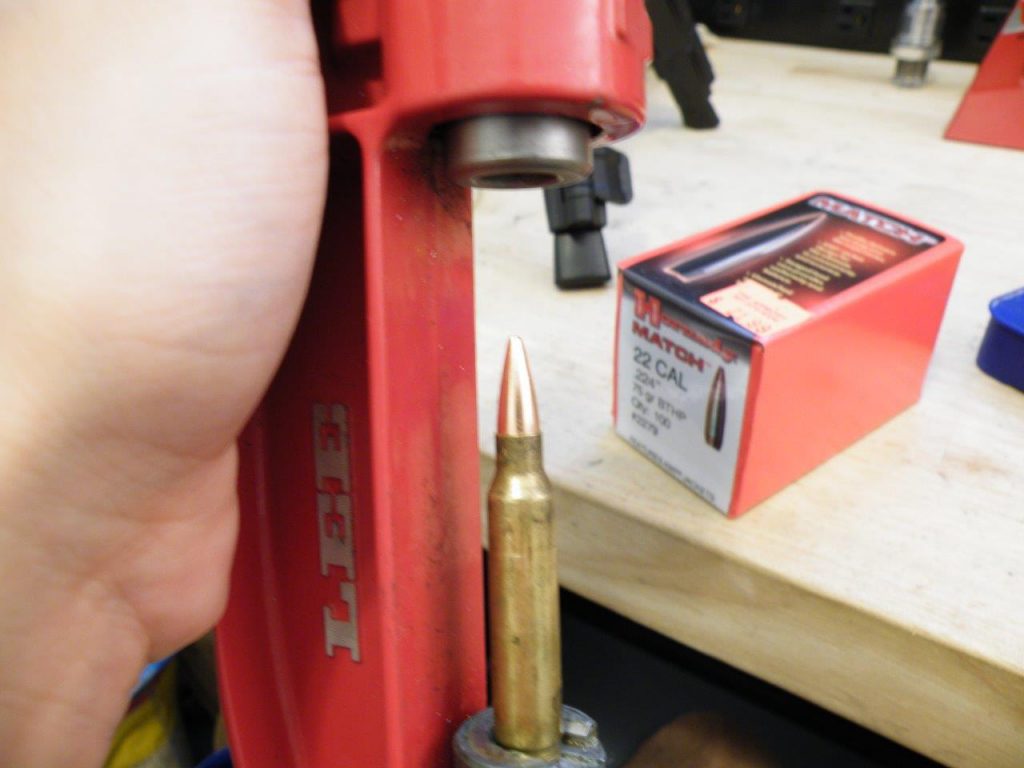
…and out pops a freshly loaded cartridge.
Step 6: Optional Crimp
This last step is optional. The Lee die set comes with a crimping tool. Much like the bullet seating die, it is placed in the press and the projectile is fed into the press. The crimp die then crimps the bullet which makes the bullet less likely to get set back into the case when fired in an auto-loading rifle. Many reloaders skip this step as case neck tension should be enough to prevent this. I crimp everything. Refer to the manual for proper setup of the crimp die. I use a very light crimp on my ammo.
What About Case Cleaning and Tumbling?
Some people about now are asking “when do we tumble?” I omitted tumbling as it is not necessary so long as you have CLEAN BRASS. The tarnish present on brass has not affected reliable feeding or extraction for me in thousands of rounds. You will find that many others have come to the same conclusion: tumbling is a nice extra step, but not necessary. If you are tight on space, forgo the tumbler and give the brass a good bath. Keep in mind that if you do choose to tumble, it should be done outside. Tumblers have been shows to elevate lead and other toxic chemical levels in the air via dust production and they should be placed away from your living space.
Wrapping Up:
This is a quick visual guide as to how *I* reload my shells. This is a primer which illustrates the steps I take to get a shootable product. It is important to understand all the concepts we touched upon by studying your reloading manual in-depth. This is a taste of what I do in order to reload, and I hope it can shed enough light on the process so you can make a decision as to whether you have the patience and attention to detail necessary to safely reload cartridges. Reloading is a great use of your time when you cannot hit the range, and I hope I have illustrated to you that it CAN be done in an apartment or small space. Again if you wish to start reloading, read a quality reloading manual, understand the essential concepts, and follow the instructions. Having a few extra thousand rounds of ammo that you made yourself is a great source of pride and fills you with a warm glow. Plus Varget smells nice.




Are we going to have an article comparing different powders based on their smells?
Will this press work for other chamberings as well? For instance, full-power military rounds like 7.5 Swiss, 6.5 Swede, 7.62x54R, 7.5 French, 6.5 Japanese, etc? Awesome article, love the work you do. Very educational and helpful to many.
As long as LEE sells a die for it, it should fit into the press. How hard it is to resize a bigger piece of brass vs the 5.56 I do not know.
I can say from firsthand experience that .303 Brit can be done in the Lee Hand Press. Probably not quite as quick as with 5.56, especially in the bullet seating department, but quite doable and not difficult.
This little press is quite robust as well as compact. I use it for all of my rifle reloading from .223 up to 8x57mm Mauser. One item not mentioned about the Lee Case Lube is that it will not contaminate the propellant as other lubes may. There is much to be learned about reloading and I find Lee’s Modern Reloading and Lyman’s Reloading Handbook both invaluable. It never hurts to have an experienced mentor either.
Might I add you may want to purchase a case gauge/ finished cartridge gauge to confirm that every round that you load will indeed chamber? Just my .02$
I must say it was your work with 69gr Sierra’s from many earlier articles that sparked my reloading interest. Thanks for showing your setup. I have been interested in the WFT or the Giraud chuck mounted unit. Lothaen does the WFT capture the brass chips well?
Hey thanks for reading!
No the WFT throws shavings everywhere, so its best done outside.