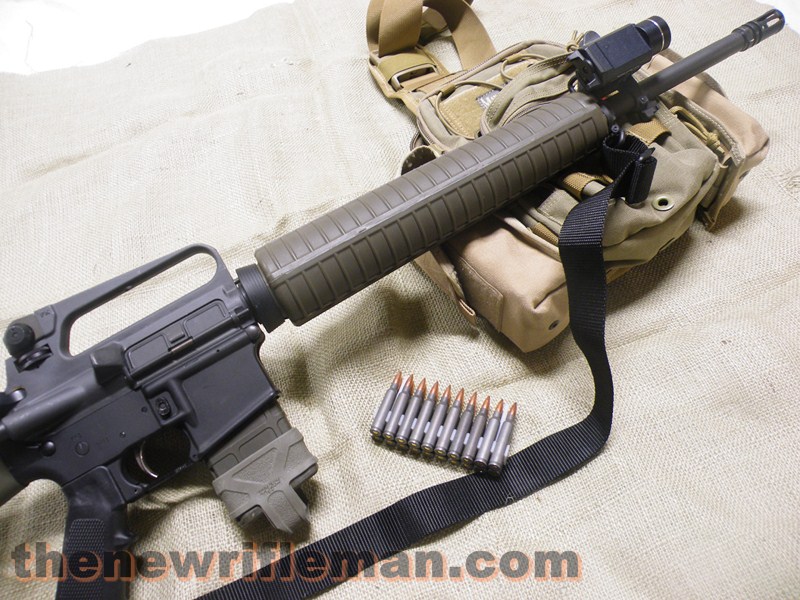
Introduction:
I just purchased an AR15. What now?
Congrats. You just purchased “America’s rifle”. There is no other weapon available to civilians that ties into the spirit of the 2nd Amendment than the AR15. It is an air-cooled, light-weight, modular, accurate, semi-automatic weapon. Carbine or Rifle, it can reach out and hit targets accurately almost as well (or in many cases better) than bolt-action weapons.
Read the NRA safety rules and memorize these rules before you visit the range:
- ALWAYS keep the gun pointed in a safe direction.
- ALWAYS keep your finger off the trigger until ready to shoot.
- ALWAYS keep the gun unloaded until ready to use.
Be respectful at the range and prepare to help others learn these simple rules if necessary.
With any new purchase, I know your excited to take it to the range. Before you buy a rifle upgrade, I would recommend you purchase a few things first: a budget spotting scope, shooting mat, and a rifle bag. These items let you get more done at the range in less time and give you the tools you need to learn how to shoot that rifle as is. The first step in getting your rifle up and running is learning how to zero the rifle. Obtain a front sight adjustment tool. I also recommend downloading a 25 meter / yard zeroing target like this one here. Print a few off on a standard piece of paper and take them to the range. This is the same target referenced in the intro video below:
In this video, I cover some AR15 basics: How to sight in at 25 yards (which is good for 300 yards), how to adjust the sights, and how to sling up, and some marksmanship principles.
Marksmanship Basics:
- The eye must align the sights in the same way for each shot.
- The finger must pull the trigger without disturbing what the eye sees.
- The shooter must hold the rifle in a consistent way and allow the rifle to recoil and fall back on the target in a repeatable manner.
Understanding Your Sights:
The AR15 peeps are the pinnacle of iron sight technology. Peep sights give the shooter some amazing advantages vs. other iron sight methods. Your iron sights likely have a small aperture, and a large aperture. The large aperture is for low light and fast shooting up close. The small peep is for precise shooting and this is what we will be working with when sighting in and shooting for accuracy.
- It suppresses parallax error
- It increases our depth of field
When we use the small peep, we want to focus on the front sight when shooting. The small peep allows you to focus on the front sight while letting your still keep a decent focus on the target. That’s because it increases our depth of field. If you raise your head over the rear peep and then focus on the front sight, everything in the distance is fuzzy. Lower your head back into the sights and focus on the front sight and things further away clear up. Wow! Such a innocuous thing hides so many secrets! So not only does it increase our depth of field, it also reduces parallax error.
This means that with the eye behind the small peep, you can shift your head subtly while looking through the peep and the front sight will remain in a fixed position on the target. Reducing parallax error reduces alignment issues with the shooters eye and makes the rifle more forgiving to shoot easily.
Those two “features” play out like this: The shooter can focus on the front sight and concentrate on its alignment with the target. The shooter can *ignore* focusing his / her time and energy on centering the front sight in the middle of the peep sight. Just put that crystal clear front sight post in alignment with the target, and ignore everything else.
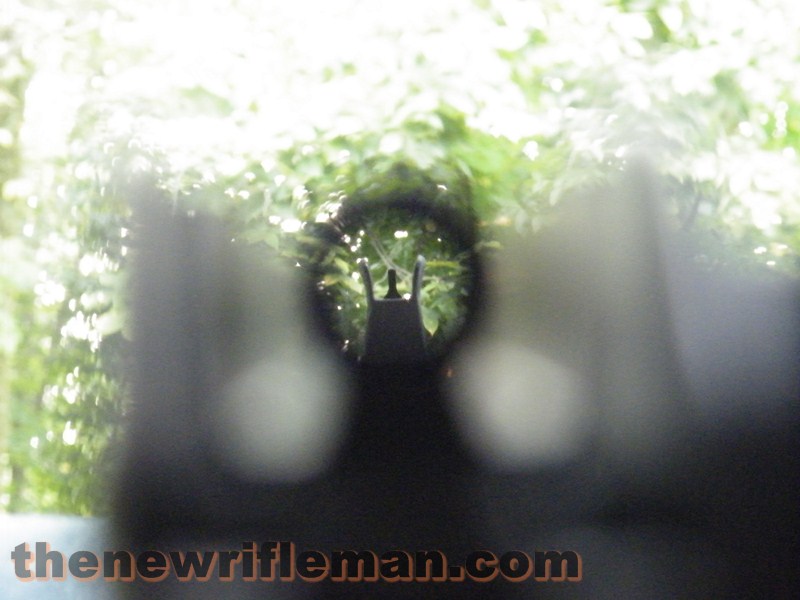
The small peep reduces parallax error and increases your depth of field which allows you to focus on the front sight and still allows your target to remain relatively clear.
In the photo above, we are peering through the small peep to focus on the front sight. The key to using the small peep is to focus on the front sight, not your target. Ignore the rear sight. Focus on the front sight. For all practical purposes, if you can see the front sight post in the rough center of your visual field then you are good to go.
All your attention and energy must go to the front sight and its alignment with the target! The rear sight looks like a ghosted ring… ignore it!
Once proper sight picture has been obtained it is time to work on the trigger squeeze:
The Trigger Squeeze:
Mastering the trigger is a essential component to good shooting. When our sights are perfectly lined up with the target, a smooth trigger squeeze ensures they remain that way until the gun fires. A jerky or poor squeeze can disrupt that perfect alignment and push you off target. At close range this jerk might mean a slight change in your point of impact… but at extended ranges any slight change equates to large shift in impact.
Proper trigger pull requires applying consistent pressure to the trigger without disrupting the sight picture until the shot lets off. I have been told that you want the rifle to surprise you when it fires… I find it much more repeatable if the shooter knows exactly when a trigger is going to release and fire the weapon… thus I promote dry firing. Dry firing can help you “learn the trigger” so to speak and is a great way to engage in rifle training at home. Ensure your rifle is CLEAR and SAFE and practice shooting at a small pin pushed into the wall. The more you do this, the faster you can learn the trigger and learn how to pull it smoothly without disrupting your sight picture.
Dry firing is a great way to practice your sight picture and trigger control at home. Your accuracy at the range will improve greatly with dry fire practice.
Breath Control:
Another step we need to take is to eliminate unnecessary bodily movement before taking the shot. Breathing will naturally cause your sights to rise and fall as your lungs expand and contract. To stop this sight picture disruption we have to hold our breath. Simply breath normally and shoot at a natural respiratory pause.
If you are holding your breath like you are going to jump in a pool you are doing it wrong. Simply breath in normally and let it out. Right there is a natural respiratory pause. Shoot at that natural respiratory pause, and if you can’t take the shot within a few seconds take another breath and start over. Holding your breath for an excessive amount of time preparing for the shot (or shots thereafter) will ultimately be detrimental as certain functions of the eye quickly deteriorate with lack of 02.
Lets recap:
- Sight alignment: Focus on the front sight and align it with the slightly fuzzy target. Ignore the rear sight.
- Trigger: Squeeze the trigger smoothly to discharge the weapon without disturbing the sights.
- Breath Control: Shoot at natural respiratory pauses.
So those are the fundamentals of an accurate shot. The basics. What we need to discuss next is body mechanics and a stable shooting position for new shooters to master.
Body Mechanics:
First, let’s examine body mechanics as they pertain to the prone shooting position. Prone shooting is the most stable shooting position available to the marksman when there are no other platforms from which to fire. In this position the shooter has greatly reduced human variables that might affect the shot. Muscle fatigue is reduced greatly by the prone position as most of the rifle’s weight (and your own body-weight) are transferred straight to the ground through your bones. If you don’t have a bench, then this is the position you will be sighting in a rifle from simply because it is stable and repeatable.
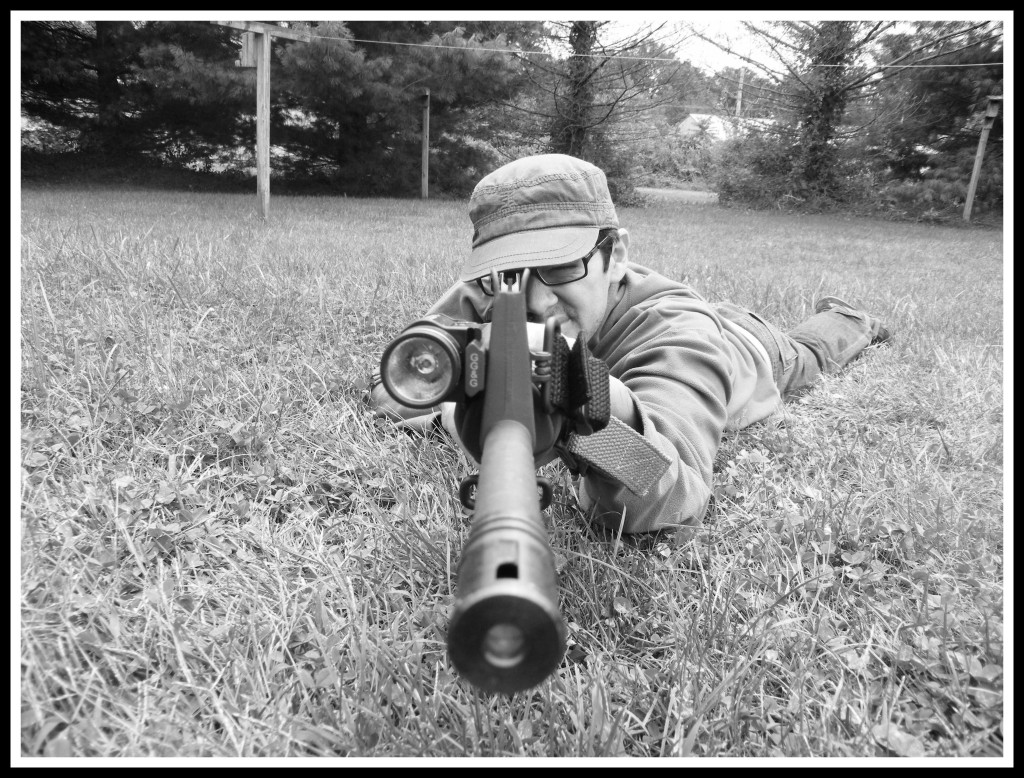
Prone is the basic of basic shooting forms to master and an invaluable position for solid shooting.
One of the finest tools available for prone shooting is a USGI web sling. These slings are affordible, and add passive rifle support… meaning that the sling tension supports your rifle so that the muscles, which tire and twitch, don’t have to affect the shot. If you don’t have a USGI web sling, obtaining one should be on your shopping list. The video a few paragraphs above discusses how to use the USGI web sling at 4 minutes in, so watch it for a quick primer.
In the prone position, spread the legs out comfortably. Rest the rifle’s forearm in the open palm of your hand. The rifle’s butt-stock should be firmly tucked into the shoulder pocket. Nose touching the charging handle ensures a repeatable place for your face and eye to look through the small peep. Your face should push firmly into the stock and your cheek should create a “chipmunk cheek” with the pressure. Both elbows are laying on the ground, hand on the grip and finger resting lightly on the trigger.
Before we shoot, let’s modify our prone position to ensure our rifle naturally points at the target:
Using Your Natural Point of Aim:
Your natural point of aim (NPOA for my finger’s sake) is a point that you and your rifle naturally aim at when in firing position. Prone shooting allows you to use this powerful tool very easily. Peer down your sights and look at your target. Close your eyes, relax your body, and let the rifle drift and settle into the position it wants. Open your eyes and peer through your sights. Is your rifle pointing at the target? No? Then adjust your body position to allow the rifle to naturally point at the target.
This is an important tool because aiming naturally at the target takes out human error in trying to contort the body and muscles to stay on target. If you can stay on target without exerting any effort then you are on the right track to consistent, accurate shooting. Once you have positioned yourself to take advantage of NPOA, you are ready to take your shot.
Focus on the font sight, front sight is crystal clear… target slightly fuzzy, squeeze the trigger while maintaining perfect sight and target alignment. BOOM! Great shot! If the rifle recoils and falls back into the exact same position where it naturally points at the target… then you are doing things RIGHT.
Moving to Red Dots:
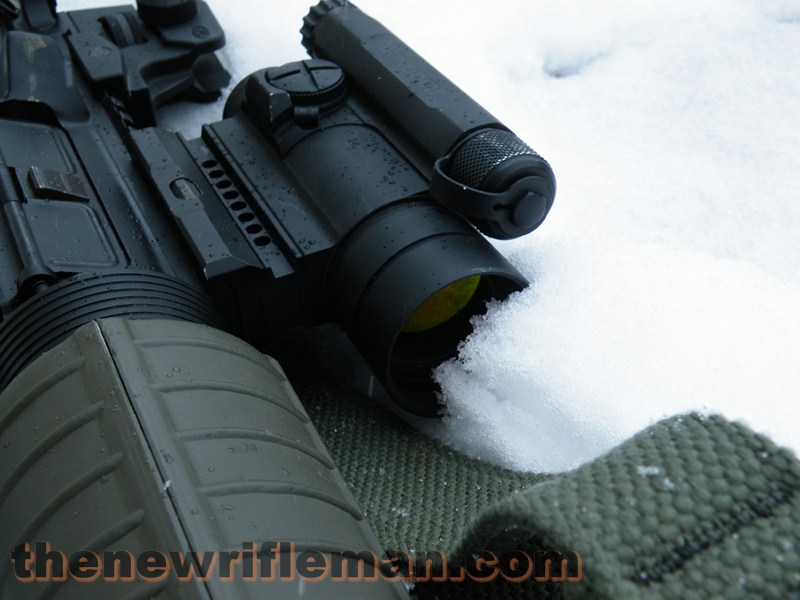
Red dot sights are the next point of interest for new shooters. Some people start here. Marksmanship fundamentals still apply to the red dot save for a few differences. No longer is there a need to focus on the front sight. Instead focus on the target and superimpose the dot on the target. When using a red dot, it is important to understand that you are using a modern tool that has been shortchanged for years… red dots are just as accurate as iron sights, and far less fatiguing to the eye.
2 MOA dots are far sharper of a aiming point than a front sight post, in addition they do not obscure as much of the target as much as iron sights. Reduce the bloom by dialing the intensity down until you have balanced the sharpness of the dot with its brightness. Here is the best setting to practice your marksmanship. At this point, there is not much more to say other than the fundamentals of breath control, trigger pull, and body mechanics are all the same. Since you are working with ONE zero, make it a good zero such as the maximum point blank range method.
Wrapping Up:
Applying the fundamentals is simply disciplining yourself to repeat a simple process the same way over and over again. The fundamentals will *always* carry their weight if applied properly. Get in a stable shooting position which naturally aligns you and your gun with the target, acquire a proper sight picture and focus on the front sight, control your breathing, squeeze the trigger smoothly and consistently. That’s it! Becoming a marksman or a rifleman is something anyone can do. All it takes is practice and patience.
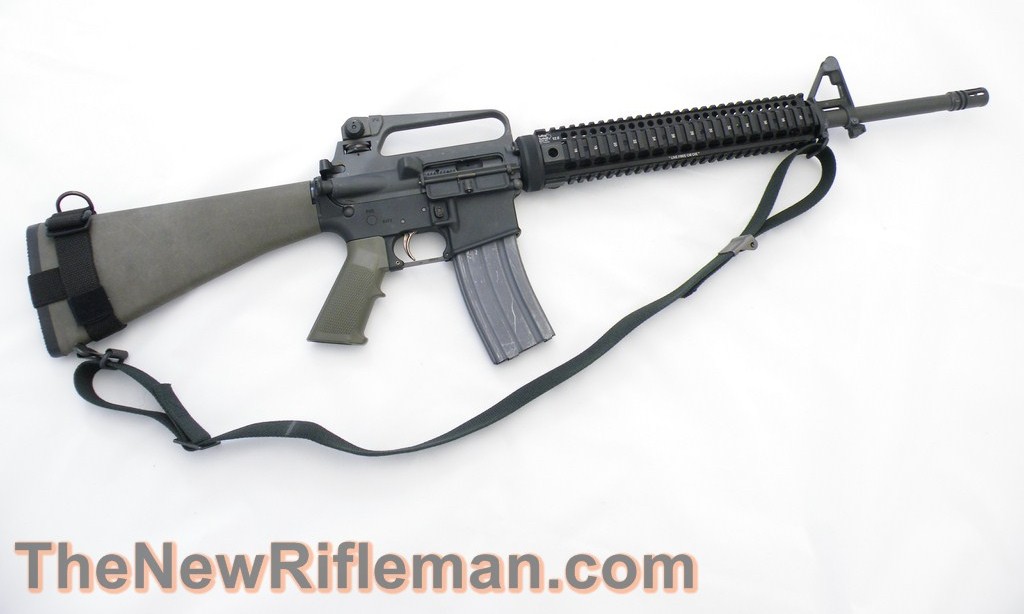
I shot a High Power event with the rifle you see pictured above. I used no shooting jacket, no shooting glove, USGI peep sights, and a nylon USGI web sling, and the barrel is a government surplus chrome lined barrel. She shot to my capability at 600 yards, and I was pleased. I felt vindicated in that everything I have been doing for this blog… has helped advancing my marksmanship. I hope it helps to advance yours too. You need just two things for your marksmanship journey:
- The will to learn despite failures
- Your AR15
I will continue to update this page and make it a resource for new shooters.


